Orzo “Greek” Pasta Salad

I don’t eat many sides from the grocery store deli but I will always be up for the various Greek pasta salads.

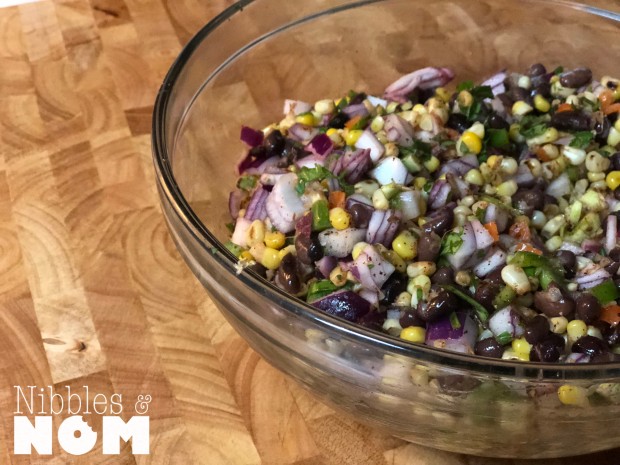
I make this pretty often but my produce usually just reflects what I have on hand. It comes together fairly easily and quickly. It also tastes better the longer everything marries.
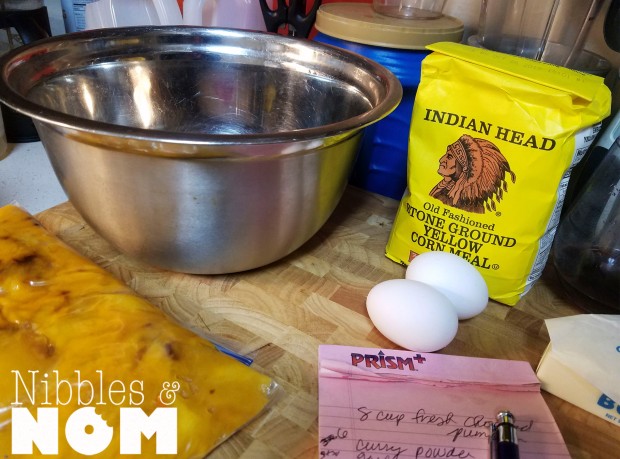
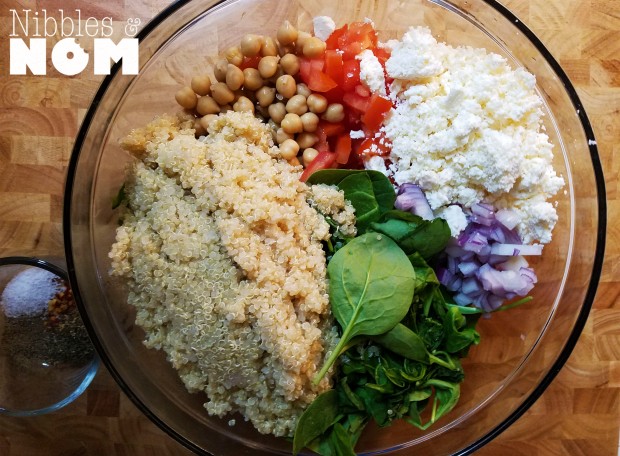
Ingredients

Half a box of orzo

1/2 red onion, finely chopped

1/2 cucumber, finely chopped

1/4 tomato, finely chopped

1/3-1/4 cup sun-dried tomatoes, roughly chopped
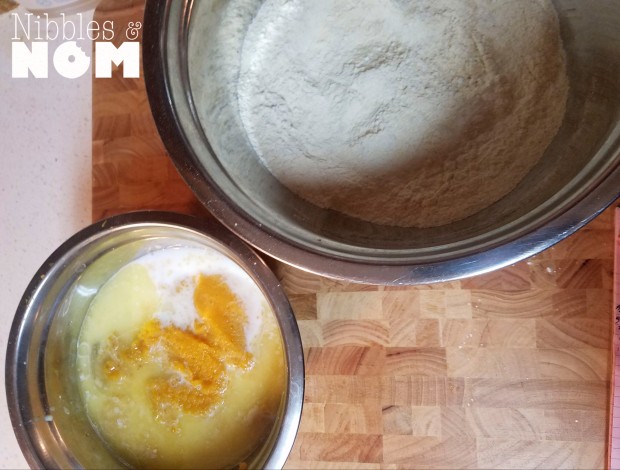
Dressing

1/2 cup olive oil

1/4 cup red wine vinegar

1 tsp Dijon mustard

1/2 tsp lemon zest (optional)

1/2 tbsp chopped parsley

1 tsp chopped cilantro (optional)
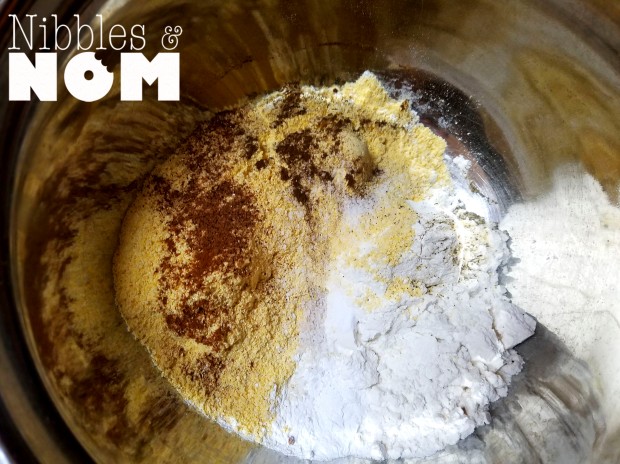
1 tsp dried oregano

1/2 tsp dried mint

Salt and pepper, to taste

Pinch of crushed red pepper (optional)
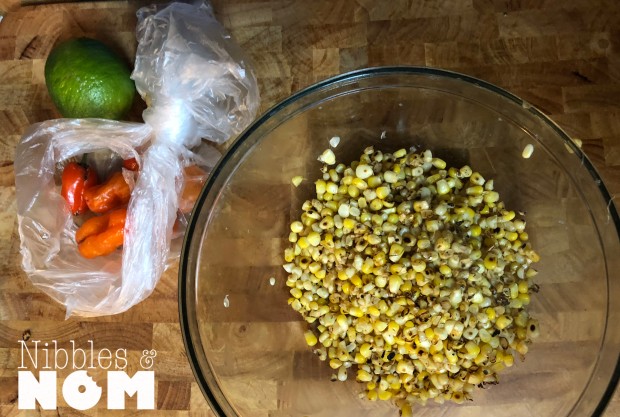
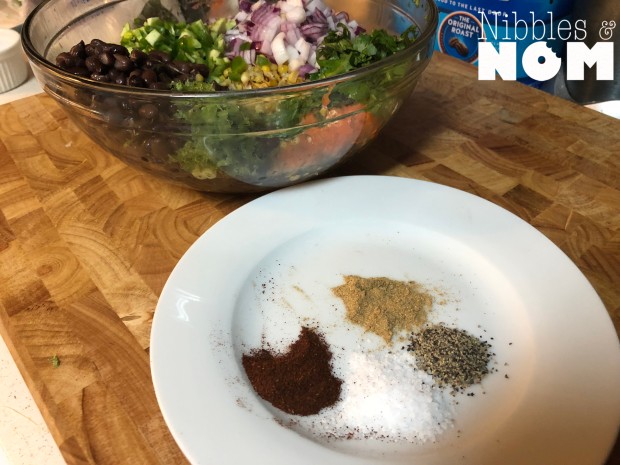
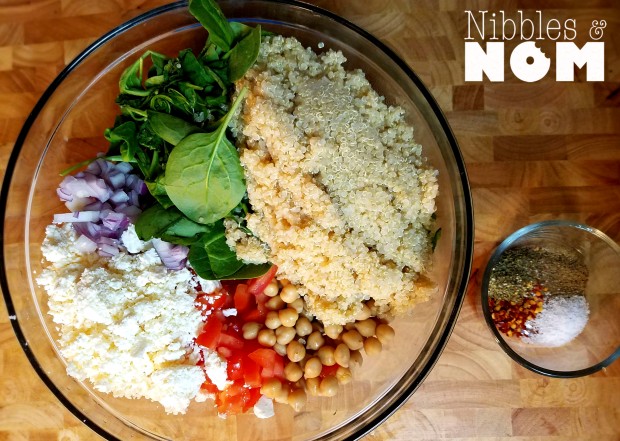
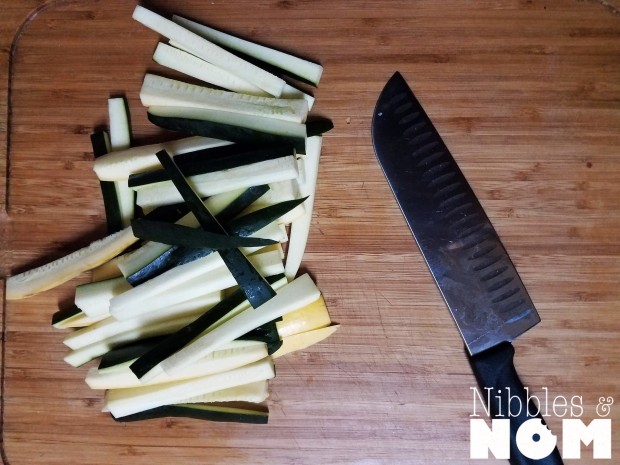
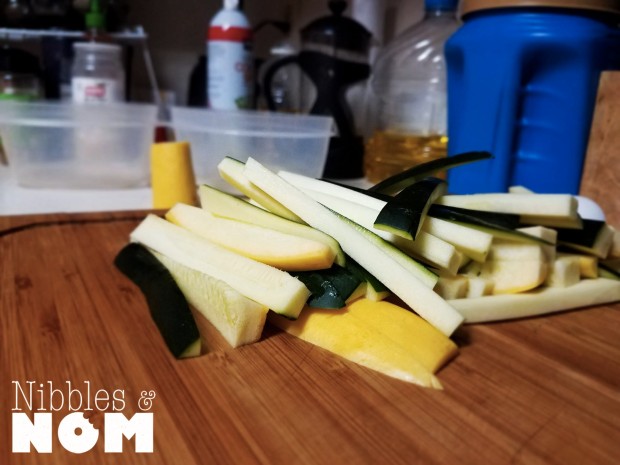
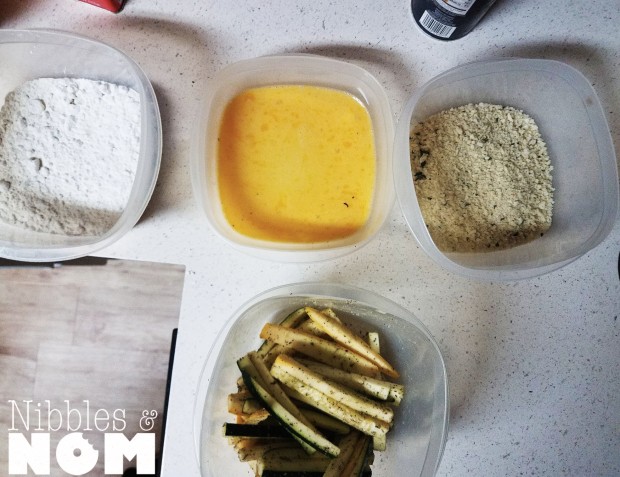
Chop your veggies

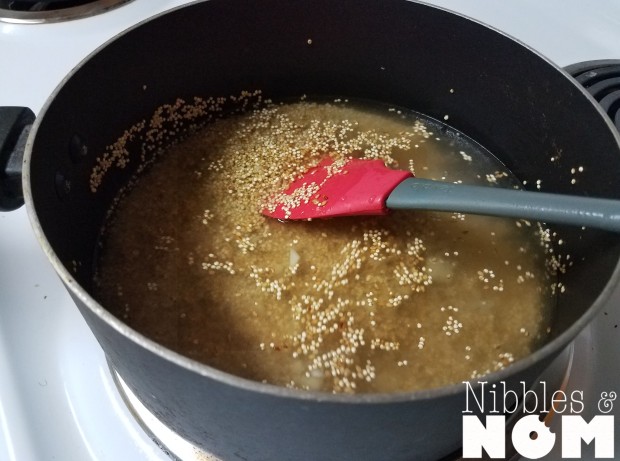
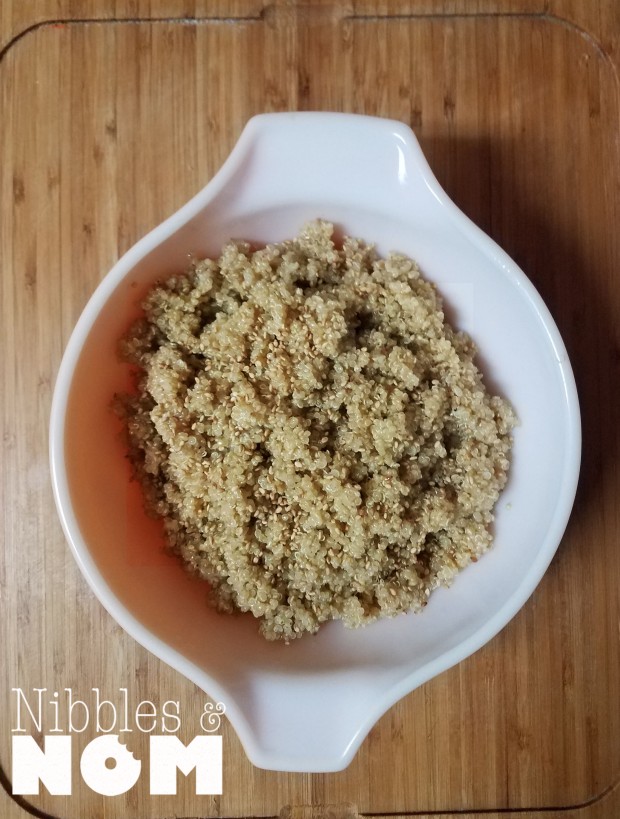
Boil and drain your orzo, rinse under cold water.

Combine dressing ingredients and mix thoroughly.

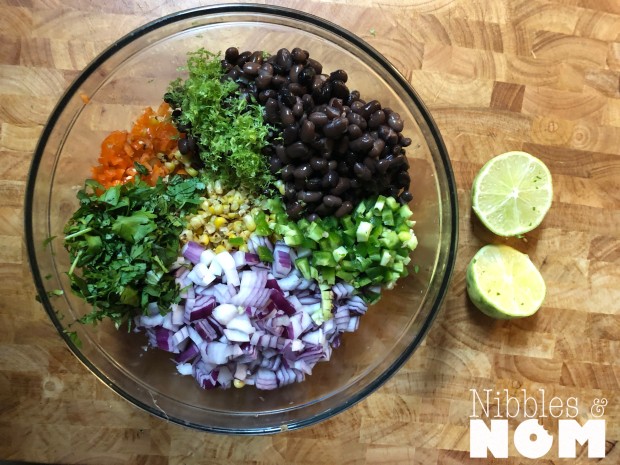
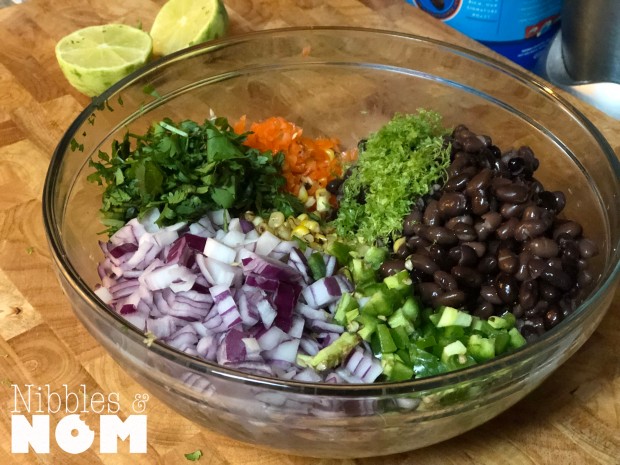
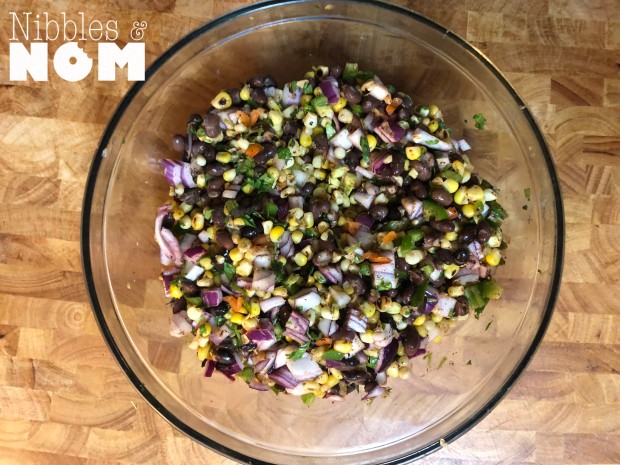
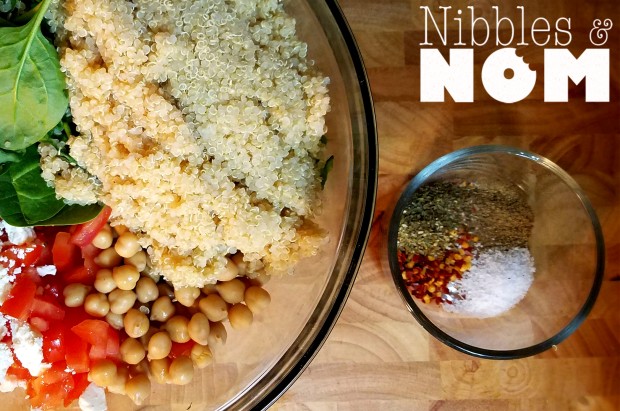
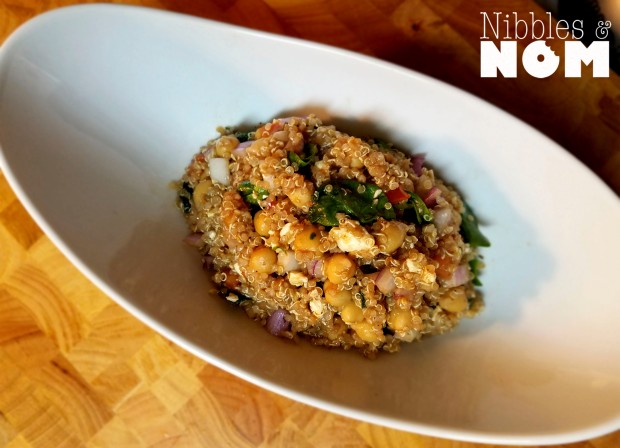
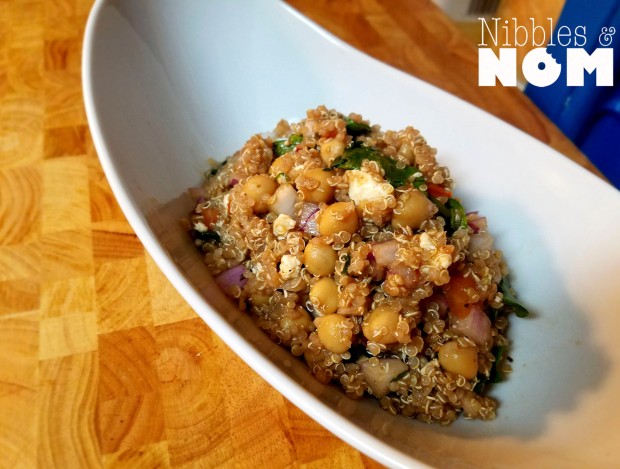
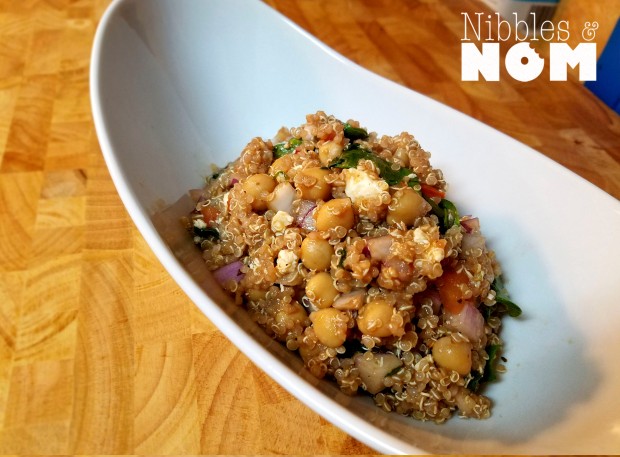
Combine all ingredients plus dressing. 
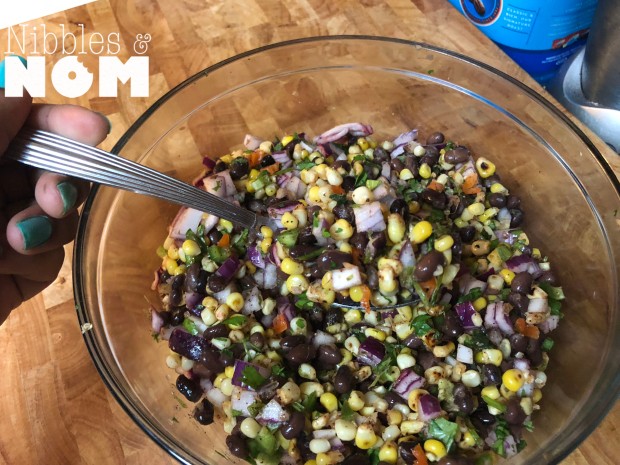
Toss with a wooden spoon or a spatula.

© 2019 by Alexa Mason. All Rights Reserved

Peach Pico

This isn’t a precise recipe. It can easily be scaled up for a larger amount. This yielded me about two cups which was more than enough for our dinner tonight.

Taste as you go and adjust to suit your preference. If you have a good peach, your pico should be plenty sweet.

You can easily substitute in other fruits like mango or pineapple!

Combine gently in a large mixing bowl:

1/2 large tomato

1 ripe peach chopped

1/4 chopped medium red onion

1/8 c chopped cilantro

1/2 small jalapeño chopped (seeded if you don’t want it too spicy)

1/4 habenero chopped (ditto)

Zest of half of a lime

Juice of a lime

S&P

Sugar/honey/agave as needed if it isn’t sweet enough

Use as dip or on top of some tacos 🐷

© 2019 by Alexa Mason. All Rights Reserved

Kitchen Dump Thin Crust Pizza

Again, not a precise recipe. I just used what I had in my fridge and freezer. It’s an easily adaptable recipe. Just follow the pizza dough recipe and the crust-cooking-procedure. Easy peasy.


I had a ball of my simple pizza dough in the freezer. I had enough to roll out a thin crust. I played it a little fast and loose with the oven so my edges are kinda cajun lol. Be more careful than me. I was hungry.


Simple pizza dough

Seasoned ricotta cheese (herbs, garlic, parm, s&p)

Shredded cheese

Parm

Fresh mozzarella

Olive oil with italian herbs and garlic powder (for crust)

Whatever toppings you want (mine are as pictured)


Prepare the pizza dough ahead of time so you are ready to go.

Quickest way of attacking this is preheating your cast iron skillet, cast iron griddle, pizza stone, heavy bottomed pan. Whatever. Get it super hot. 475+ hot.

While that is preheating, slice and chop your toppings. You want thin slices, small dices. We want things to heat through evenly.

Prepare all of your cheeses.

Roll out your dough to suit your vehicle

Carefully place your dough in the pan or skillet or stone

Poke fork holes all over save for the ‘crust area’

Brush the ‘crust area’ with some of the seasoned up olive oil

Bake for a few minutes, just consider the thickness of your dough and its edges.

Remove and quickly paint dough with the ricotta.

Shredded cheeses

Spinach.

Parm.

Zucchini and squash slices

Fresh mozzarella dotted around

Sliced onions and peppers

Chicken

Chopped tomatoes

Whatever toppings you’re using

Baked at 475+ until the cheese is bubbling

Broil until there’s a little color on your cheese, mind your crust

Remove

Drizzle with remaining olive oil

Top with chopped herbs, crushed pepper


As always, use what you got. Any questions you know you can comment or hit me on IG (@nibblesandnom).


NOM!


© 2019 by Alexa Mason. All Rights Reserved

Balsamic Gorgonzola String Beans

Hey y’all. This isn’t a precise recipe, but just a quick write up of this yummy side dish. Scale to suit your family’s needs.


1 bag of trimmed string beans

Chopped garlic

Butter

Olive oil

Cup of slice almonds

1/8-1/4 c balsamic vinegar

Sugar or honey (optional)

Gorgonzola cheese


(If you can multi-task, multi-task. Otherwise, do the reduction first)

In a sauce pan, bring the balsamic vinegar and like a little under a regular spoonful of sugar or honey) to a boil then reduce to a simmer.

Add chopped garlic.

Stirring frequently.

Keep an eye on this, you want it to coat the back of a spoon. If it goes too far it will taste pretty gross.

Remove from heat.

Melt a pad of butter into this and fin.


In a large tupperware, add the string beans and just a few spoonfuls of water. Microwave with the lid ajar for 3-4 minutes. Let sit for 5-10 minutes.

In a skillet over medium heat add olive oil and then melt butter.

Soften chopped garlic then remove.

Increase heat to medium high.

Add drained string beans ands season with salt and pepper.

Sautee until some start to brown up.

Remove from heat.

Add chopped garlic and some sliced almonds.

Drizzle with balsamic reduction.

Top with more sliced almonds and gorgonzola cheese.


© 2019 by Alexa Mason. All Rights Reserved

Charred Corn Salad

Summer is the perfect time for light and fresh salads. This corn salad uses fresh vegetables, fresh herbs and bright citrus. It comes together in no time and it can be made ahead! (Pro tip: try this on a taco!)

IMG_5917

Ingredients

3 ears of corn, remove corn from cob

1 can of black beans, rinsed

1 small red onion

1 habenero

1 jalapeno

About ¼ c chopped cilantro

Zest and juice of a lime

Salt, pepper, cumin, chili powder

  1. Heat a pan on high heat
  2. Remove the corn from the cob, if you don’t know how check this out.IMG_5896
  3. With no oil, add the corn and stir oftenIMG_5901
  4. Remove from heat when the corn begins to charIMG_5904
  5. Rinse your beans
  6. Chop your onion, peppers and cilantroIMG_5905
  7. Combine in a large bowlIMG_5908
  8. *Wash your hands after handling the habanero*
  9. Zest your lime
  10. In the bowl, juice your lime
  11. Add seasoningsIMG_5916
  12. Toss together
  13. Serve warm, cold or room temperatureIMG_5922IMG_5924

I served this over spiced chicken thighs and cilantro and lime rice!

img 812

© 2018 by Alexa Mason. All Rights Reserved

Pumpkin Cornbread

A very homey, Autumny treat. These are lightly spiced. They smell, taste and look like my favorite season. These would be awesome with some really hearty chili. I served these with an equally Autumny Pumpkin Soup!

cb13


Ingredients:


1 cup pumpkin puree (fresh or canned)

1 cup reduced fat milk

¼ cup granulated sugar

¼ cup light brown sugar

2 large eggs

1 ¼ cup cornmeal

¾ cup AP flour, leveled

½ tsp baking soda

1 tbsp baking powder

¾ tsp

1 dash each: cinnamon, nutmeg, clove

4 tbsp unsalted butter, melted


cb

  1. Preheat oven to 400
  2. In a small bowl, whisk and combine puree, milk, sugar and eggs.cb3
  3. In a larger bowl, combine the dry ingredientscb2
  4. You’ll add the wet ingredients to the dry, plus the buttercb6
  5. Using a silicone spatula, just combine; do not over mix your batter
  6. Spray your muffin tin with cooking spray
  7. Scoop your batter into the tinscb7
  8. Bake for about 20 minutes until goldeny; and pass the toothpick test
  9. Allow to cool in the pan before transferring to rack
    1. For a little extra yum, top with butter while they’re hotcb8cb10cb11
  10. Store in air tight container


© 2017 by Alexa Mason. All Rights Reserved

Curry Chicken and Veggie Noodle Stir Fry

A few people have requested the walk through to this dinner. I winged that meal. I posted about the dumplings. I knew that I needed a side that incorporated vegetables. I did not measure most of these ingredients. It’s a very quick dish. Just taste as you go and keep adjusting. You can start with what I have below, but adjust to suit your preferences.

nood4

Ingredient:

1 box of angel hair pasta

Sliced boneless skinless chicken thigh

Shredded cabbage

Shredded carrots

Scallions

Sliced onion

2 tbsp Curry powder

1/8 c Low sodium soy sauce

2 tsp Oyster sauce

½ tsp Fish sauce

Lower sodium chicken stock, as needed


  1. Salt and bring water to a boil, cook your pasta and drain
  2. In a very large skillet or wok, on high heat cook your chicken
  3. Cook your veg (minus scallions)
  4. Throw the noodles in the pan
  5. Add the soy sauce, oyster sauce, fish sauce and curry powder.nood
  6. Using tongs, toss the noodles, the veg and the chicken all together to incorporate the ingredientsnood2
  7. Taste, taste, taste and adjust as necessary
  8. If the noodles start to stick, splash in some chicken stock and continue to toss
  9. Top with fresh scallions, whites and greens. Boom!


nood5


© 2017 by Alexa Mason. All Rights Reserved

Quinoa, Chickpea and Feta Salad

This is one of my go-to salads. I am obsessed with all things feta. I’d eat it by the handful, tbh. I often do variations of this based on what I have in my house at the time. This salad can be served warm or cold. Sometimes you just crave a big colorful bowl of veggies. Feta and balsamic go together beautifully.

sal6

Some optional add ins:

  • cucumber
  • zuchinni
  • squash
  • fresh basil
  • fresh mint
  • fresh oregano
  • tofu
  • chopped chicken if you absolutely need meat

Ingredients:

  • 1 can of rinsed and strained chickpeas (Garbanzo beans)
  • 1 medium red onion, chopped
  • 1 tomato, chopped
    • you can use a cup of halved cherry tomatoes
  • 2 cup of fresh spinach
  • 1 cup (measured uncooked) quinoa
  • 1 cup of feta
  • 1 tbsp of balsamic vinegar (optional, I love vinegar)
  • 1 tbsp of balsamic dressing
  • Seasoning, to taste:
    • kosher salt
    • black pepper
    • crushed red pepper
    • crushed mint
    • oregano
  1. Prepare your quinoa
    • I prepare my quinoa the same way I prepare my brown rice: LIKE PASTA! Boil it to your desired doneness and then drain in a strainer. Boom!
  2. Chop your veg
  3. Measure out your seasoningsal2
  4. Add to a large bowl
  5. Add cooked quinoa
    • The cooked quinoa will warm the salad and wilt the spinachsal1
  6. Add seasoning
  7. Add dressing(s)
  8. Toss
  9. Serve warm or coldsal3sal4sal5


Toasted Sesame Quinoa

A fun twist on a simple and versatile grain.


quin


Ingredients:

1 cup of quinoa

1-2 tsp of sesame seeds

1 tbsp olive oil

1/2 tbsp sesame oil

1/2 tbsp of sesame oil (reserved)

2 cups of low sodium chicken broth


  1. Over medium heat, add olive oil and sesame oil to a sauce pan.
  2. Add garlic and stir.quin2
  3. Add the quinoa and sesame seeds.quin3
  4. Toast and stir frequently for about 4-5 minutes.
  5. It will become highly fragrant.
  6. Add chicken stockquin4
  7. Bring to a rapid boil.
  8. Stir and reduce to a simmer.quin5
  9. Cook for about 15 minutes (or until the broth is fully absorbed).
  10. Add remaining sesame oil and stir.
  11. Fluff quinoa with a fork.
  12. Top with sesame seeds.quin6quin7quin8


© 2017 by Alexa Mason. All Rights Reserved

Crispy Baked Zucchini Fries

I wanted a really yummy side for this meal that I’ve been daydreaming about for a week (post coming soon). I wanted something crunchy, but after the holiday, I couldn’t bear the thought of something heavy or deep-fried.


Enter crispy, baked zucchini fries. Now, before you raise and eyebrow- these were so delicious I haven’t stopped talking about them. However much you plan to make? Double that. Freeze what’s leftover and thank me later. I bet you you’ll love them and I bet you’ll use these techniques on whatever veggies you have laying around (string beans, peppers- hello!)


You want to season the fries generously. You will be doing the three-stop dredge (flour, egg, panko). Instead of frying these, we will line them on a baking rack on top of a cookie sheet and bake them on high heat until crispy and golden brown.


These taste so good you will forget that they are good for you! Low-carb, baked vegetables.


Insert heart-eye emoji.

Throw in the pig emoji too.


Ingredients:

(This recipe can easily be scaled up or down, there are very few precise ingredients here. This is just what I did for dinner tonight.)


1 large green zucchini

1 large yellow zucchini

Flour

Egg

Panko

Salt

Pepper

Garlic powder

Paprika

Cooking spray or olive oil


  1. Pre-heat your oven to 425.
  1. Cut the ends off of your zucchini.
  2. Cut the zucchini in half.
  3. Slice them length wise into about four slices ¼” to ½” thick.zucfrieszuchfries2
  4. Slice these into about 3-4 “fries”.
  5. Place your “fries” into a container and season them generally.
  6. Allow them to rest as you continue to prep your dredging station. Flour, panko and egg are not measured. I eyeball it. But always, ALWAYS use less than you think you will need. You can always add more if you need it. However, if you use too much you’re not pouring that flour back or that panko back into the containers. That’s gotta go in the trash. I try to minimize waste where I can. Use less, you can always add more-rule of thumb. Note: Liquid will likely accumulate in the zucchini container due to the salt; if so, simply drain the liquid.zucfries3
  1. A few at a time, place the “fries” into the flour and coat evenly.
  2. Then place them in the egg and coat evenly.
  3. Toss them in the panko and coat evenly. Press the panko gently into the “fries”.
  1. Place them on the baking rack until you are ready to go.zuchfries4
  2. (Note: if you do a large amount, these can be frozen (and kept frozen) until you are ready to use them. If you are baking these from the freezer, simply follow the remaining steps. Do not thaw.)
  1. Before baking, spray generously with cooking spray or drizzle with olive oil. Optional: sprinkle with sea salt or coarse kosher salt.zuchfries5-copy
  1. Place the baking rack on top of a cookie sheet and bake for about 20 minutes or until crispy and golden brown.zuchfries6zuchfries7zuchfries8

These are best fresh, piping hot from the oven.

© 2017 by Alexa Mason. All Rights Reserved