


This idea came to me randomly a few weeks ago. I grew up in NY and it was a regular occurrence to see the street vendors selling baggies of mango or mangoes on a stick topped with chili powder. It took me a couple of weeks to figure out exactly how I wanted to incorporate these flavors.

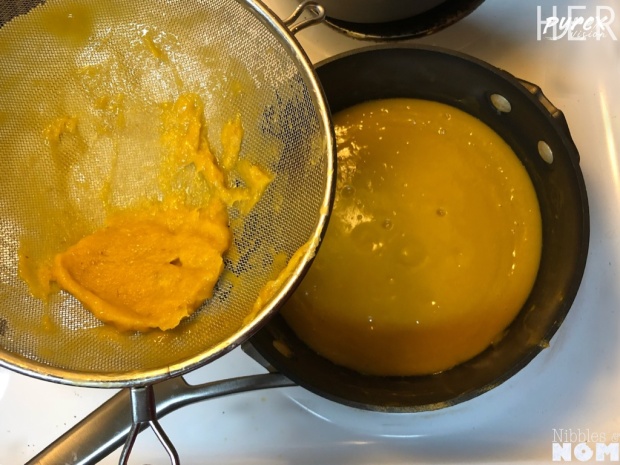
There was a lot of trial and error. As usual, the goal is to flavor and color using natural, preferably fresh, ingredients. There were A LOT of mangoes (I think I used 7 or 8–all scraps and leftovers went into the freezer for smoothies).
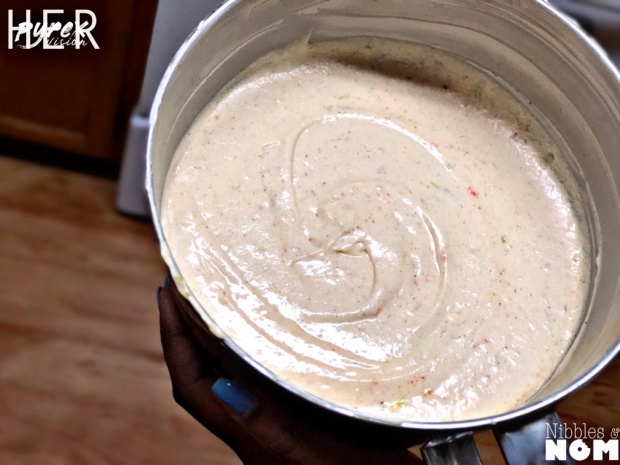
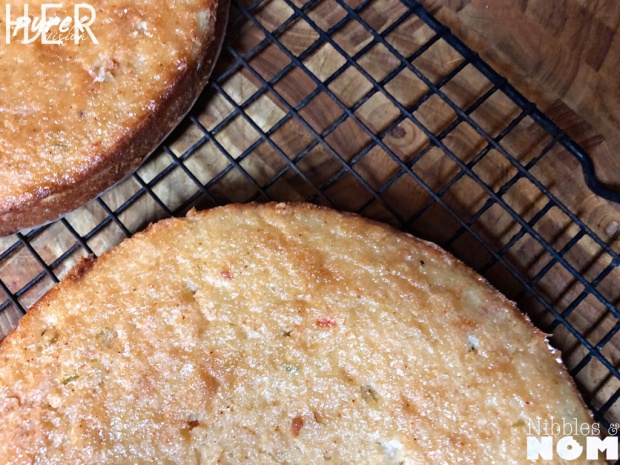
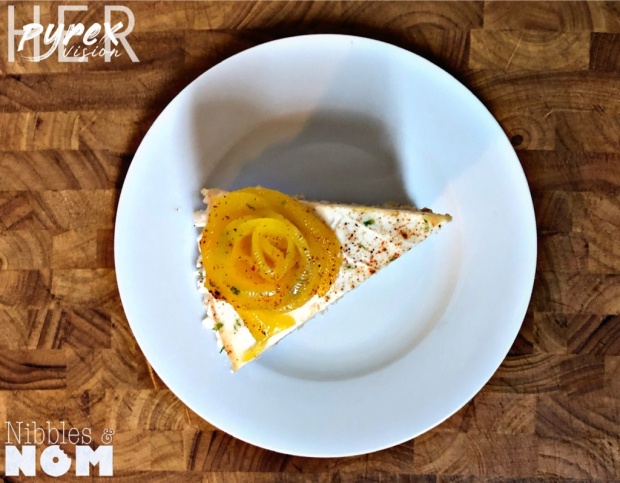
The sponge is a basic vanilla sponge infused with fresh mango puree, lime and lemon zest, fresh cayenne (no stems or seeds) and cayenne pepper (more control over the spice level).
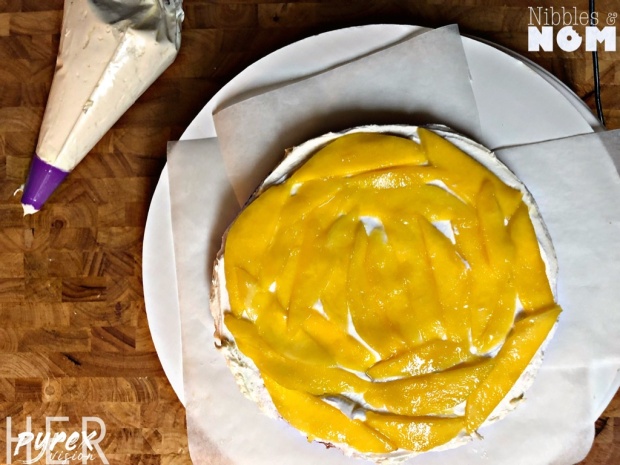
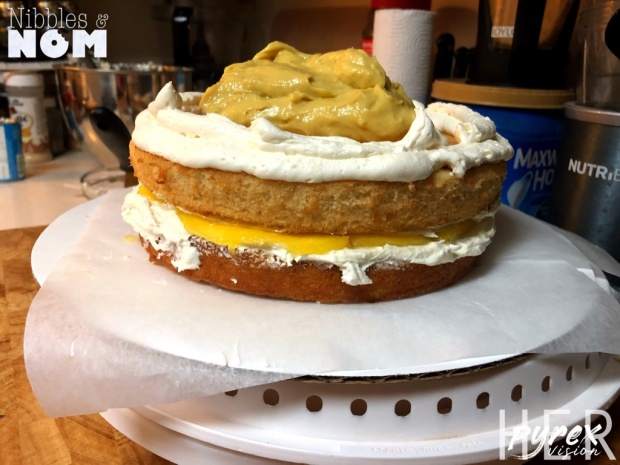
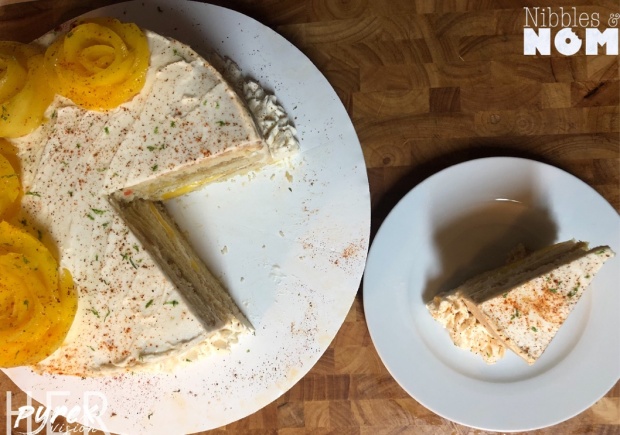
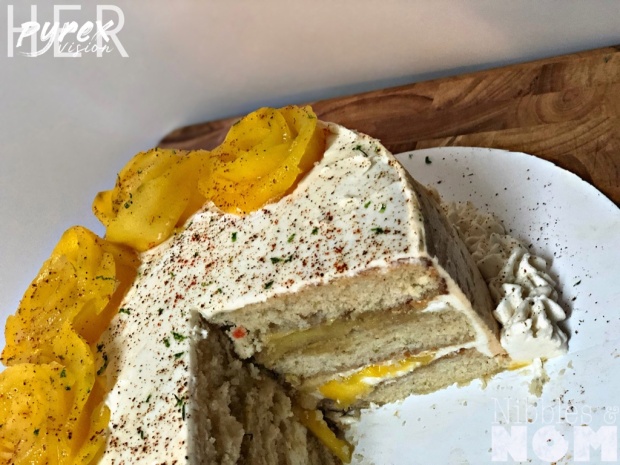
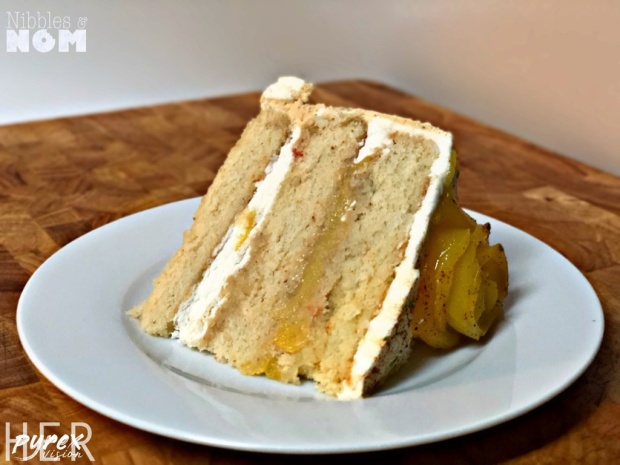
The first layer is buttercream and macerated fresh mango slices. The top layer is a lime-mango curd. It’s mostly sweet and creamy but there’s a tartness to it due to lime juice.
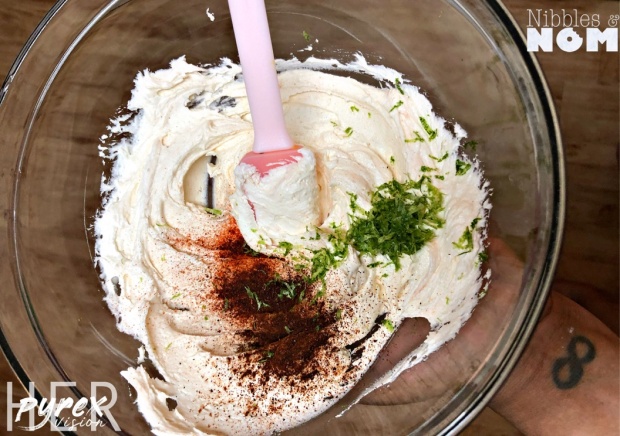
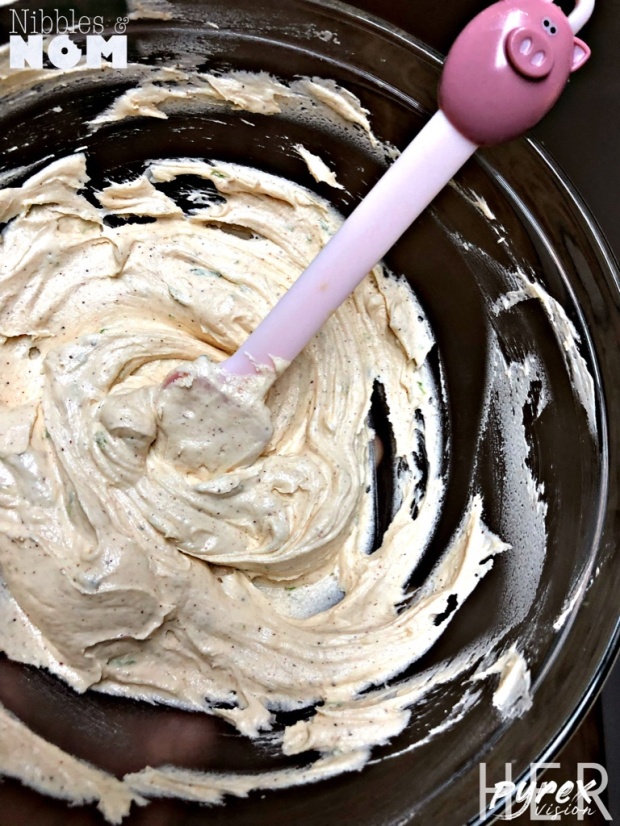
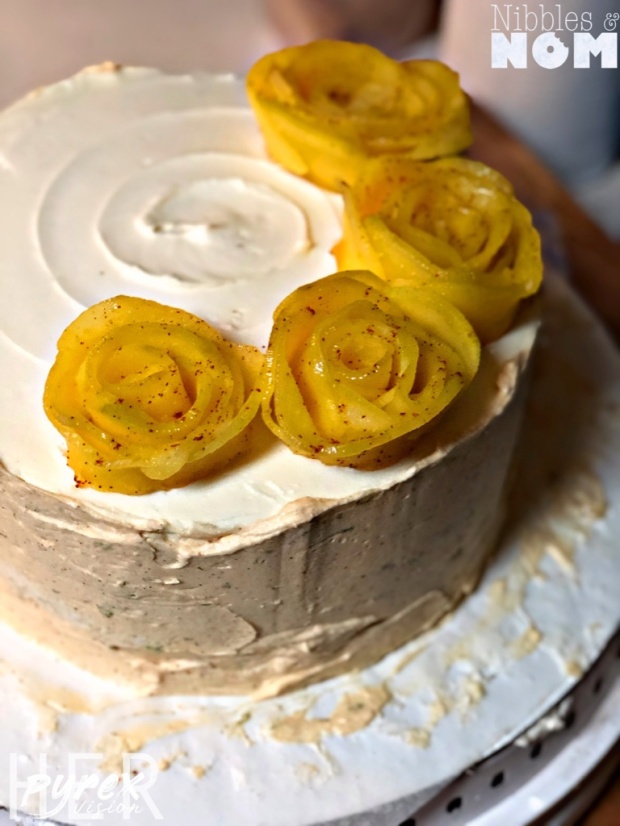
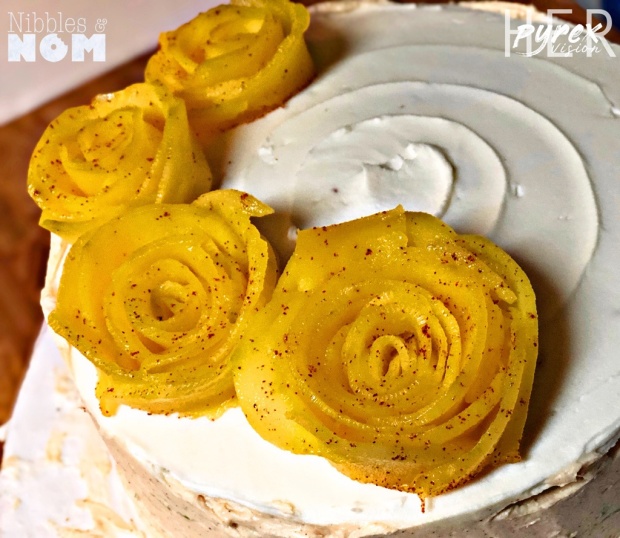
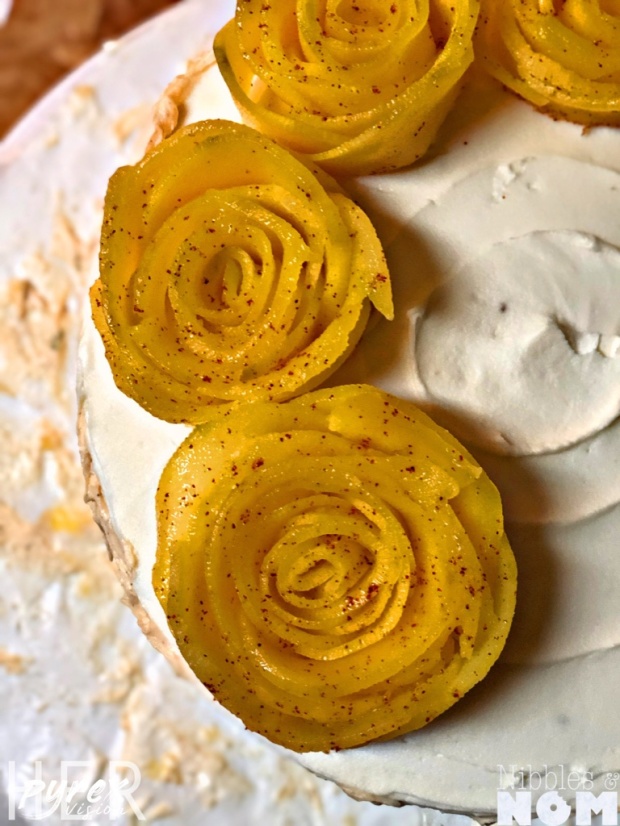
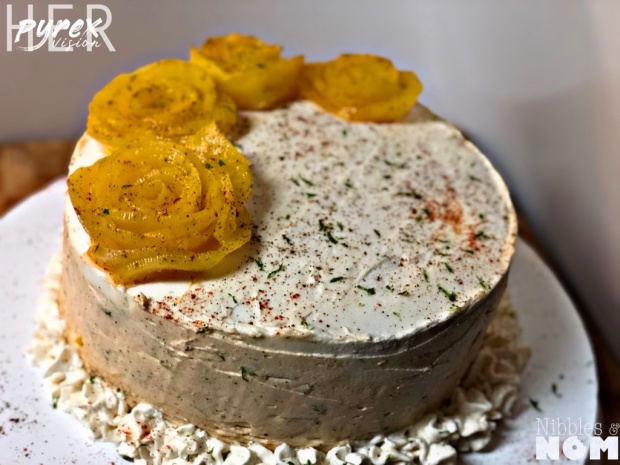
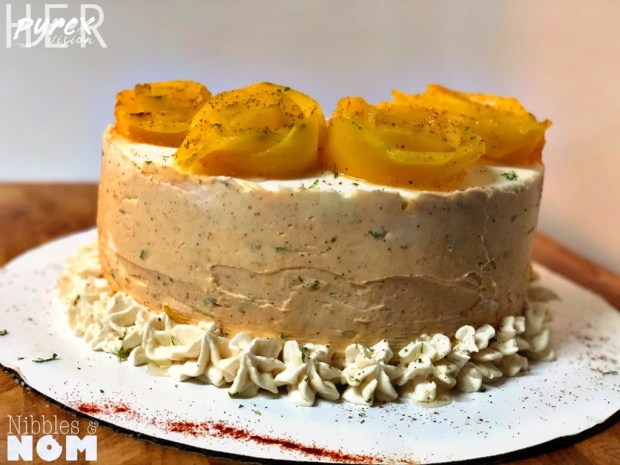
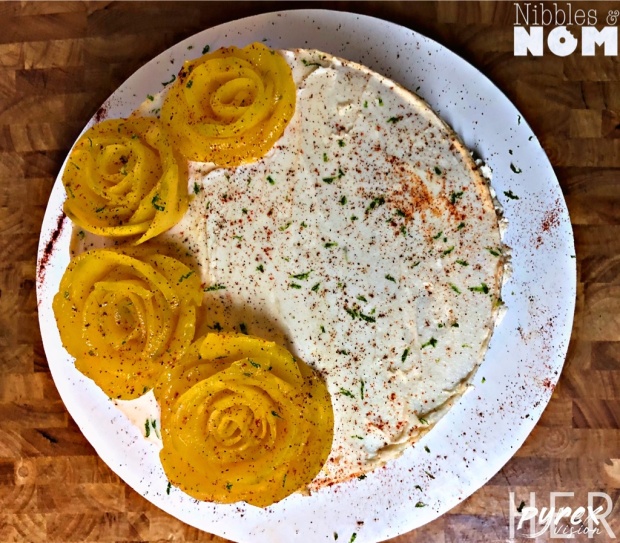
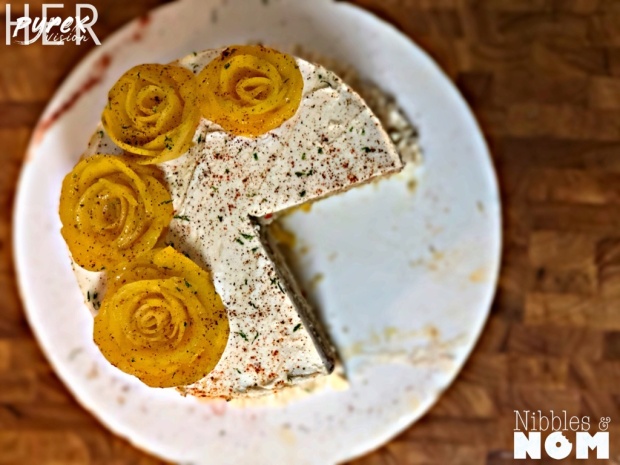
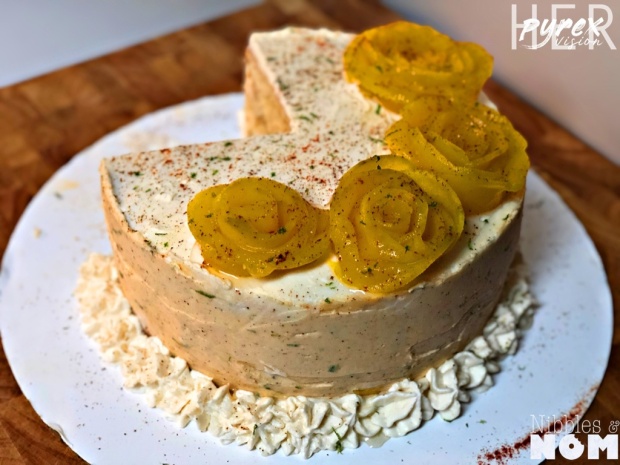
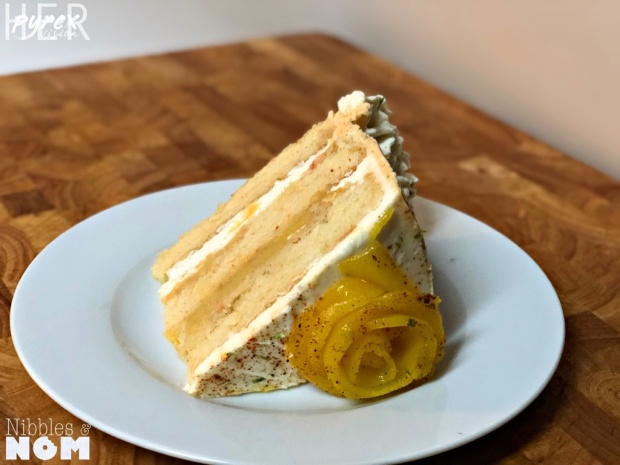
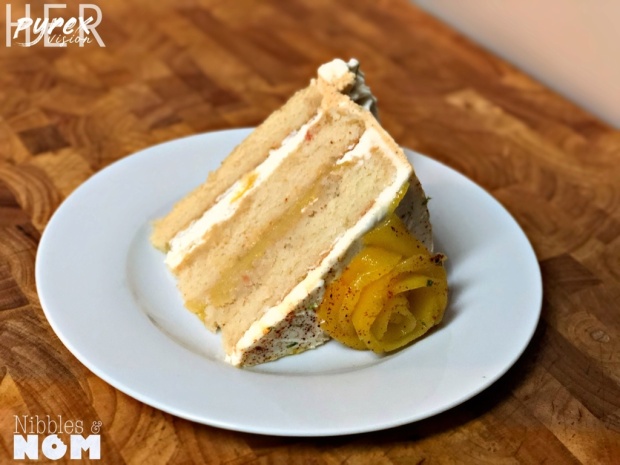
The outside buttercream is flavored with a little smoked paprika, chili powder and a little cayenne plus lime juice and zest.
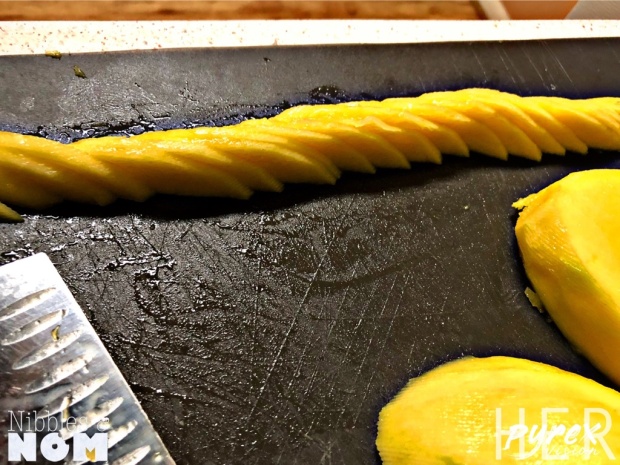
I taught myself to make mango roses, which serve as the decoration along with some whipped cream.
Ingredients:
Sponge:
2 ½ C flour
1 ½ C sugar
2 ½ tsp baking powder
½ tsp salt
1/2 c milk
1/2 c butter, room temperature
4 egg whites
1 tsp vanilla extract
¾ C mango puree
Spices (to taste): cayenne pepper, 2-5 cayenne peppers seeded and deveined, lemon zest, lime zest
1 large ripe mango
½ cup fresh lime juice
Squeeze of lemon juice
½- 1 tbsp of lime zest
½ tsp kosher salt
¾ cup sugar, divided (1/2:1/4)
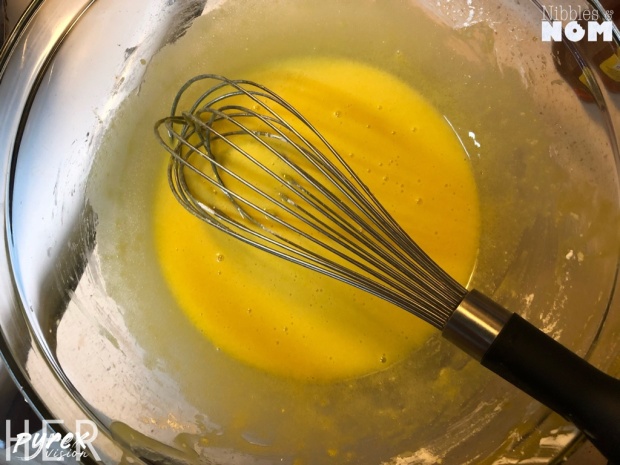
3 large egg yolks
1 large egg
1 stick of butter, cubed or thinly sliced
Lime Simple Syrup:
3/4 cup of water
¼ cup of lime juice
1 cup of sugar
Vanilla Buttercream:
2 sticks softened butter
1 tsp vanilla extract
Roughly 5 cups of powdered sugar
Spiced Buttercream (optional/to taste):
Vanilla Buttercream
Smoked paprika
Chili powder
Cayenne pepper
Lime zest
Reserve:
2 mango cheeks, thinly sliced
Curd:

Simple Syrup:
Sponge:
Vanilla Buttercream:
Spiced Buttercream (Optional):
Assembly:
Bottom layer: Sponge
Next layer: Buttercream and the macerated mangoes (shake off excess liquid)
Next layer: Sponge
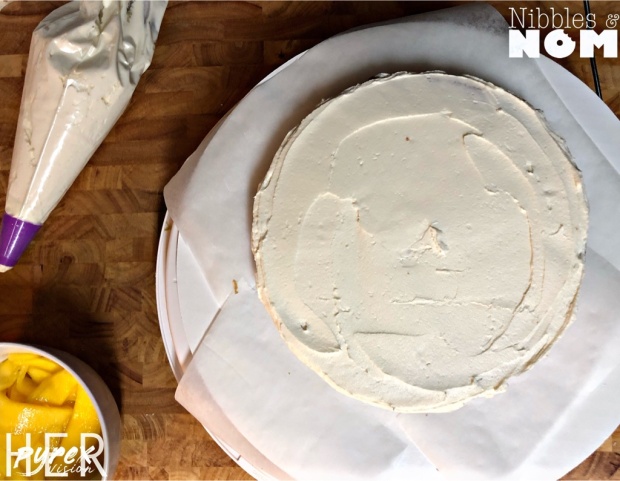
Next layer: Buttercream perimeter filled with curd
Next layer: Sponge

© 2019 by Alexa Mason. All Rights Reserved

I make my son special cupcakes for his birthday each year. When I asked him what he wanted this year he told me he wanted a Poptart cupcakes and I kind of just stared at him. Frankly it just sounded like a lot of work and there was no guarantee that I could pull it off because who the hell has heard of Poptart cupcakes. At first I was going to blow him off and just “you get what you get what” him.
But I started playing with the idea.
I went to the Google to see if I was on the right track. I was surprised to find that all of the other recipes I saw were….not like this. So I sat down and worked it out and this is what I came up with. I fully intend on doing these again. There are just so many flavor-filling options!
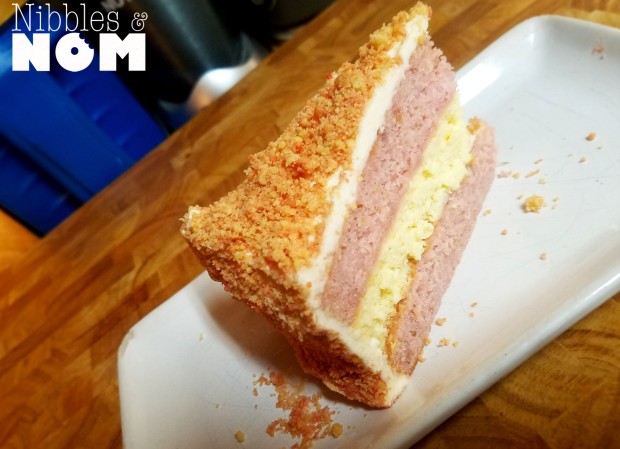
We prefer strawberry Poptarts. I decided to pump up the berry by adding raspberry to the mixture. I matched the tangy raspberry with the tart lemon juice. The jam is bright and tart, so it cuts through the sweetness of the other components. The jam would be amazing on a croissant *drool*.

It may look like a lot of work but just break it up into steps. Some things you can make ahead. This is my suggested order:
Ingredients:
For Jam:
1 pint of raspberries
1 cup of roughly chopped strawberries
1/4-1/2 sugar
1/8 c water
1/8 c lemon juice
Tsp lemon zest
For Icing:
2 egg whites, room temperature
4+ c confectioner’s sugar, sifted
1 ½ c melted white sugar morsels
½ tsp vanilla extract
1 tsp water, if needed
Decorations:
Pieces of poptart
Strawberry jello
Sugar crystals*

For the jam:
For the icing:


Happy 8th Birthday, kid.


© 2019 by Alexa Mason. All Rights Reserved

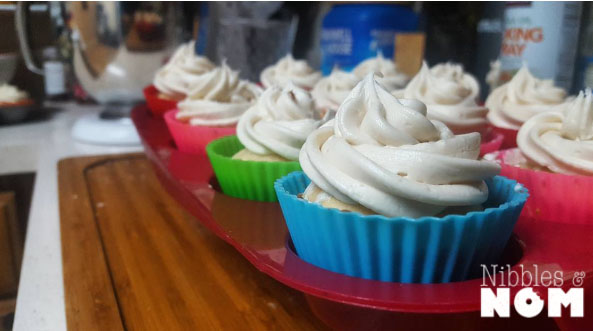
This is my go to vanilla cupcake recipe. Because it’s such a perfect vehicle, I use this as the base for 90% of my cupcakes.
I don’t generally like a super sweet sponge because usually I am loading it up with buttercream, chocolate or fillings. So I often opt to use less sugar. If you enjoy a sweeter cupcake then I suggest 1 to 1 1/2 cups of sugar. Some recipes call for milk or cream, however, I substitute sour cream. This yields a moister cake. That’s a 1:1 ratio. So if you prefer to use milk or cream or if that’s all you have, just remember it’s a direct conversion
Simple Vanilla
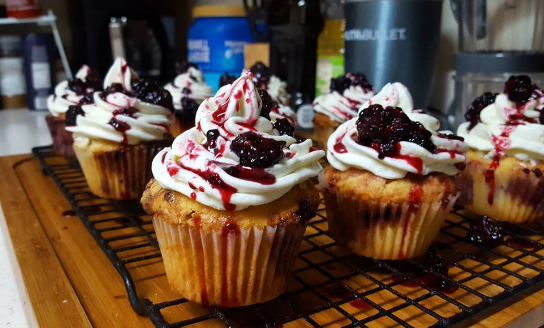
Blackberry Vanilla Cupcakes
Ingredients:
1⅓ cups AP flour
1 tsp baking powder
¼ tsp salt
1 stick (1/2 c) unsalted butter, softened
3/4 granulated sugar
2 eggs, room temperature
1 teaspoon pure vanilla extract
½ cup light sour cream
Instructions:
Preheat your oven to 350F
Line muffin tin with cupcake liners.
In a bowl, sift together flour, baking powder, and salt.
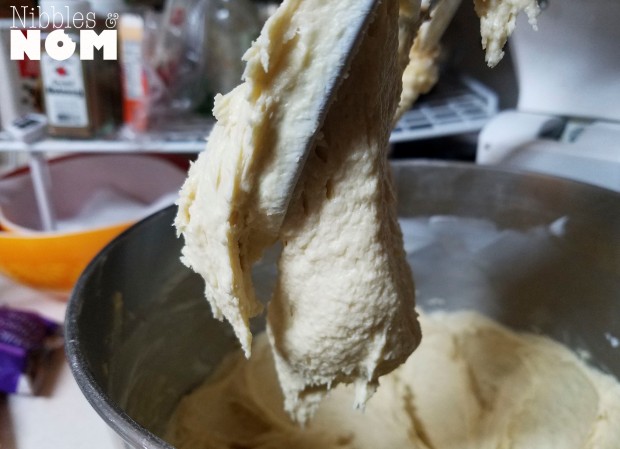
Using your paddle attachment and your stand mixer, cream (beat together) the butter and sugar on medium speed until light and fluffy.
Scrape the bowl as necessary.
Add eggs one at a time. Make sure the first is fully incorporated before adding the next.
Add vanilla extract and beat until combined.
Turn the mixer down to slow.
Add half of the dry ingredients
Add sour cream
Add remaining dry ingredients
Be careful not to overmix the batter but be sure that everything is well incorporated.
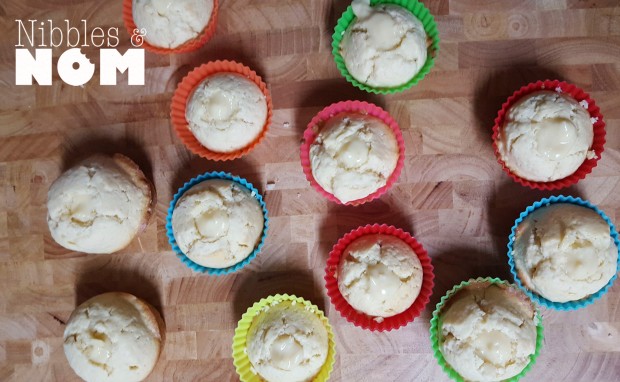
Divide the batter into the tins. This is enough for 12 decent size cupcakes.
Bake for 15-20 minutes, toothpick check and cool on a wire rack.

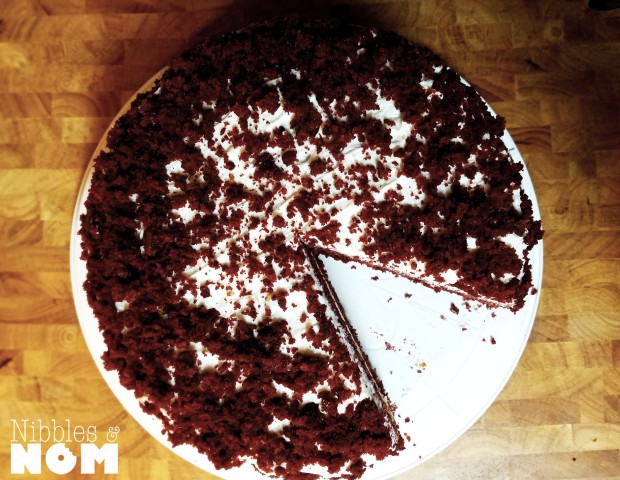
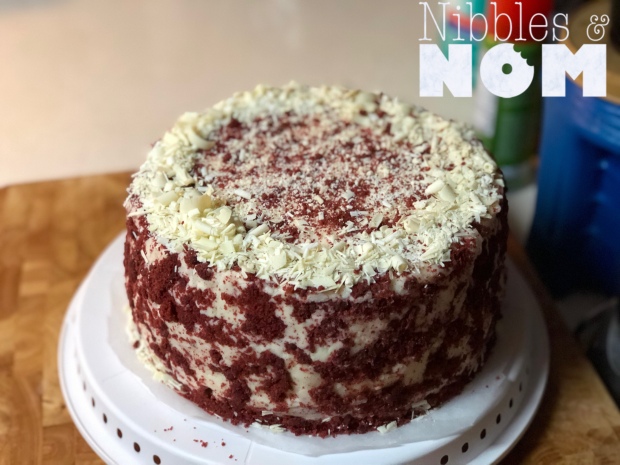
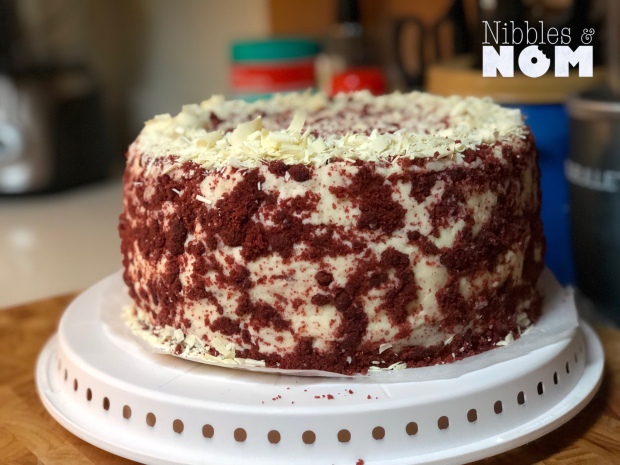
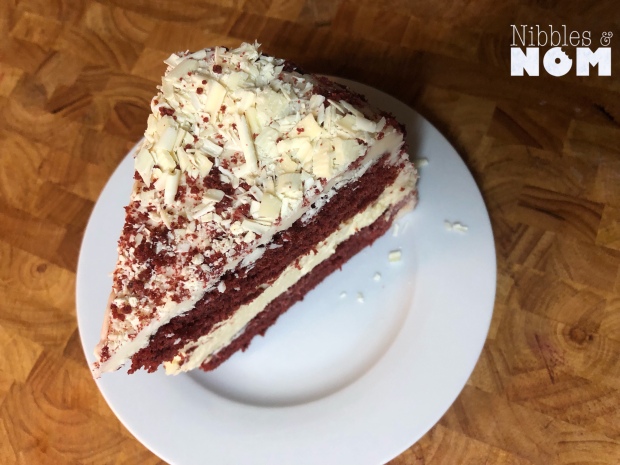
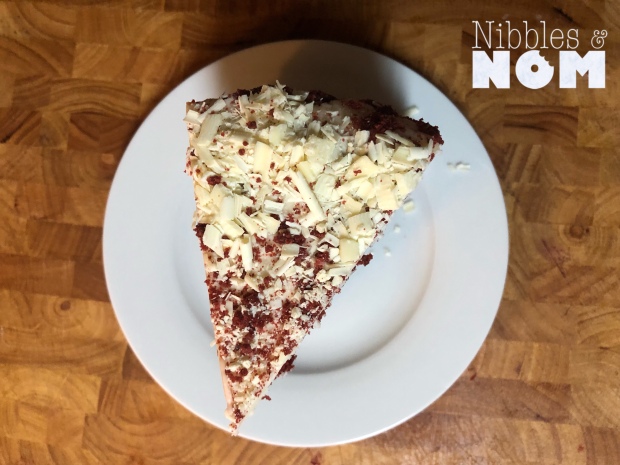
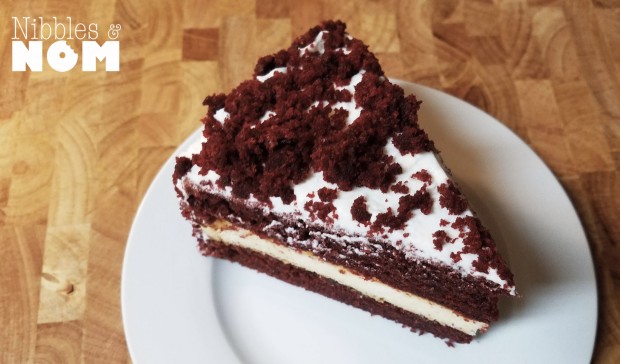
Last year I posted the recipe for my Red Velvet Cheesecake. This is almost the exact same recipe except I tinkered with the cheesecake, buttercream and decorations.

I will not bore you with a story about my grandma’s time on the farm when she milked a cow and made her own white chocolate.
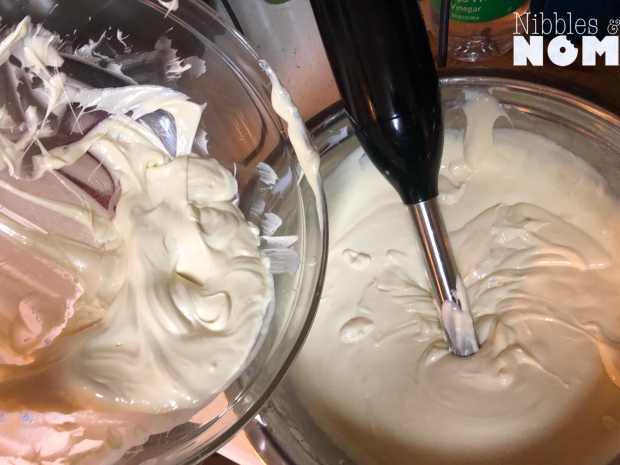
I will just say this is labor intensive. Plan ahead. Be organized. Make. Your. Cheesecake. Ahead. Of. Time. And I do recommend using a quality white chocolate (I used Ghirardelli white chocolate baking bars).
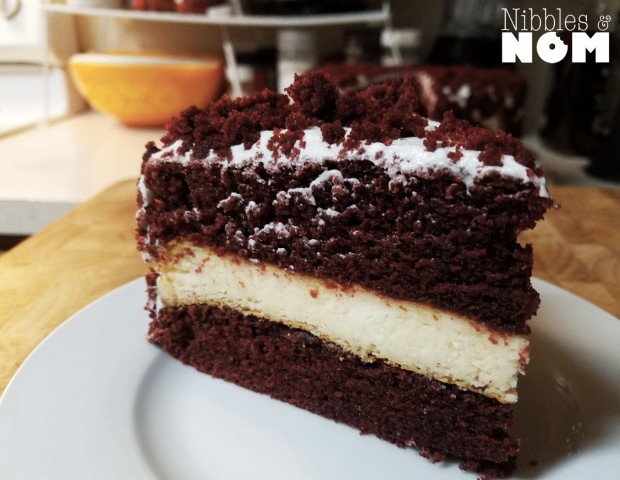
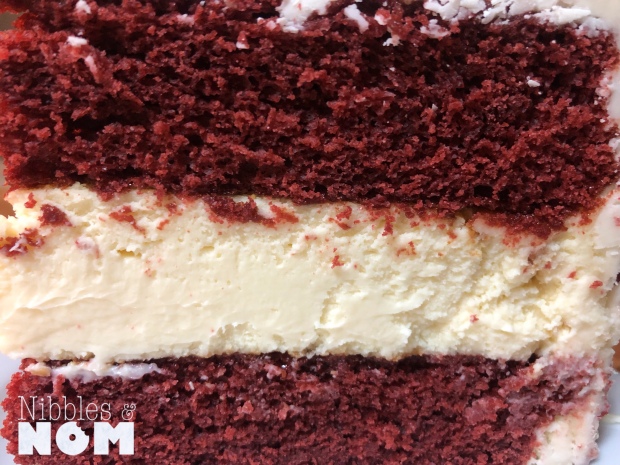
Aside from the white chocolate, the pictures show double the cheesecake unlike my previous Red Velvet Cheesecake. This is not required but I wanted to show out because baking is therapy and I needed to do. So, yeah. This is pretty legit.
Oh, did I mention that white chocolate is in the cheesecake and the buttercream AND as a topping? Yeah.
Too legit.
To quit (rimshot).
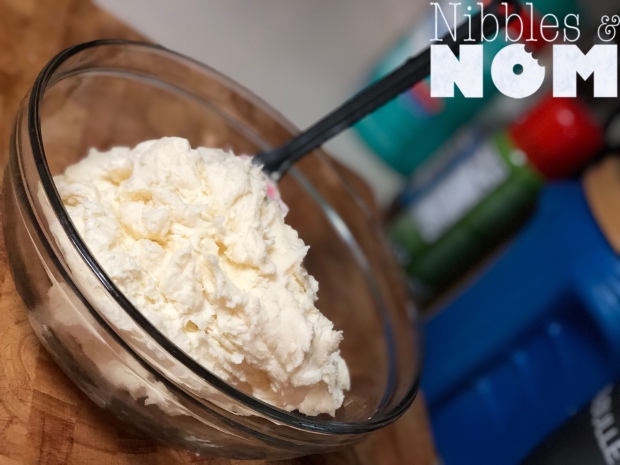
Cheesecake:
2-8oz cream cheese, room temp
1 C sugar
3 tbsp sour cream, room temp
½ tbsp. vanilla extract
2 eggs
½ tbsp. corn starch
1/8 tsp salt
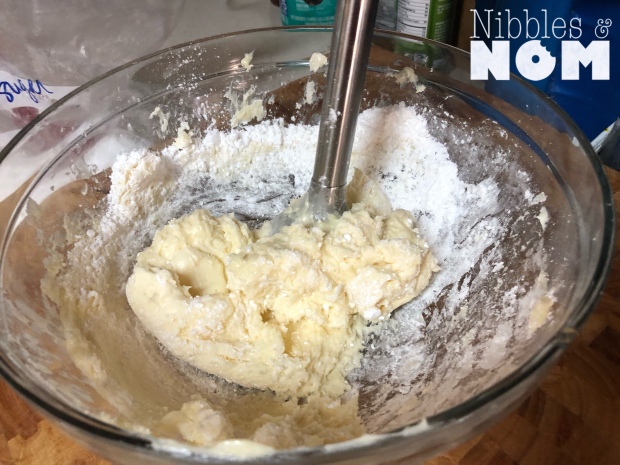
4 oz melted white chocolate
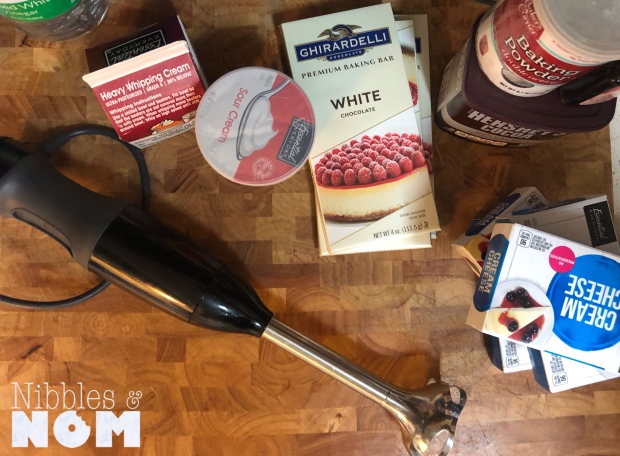
i always love The Spread
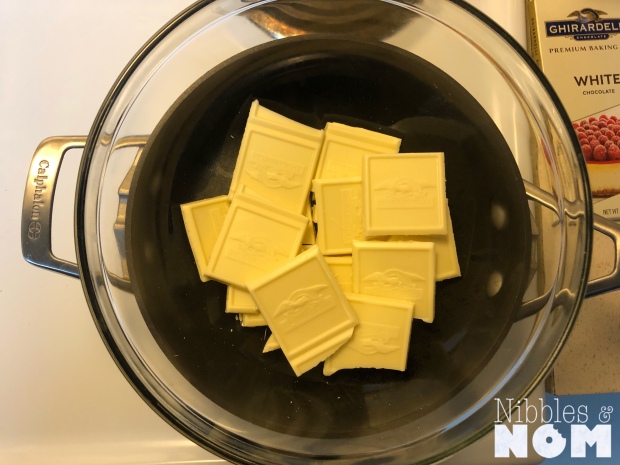
please don’t skimp on the chocolate
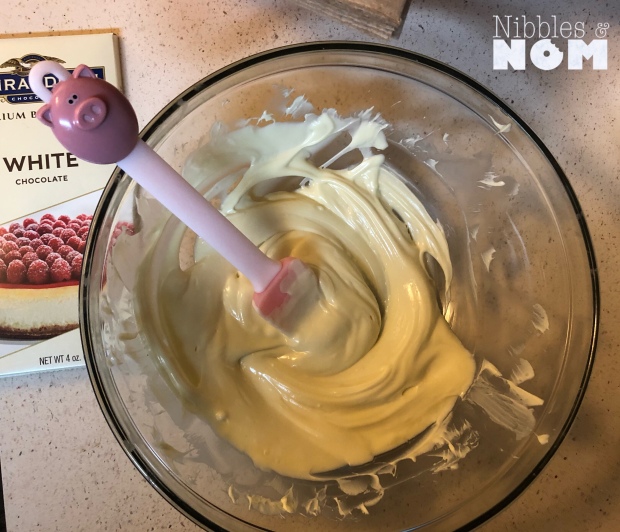
my widdle piggy is fun Marshall’s
white chocolate being added to the cheesecake batter
Red Velvet Sponge
2 cup flour
1 tsp baking soda
1 tsp baking powder
1 tsp salt
2-3 tbsp cocoa powder
2 cups sugar
1 cup vegetable oil
2 eggs, room temperature
1 cup of buttermilk, room temperature
2 tsp vanilla extract
1-2 tbsp red food coloring (more or less to suit your preference)
1 tsp white vinegar
Pro tip: Boost your cocoa flavor by adding ½ cup of very strong coffee or instant espresso!! Remember when I used this technique in brownies?
Preheat the oven to 325 degrees F
In the bowl of your mixer, combine your dry ingredients
In a medium bowl, first combine your sugar and oil then add in the eggs, buttermilk, vanilla and food coloring
Add in your vinegar
Add in your coffee or espresso if you’re going to use it
With your mixer on low, slowly incorporate the wet into the dry bit by bit
Note: This is not a thick batter
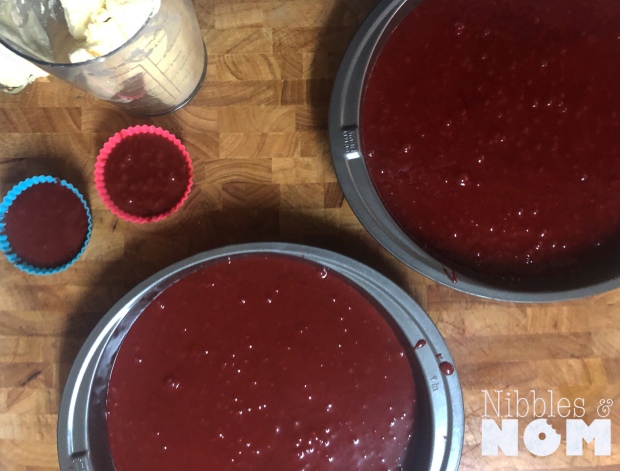
Grease and flour two 9” cake pans and divide batter into 3-4 cupcake tins plus the pans
(This can also be used just for cupcakes, freeze any excess batter in a ziplock bag for next time!)
Bake for 30-35 minutes in the center of the oven, start checking for doneness around 30 minutes
(your cupcakes will be done quicker, check for doneness around 16 minutes)
When the cake passes the toothpick test remove from the oven and cool on a rack then cool upside down to help flatten out the tops
While cooling, whip up some buttercream
Vanilla Buttercream:
2 sticks softened butter
1 tsp vanilla extract
Roughly 5 cups of powdered sugar
3 oz white chocolate melted, reserve 1 oz for decoration
Repeat the steps from above to melt 3 oz white chocolate
In the bowl of your stand mixer, whip the butter on medium until the butter looks light and fluffy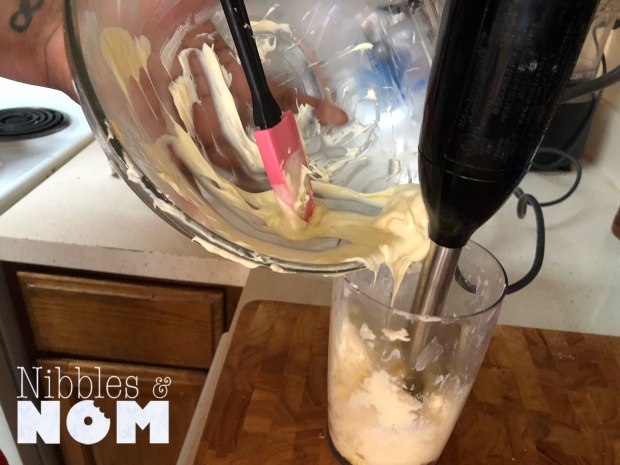
Add vanilla
On low speed, slowly and carefully add the powdered sugar about a cup at a time
Slowly increase the speed and whip until well incorporated
Repeat steps 3 and 4 until all of your sugar is used
Add slightly cooled white chocolate and whip until incorporated
Leftover buttercream can be stored in the freezer in a ziplock bag.
The Show:
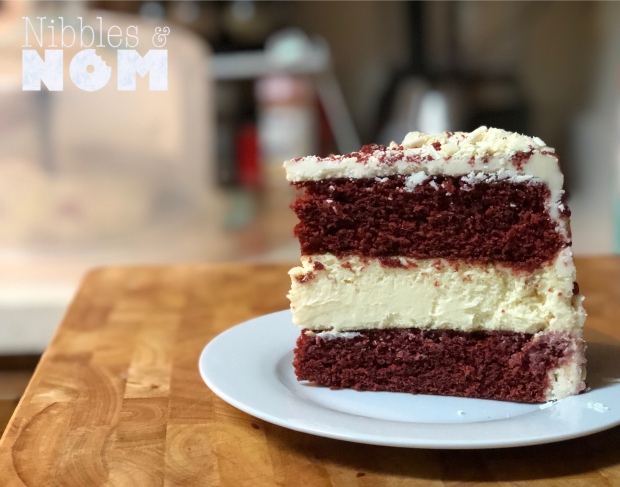
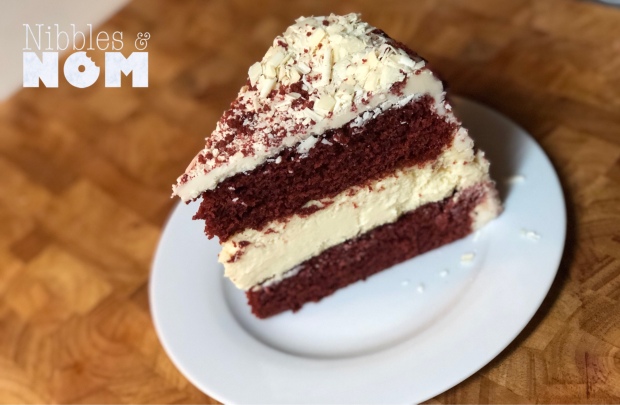
Once completely cooled stack sponge-cheesecake-sponge
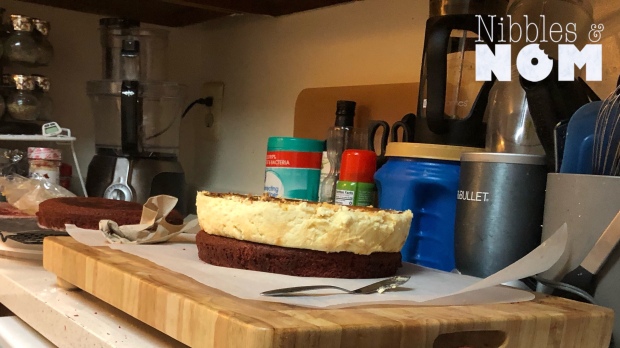
Spread your buttercream on the sides and top of the cake—work quickly or make sure the room is warm. The buttercream will seize and harden because of the white chocolate.
(It will create a sort of ganache around the cake, so don’t be alarmed. Do you’re best. No one is going to really see this).
Crumble up your cupcakes and sprinkle on/around your cake
Nuke your remaining ounce of white chocolate at 10 second intervals, slightly warm but not soft.
Use a vegetable peeler and start peeling carefully on the straightest edge. Use your ribbons to decorate how you see fit.
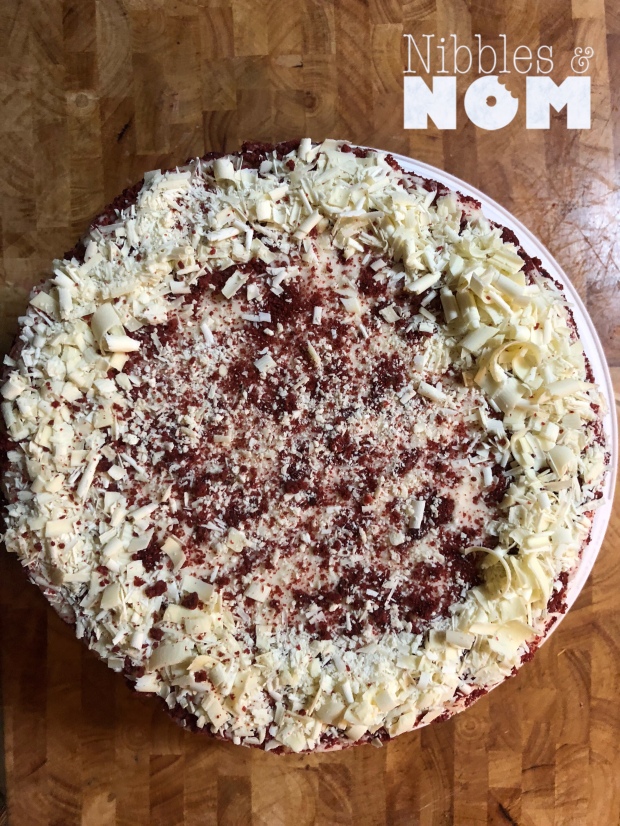

Store in an airtight container in the fridge.
© 2019 by Alexa Mason. All Rights Reserved

This can absolutely be used for a traditional cheesecake with a graham cracker or cookie crust. I’m posting this separate from my other ‘cheesecake’ recipes so it’s less confusing to figure out how to recreate the filling.
I’ve used this recipe for the Strawberry Shortcake Cheesecake, Red Velvet Cheesecake and the Red Velvet White Chocolate Cheesecake.
Ingredients:
2-8oz cream cheese, room temp
1 C sugar
3 tbsp sour cream, room temp
½ tbsp. vanilla extract
2 eggs
½ tbsp. corn starch
1/8 tsp salt
© 2019 by Alexa Mason. All Rights Reserved

My baby is turning six tomorrow. I couldn’t figure out what kind of cupcakes to make him. My mama (his grandma) suggested carrot cake. I thought it would be a challenge, as I’ve never made carrot cake before, but I decided that it sounded fun enough. We took a family trip to the market and I set off to work.
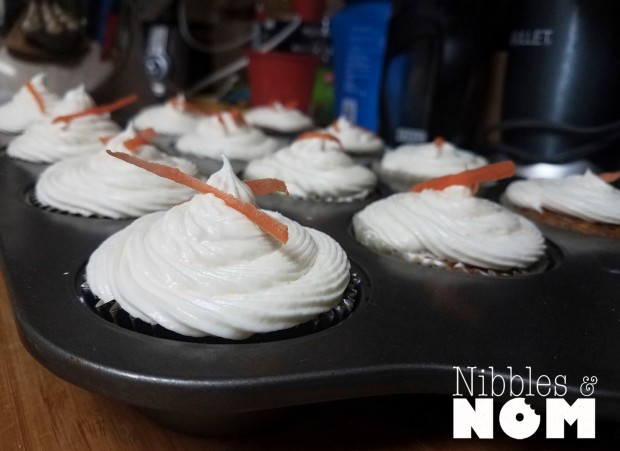
Each step of the way I was unsure of how good they would turn out. And then…..I gave them the final product. Everyone said they are the perfect carrot cake cupcake. I’m taking them at their word. You let me know you what you think. Also, wish my big boy a happy 6th birthday!
Ingredients:
1 cup flour
¾ cup sugar
1 teaspoon cinnamon
½ teaspoon nutmeg
1/8 teaspoon clove
1 teaspoon baking soda
½ teaspoon baking powder
¼ teaspoon salt
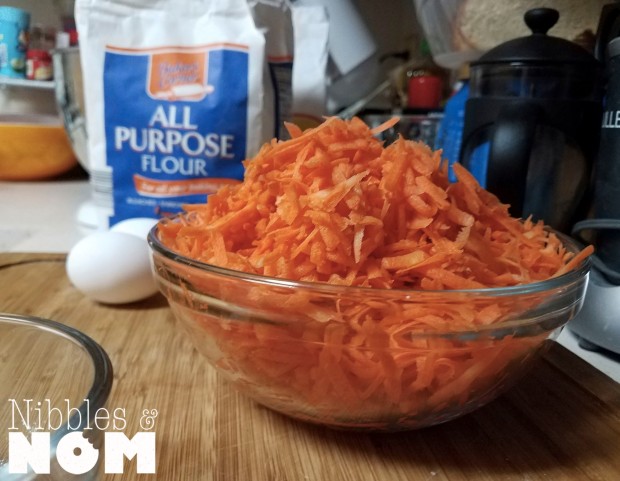
2 cups grated carrots (14-16 oz)
⅔ cup oil
2 eggs, beaten
½ tsp vanilla extract
Cream cheese buttercream:
8 oz cream cheese (room temp)
8 tbsp butter (room temp)
4 cups powdered sugar
2 tsp vanilla extract
Preheat your oven to 350 degrees.
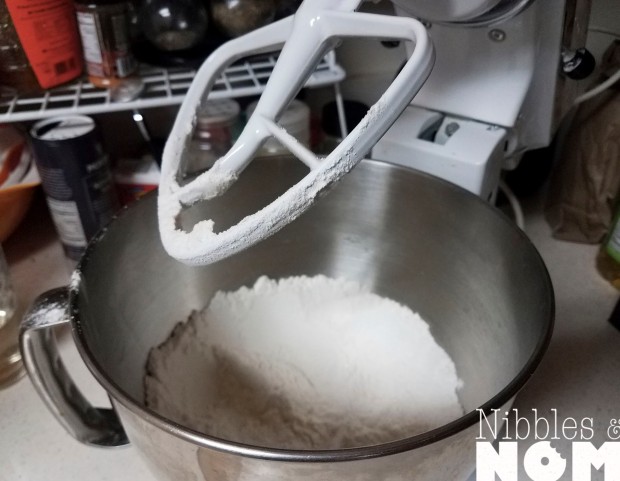
In a large bowl or your stand mixer, combine the flour, sugar, cinnamon, baking soda, baking powder, and salt.
In a separate bowl, combine the grated carrots and the oil. (Tip: grate your carrots in your food processor to save time).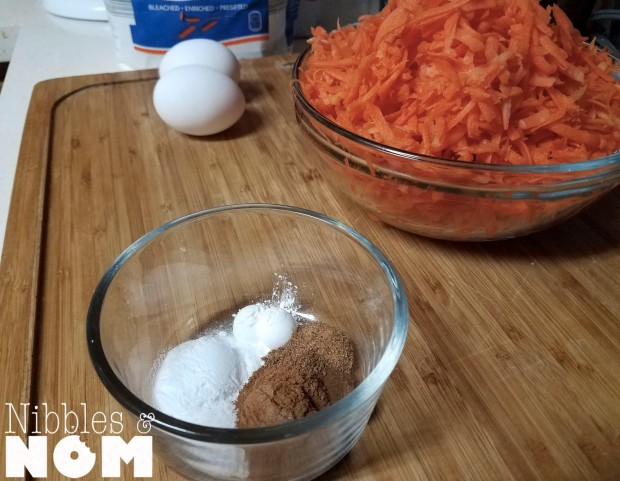
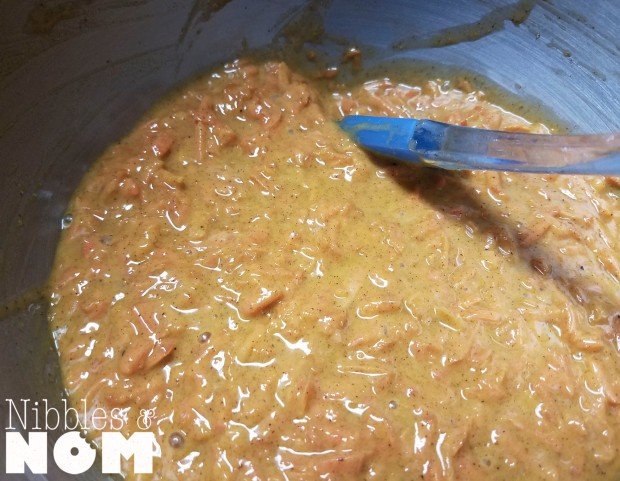
Slowly add the carrot and oil mixture until just mixed.
Slowly add the beaten eggs until just mixed. Try not to over mix the batter.
Place your liners into your muffin tin or grease your tin.
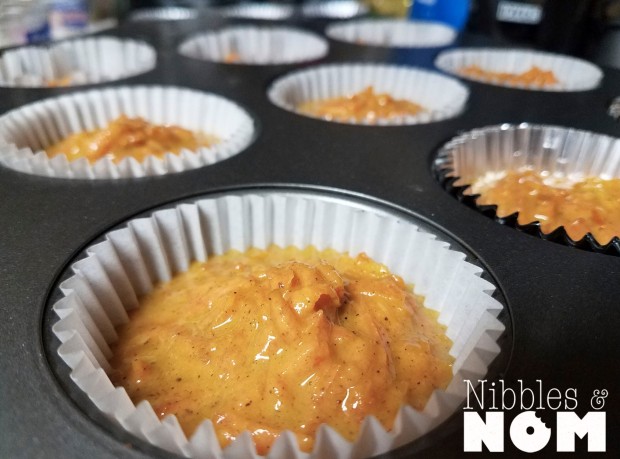
Fill each groove to about 2/3 of the way.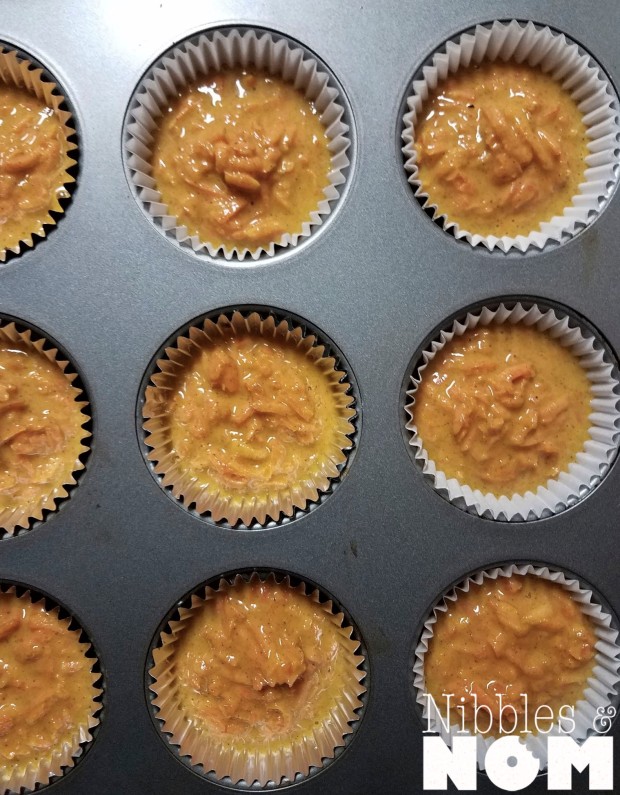
Bake for about 12 minutes or until the tops are golden brown and they spring back when you press them.

Allow your cupcakes to cool.
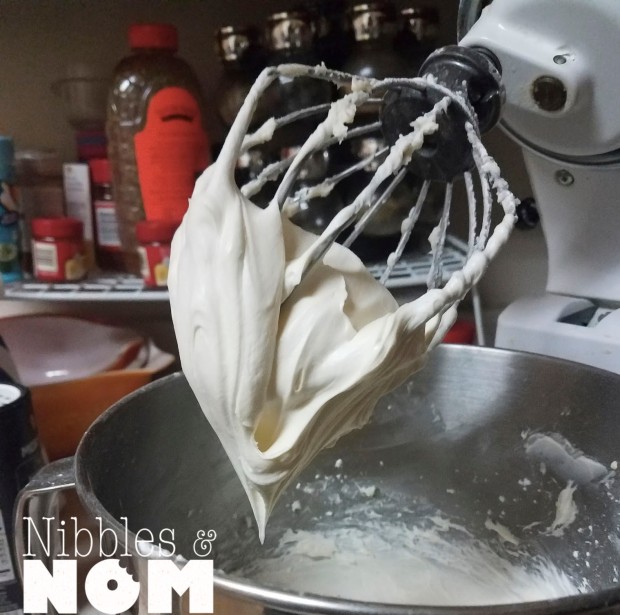
While they cool, make your buttercream.
Whip your butter, cream cheese and vanilla together.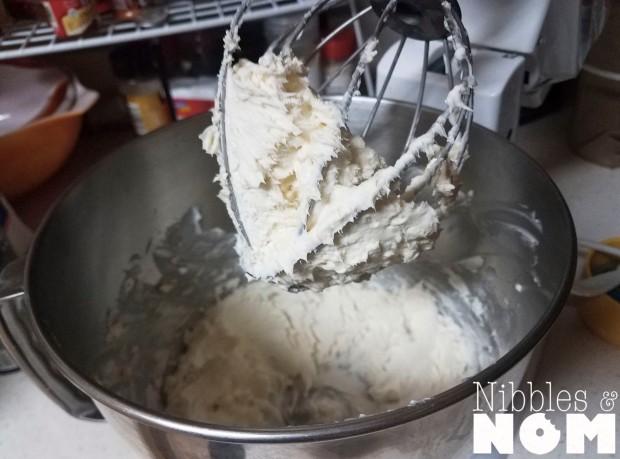
Slowly add your powdered sugar one cup at a time (mixer on low).
Once all of the sugar is added and you’ve scraped down the sides, turn the mixer on med-high and whip for 1-2 minutes.
Transfer the buttercream to a ziplock bag or a piping bag (or whatever you use) and ice the cupcakes.
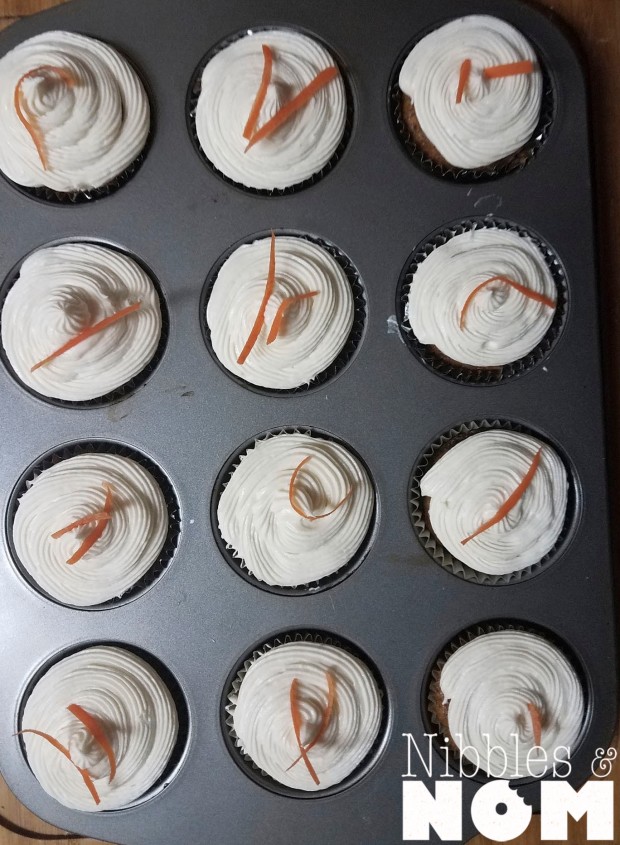
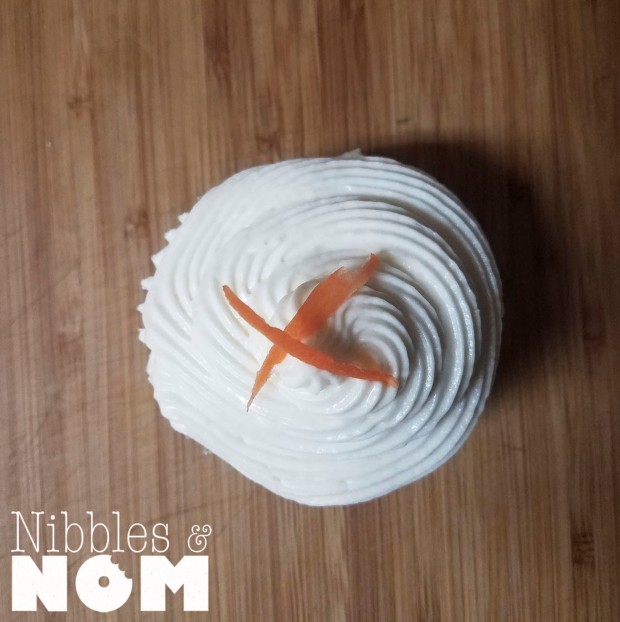


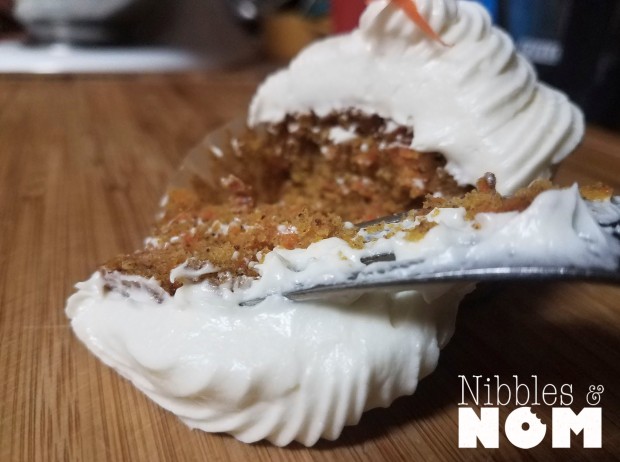
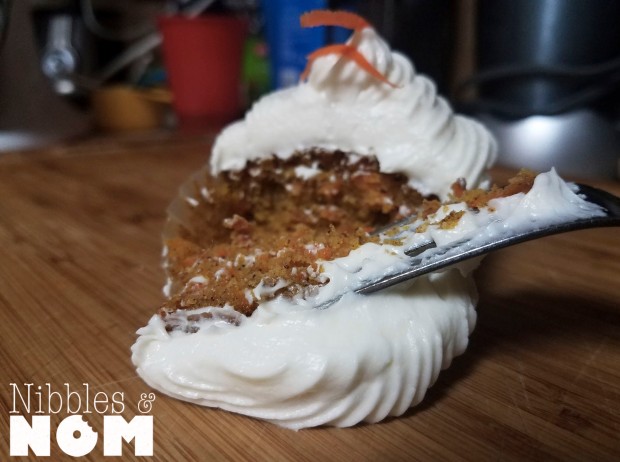
If you’re feeling fancy, garnish with thinly shaven carrots.
© 2017 by Alexa Mason. All Rights Reserved
