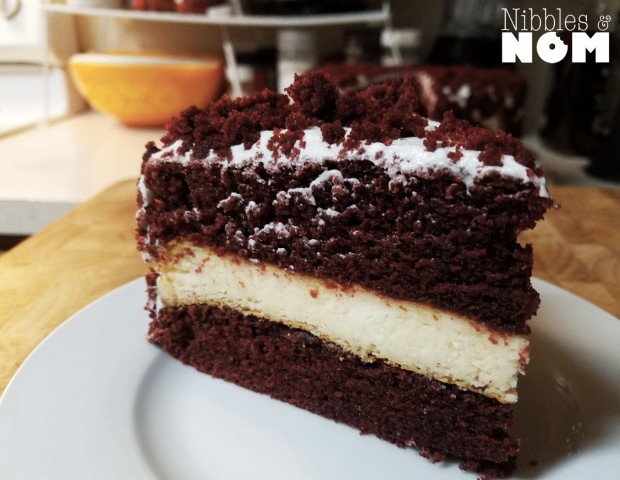
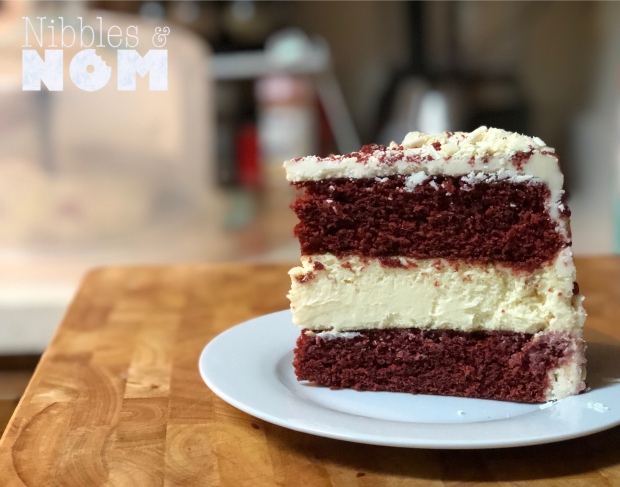
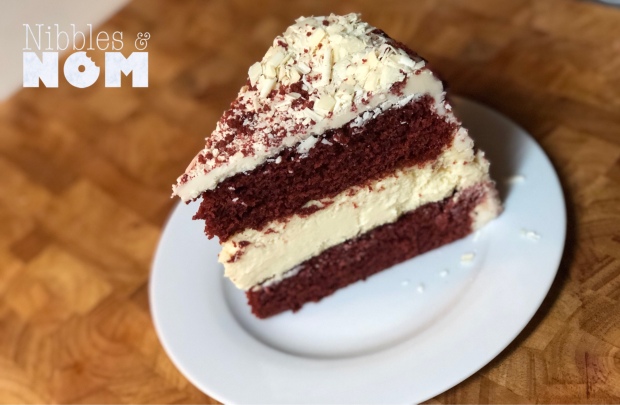
Last year I posted the recipe for my Red Velvet Cheesecake. This is almost the exact same recipe except I tinkered with the cheesecake, buttercream and decorations.

I will not bore you with a story about my grandma’s time on the farm when she milked a cow and made her own white chocolate.
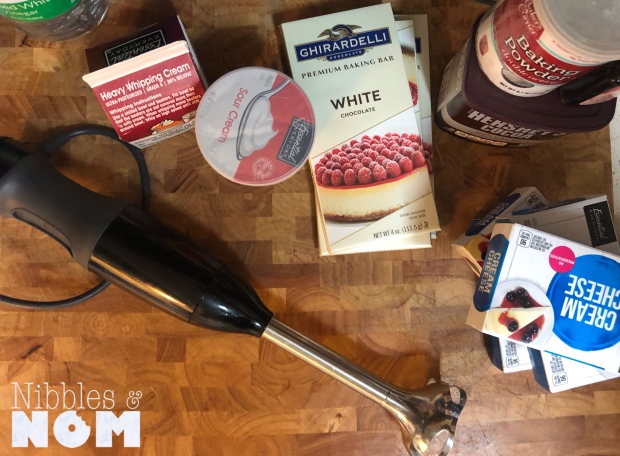
I will just say this is labor intensive. Plan ahead. Be organized. Make. Your. Cheesecake. Ahead. Of. Time. And I do recommend using a quality white chocolate (I used Ghirardelli white chocolate baking bars).
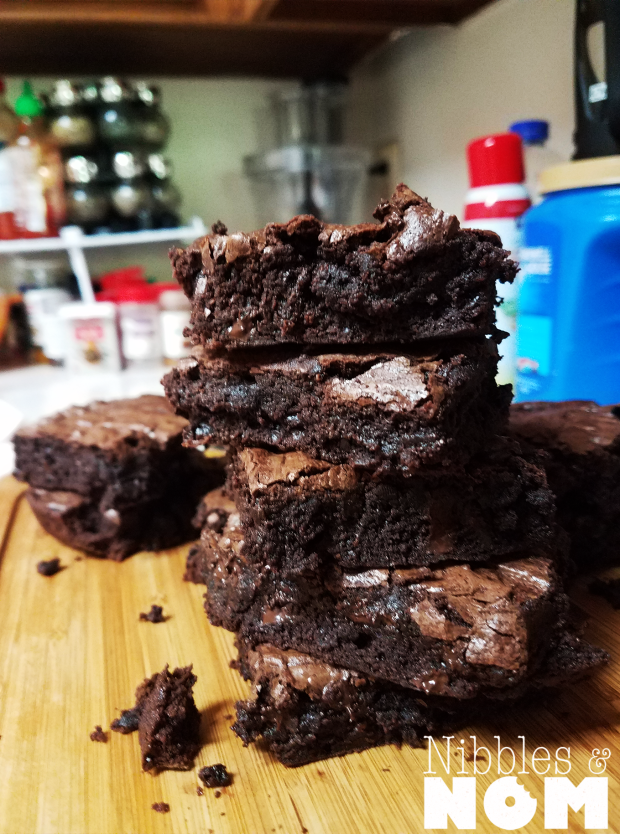
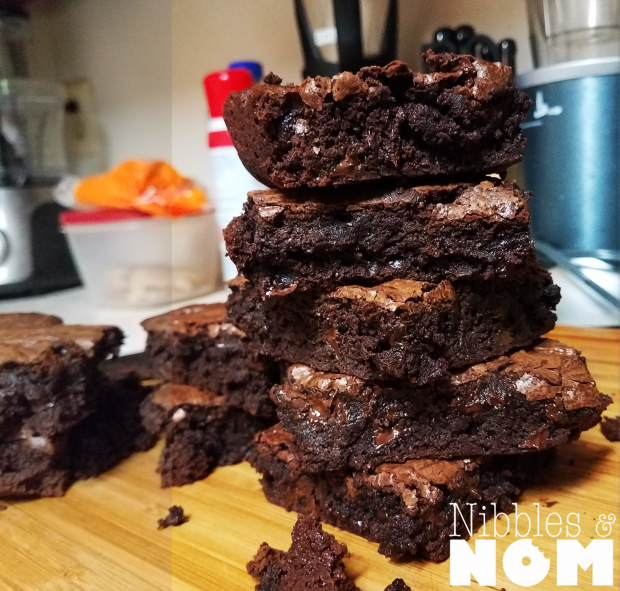
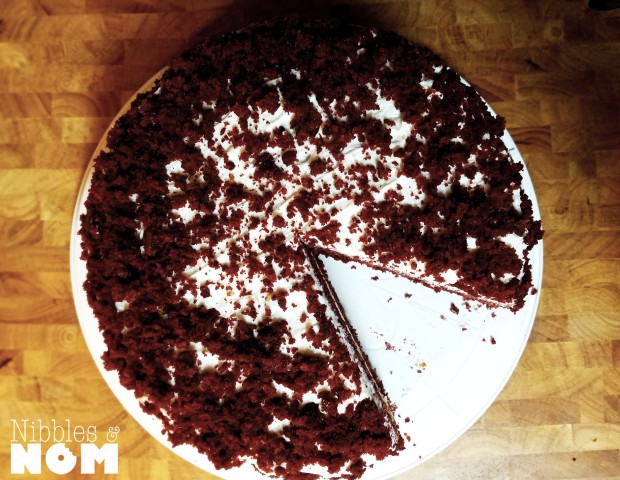
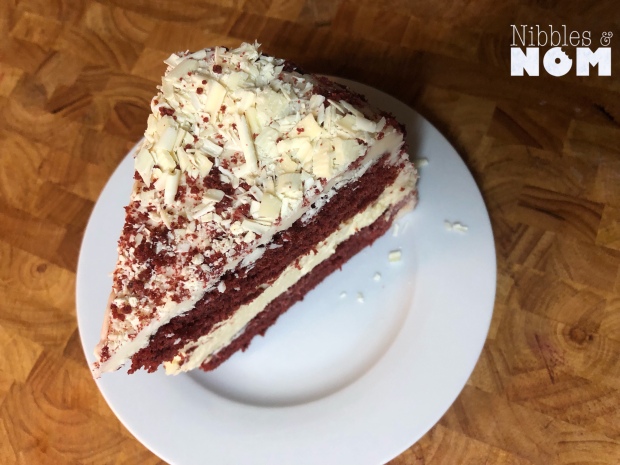
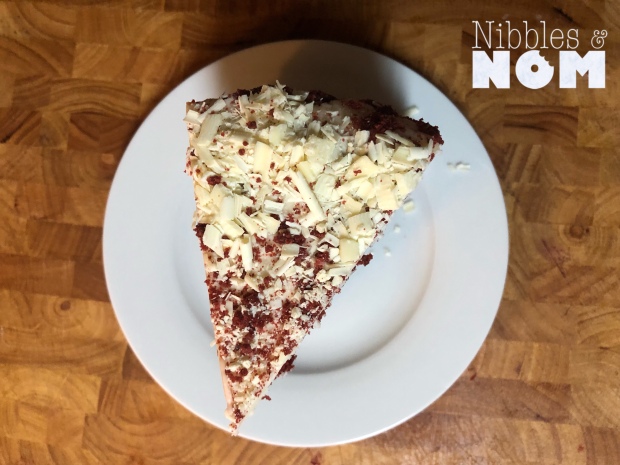
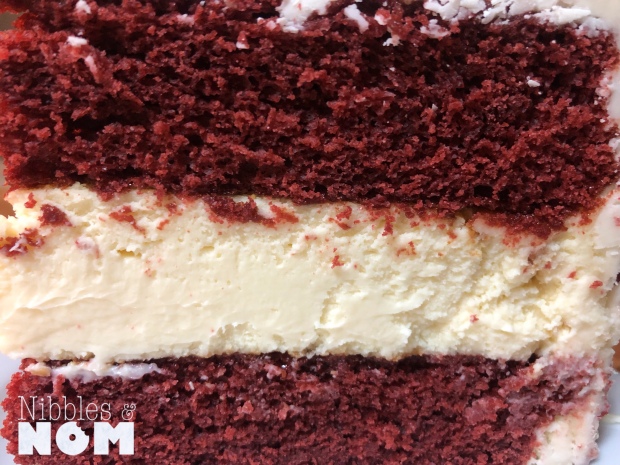
Aside from the white chocolate, the pictures show double the cheesecake unlike my previous Red Velvet Cheesecake. This is not required but I wanted to show out because baking is therapy and I needed to do. So, yeah. This is pretty legit.
Oh, did I mention that white chocolate is in the cheesecake and the buttercream AND as a topping? Yeah.
Too legit.
To quit (rimshot).
Cheesecake:
2-8oz cream cheese, room temp
1 C sugar
3 tbsp sour cream, room temp
½ tbsp. vanilla extract
2 eggs
½ tbsp. corn starch
1/8 tsp salt
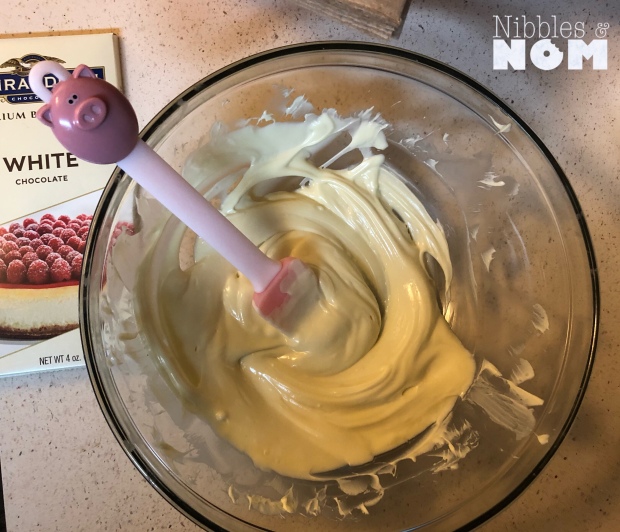
4 oz melted white chocolate
i always love The Spread
- Preheat oven to 325 degrees
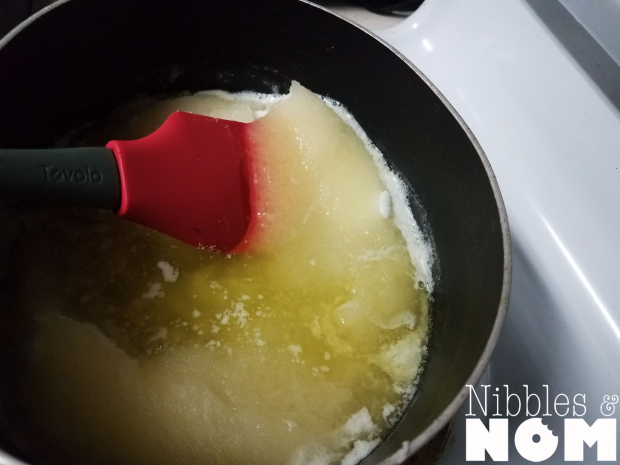
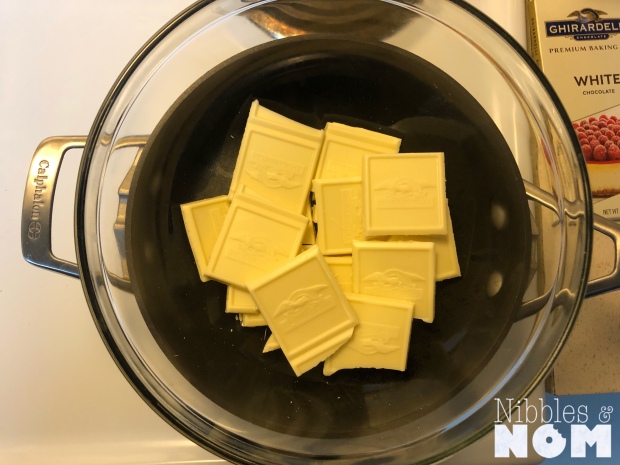
- Place a heat-resistant bowl on top of a pot with a small amount of water. Bring it to a boil and lower to a simmer. Put your white chocolate pieces (as close as you can get to same size) in the bowl. Stir occasionally as it melts. Remove from the pot when it’s like 90% melted, continue stirring until the carry over heat melts the remaining chocolate.
please don’t skimp on the chocolate
my widdle piggy is fun Marshall’s
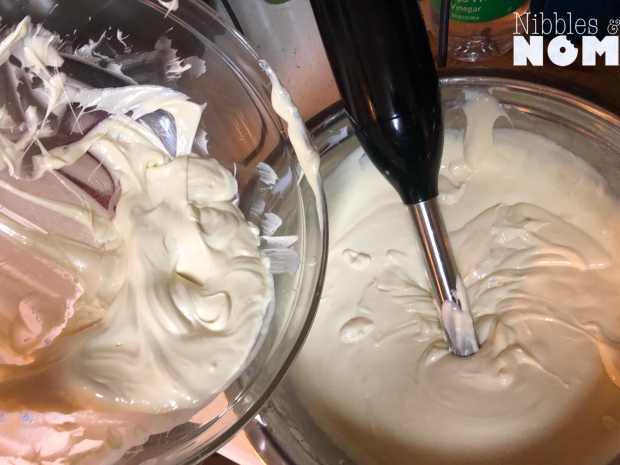
- At the same time, preferably, start your mixer and whip the softened cream cheese.
- Add the sour cream
- Add the sugar and vanilla
- Add the corn starch
- Add the eggs one at a time
- Scrape down the sides, mix until combined.
- You don’t want to see any large flecks of cream cheese, small specks are okay.
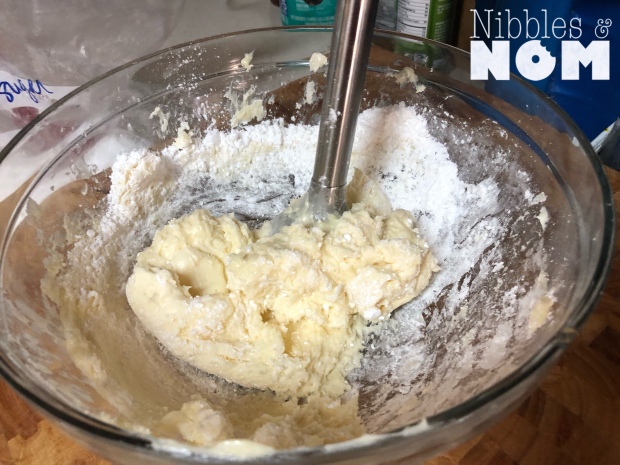
- Add the slightly cooled white chocolate to the cheesecake mixture, combine well.
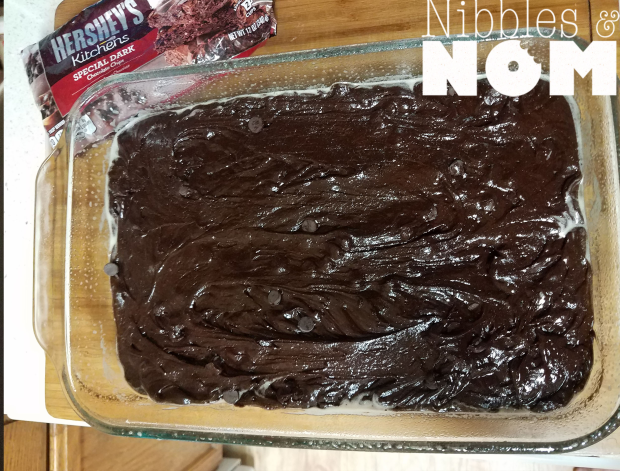
white chocolate being added to the cheesecake batter
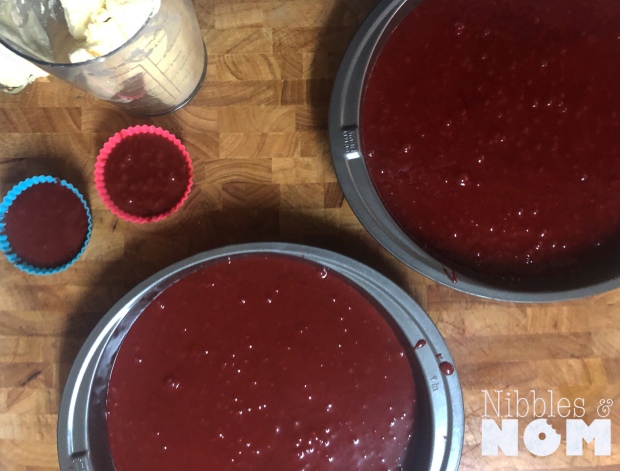
- Cut a circle large enough to fit into the bottom of a 9” cake pan
- Spray with cooking spray, place parchment
- Pour cheesecake mixture into the pan, gently tap the pan on your counter to release any bubbles
- Bake for roughly an hour
- The cheesecake will be slightly jiggly in the center, a tad firmer towards the edges
- This cheesecake is a filling so some browning and cracks are fine. No one is going to see this. This is basically sacrilegious for traditional cheesecake, I know, but trust me.
- If it starts getting too Beyonce Bronze, tent it loosely with some foil.
- Allow the cheesecake to cool
- Cover with plastic wrap and allow cheesecake to set in the fridge for at least 4 hours, or overnight preferably
Red Velvet Sponge
2 cup flour
1 tsp baking soda
1 tsp baking powder
1 tsp salt
2-3 tbsp cocoa powder
2 cups sugar
1 cup vegetable oil
2 eggs, room temperature
1 cup of buttermilk, room temperature
2 tsp vanilla extract
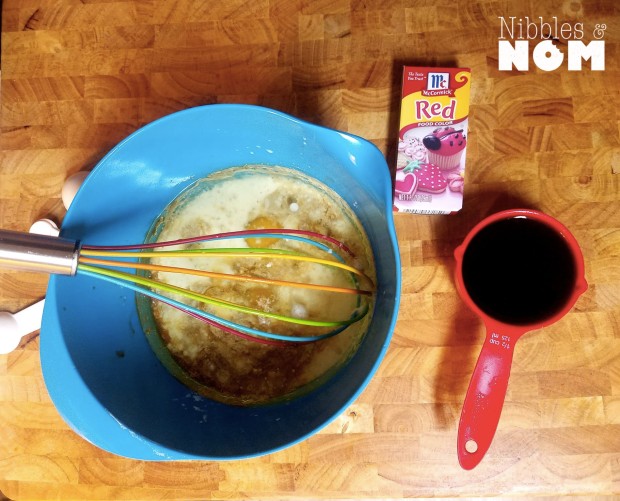
1-2 tbsp red food coloring (more or less to suit your preference)
1 tsp white vinegar
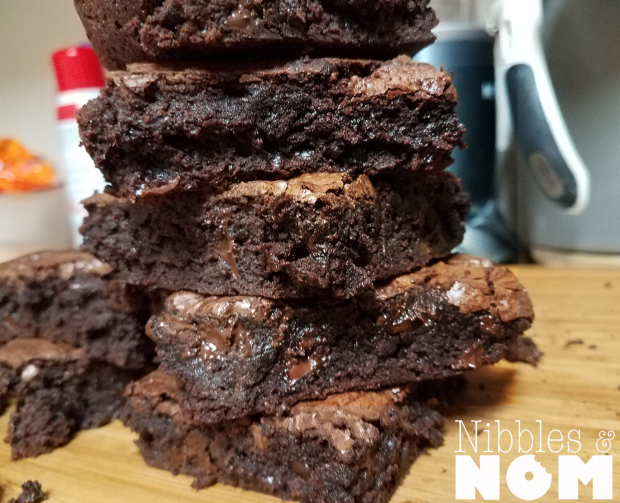
Pro tip: Boost your cocoa flavor by adding ½ cup of very strong coffee or instant espresso!! Remember when I used this technique in brownies?
Preheat the oven to 325 degrees F
In the bowl of your mixer, combine your dry ingredients
In a medium bowl, first combine your sugar and oil then add in the eggs, buttermilk, vanilla and food coloring
Add in your vinegar
Add in your coffee or espresso if you’re going to use it
With your mixer on low, slowly incorporate the wet into the dry bit by bit
Note: This is not a thick batter
Grease and flour two 9” cake pans and divide batter into 3-4 cupcake tins plus the pans
(This can also be used just for cupcakes, freeze any excess batter in a ziplock bag for next time!)
Bake for 30-35 minutes in the center of the oven, start checking for doneness around 30 minutes
(your cupcakes will be done quicker, check for doneness around 16 minutes)
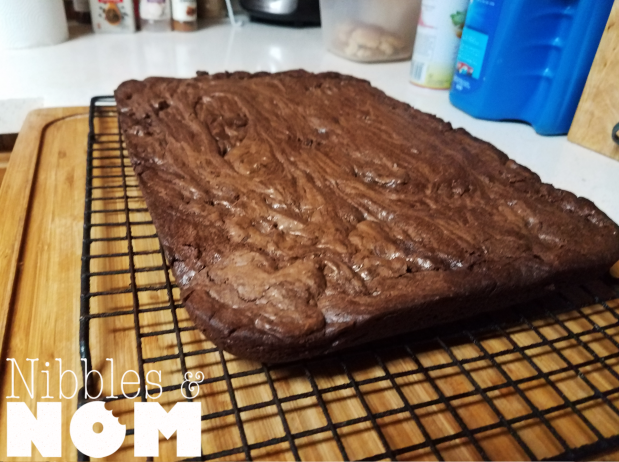
When the cake passes the toothpick test remove from the oven and cool on a rack then cool upside down to help flatten out the tops
While cooling, whip up some buttercream
Vanilla Buttercream:
2 sticks softened butter
1 tsp vanilla extract
Roughly 5 cups of powdered sugar
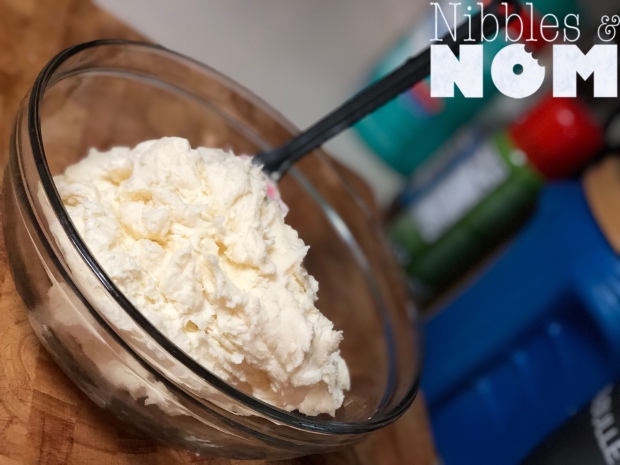
3 oz white chocolate melted, reserve 1 oz for decoration
Repeat the steps from above to melt 3 oz white chocolate
In the bowl of your stand mixer, whip the butter on medium until the butter looks light and fluffy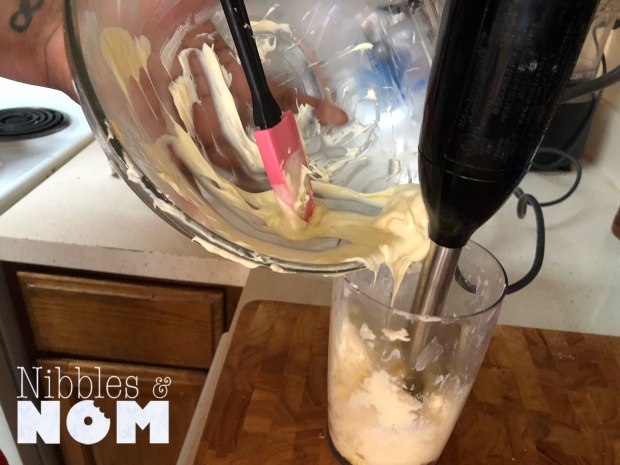
Add vanilla
On low speed, slowly and carefully add the powdered sugar about a cup at a time
Slowly increase the speed and whip until well incorporated
Repeat steps 3 and 4 until all of your sugar is used
Add slightly cooled white chocolate and whip until incorporated
Leftover buttercream can be stored in the freezer in a ziplock bag.
The Show:
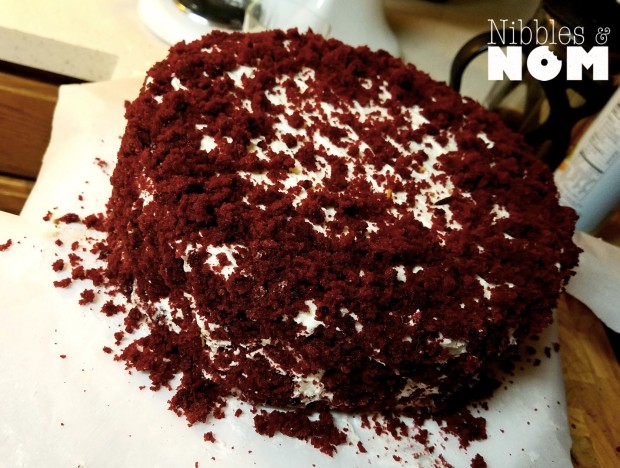
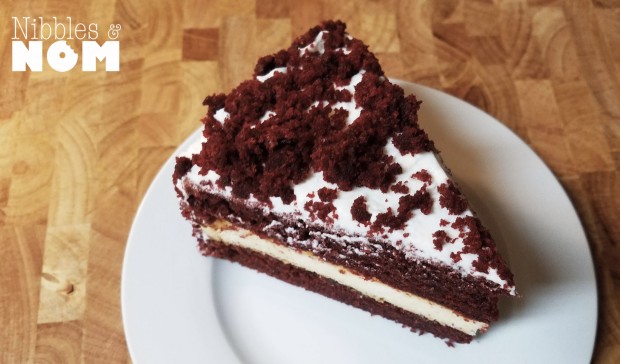
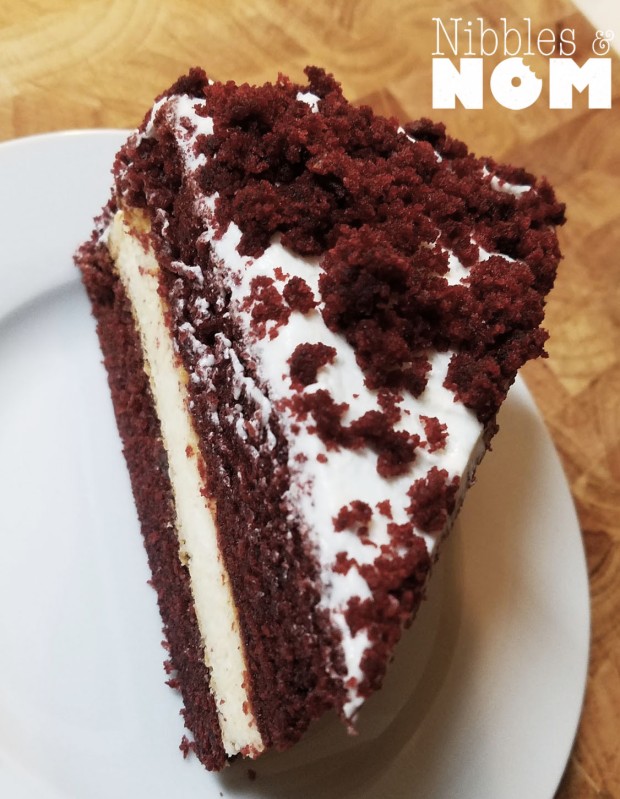
Once completely cooled stack sponge-cheesecake-sponge
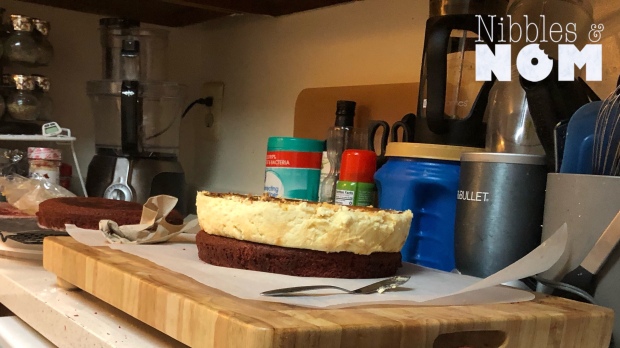
Spread your buttercream on the sides and top of the cake—work quickly or make sure the room is warm. The buttercream will seize and harden because of the white chocolate.
(It will create a sort of ganache around the cake, so don’t be alarmed. Do you’re best. No one is going to really see this).
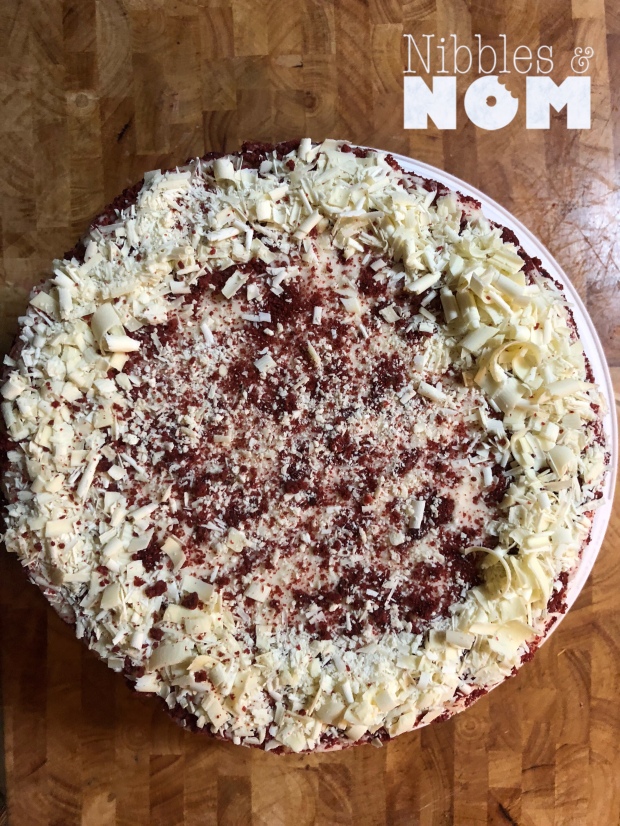
Crumble up your cupcakes and sprinkle on/around your cake
Nuke your remaining ounce of white chocolate at 10 second intervals, slightly warm but not soft.
Use a vegetable peeler and start peeling carefully on the straightest edge. Use your ribbons to decorate how you see fit.
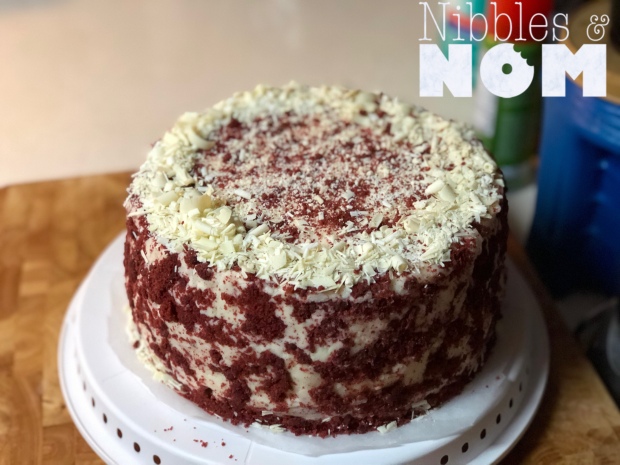
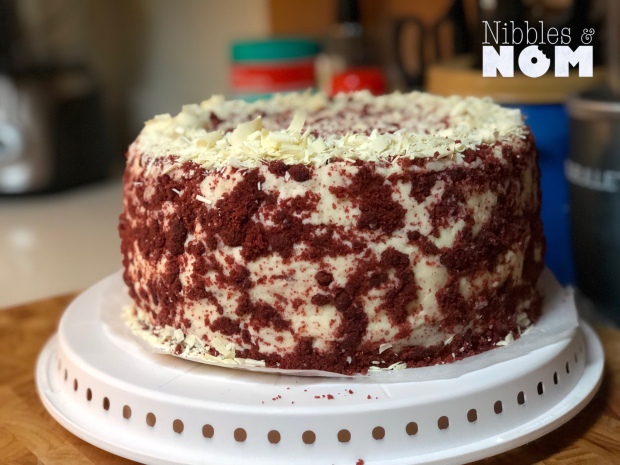

Store in an airtight container in the fridge.
© 2019 by Alexa Mason. All Rights Reserved


 Shredded mozzarella.


 The rest is just assembly. Make sure you place them seam side down. Bake at 350 until nice and bubbly then make sure your cheese gets nice and melty 😍


 Ingredients