You Can Never Go Wrong with Nachos

If you follow me on Instagram, you know that I am good for whipping up some incredible nachos on the fly. I usually follow my golden rule: use what you have! Sometimes I actually plan and grocery shop with the express intention of making some bomb ass nachos.

Rules of Thumb

  • Spread it wide and low! (No towers of chips over here)
  • Sheet pans, cookout disposable pan, oven safe pan, cast iron skillet, etc.
  • Generous layers
  • CHEESE
  • Condiments (pico, guac, sour cream, cilantro, etc.)

I usually opt for a full sheet pan if I’m sharing but if I’m making it just for me then I’d opt for a cast iron skillet or oven safe pan.

Place aluminum foil in the pain and spread out a good layer of chips.

I always prep everything at once because it makes assembling much easier.

There is no recipe here but I’m going to outline a couple of things.


Take Care of Your Bird

When I need some quick and tasty chicken to top nachos, or pizza or whatever, I tend to follow the same steps.

  • I slice my chicken breasts to be 1/2-1″ thick. Pat dry with a paper towel.
  • Heat your skillet to medium high. Your cast iron should be smoking (I recommend cast iron).
  • Season the chicken to your liking. For this purpose? I’d use kosher salt, coarse pepper, garlic powder, onion powder, a little sazon, cumin, smoked paprika and finish with lime juice. Use what you like. Gently pat the seasoning into the chicken.
  • Use your preferred oil (that can withstand the heat). Add a couple of teaspoons, not a lot of oil. You’re not frying this.
  • Add your chicken to the skillet. You should hear that musical SSSSSSSS immediately. LEAVE IT ALONE. Let it cook unbothered. Because you cut them so thin, you should be able to see the white begin to encroach upon the pink chicken facing you. Around 4-6 minutes. Peak under to check on that Maillard reaction. Your chicken should be pretty brown. If it isn’t, no worries. Flip the chicken and let the other side cook, unbothered. After a few minutes, if your chicken is brown enough for your liking then you can flip it around the pan for a couple of minutes. Don’t do this too long, you don’t want a dry bird. (I have never written out how I get such juicy, yummy chicken breasts using this method. If something doesn’t make sense when you try this, don’t hesitate to message me on IG or using the contact form on the site).
  • Let the chicken rest on your cutting board. Ain’t no cutting to check or to taste. If you wanted to taste you should have cooked a small piece before cooking the whole breasts! (Pro-tip, by the way).


While the chicken is resting, start chopping up and preparing the fixins. My personal go-to’s are a LOT of shredded cheese, fresh pico, guacamole, black beans, chopped jalapenos (fresh or pickled, or both!), cilantro, lime juice and zest, red onion, sometimes lime and cilantro rice, corn. What I use is generally determined by what I have, unless it’s a planned nacho night.

If I’m using pork, I use a very similar method. If I use steak, I sous vide first then season and sear. I use chicken 97% of the time, though.

Once everything is ready to go, slice your chicken. Chop, if desired.

Time to Stack

  • Chips
  • Cheese
  • Beans
  • Chicken
  • Corn
  • Jalapenos

Scoonch your chips around to get the cheese and fixins under the chip too. You don’t want everything just sitting on top and a bunch of naked ass chips on the bottom. Spread a bit of cheese on top the finish, if you want.

Bake on 450 until the cheese is all melty.

Top with pico, guac, sour cream, or anything that shouldn’t necessarily be ‘hot’.

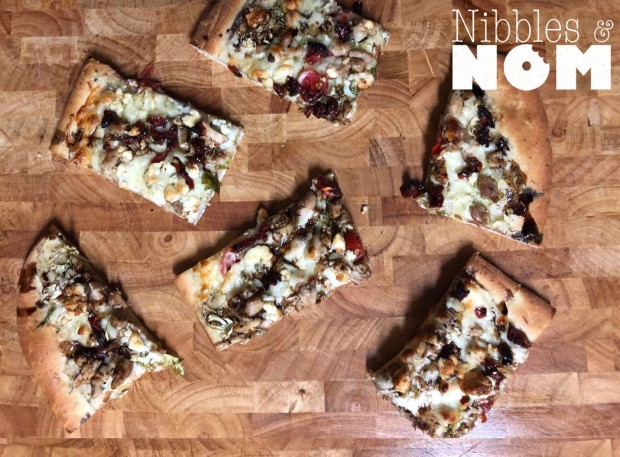
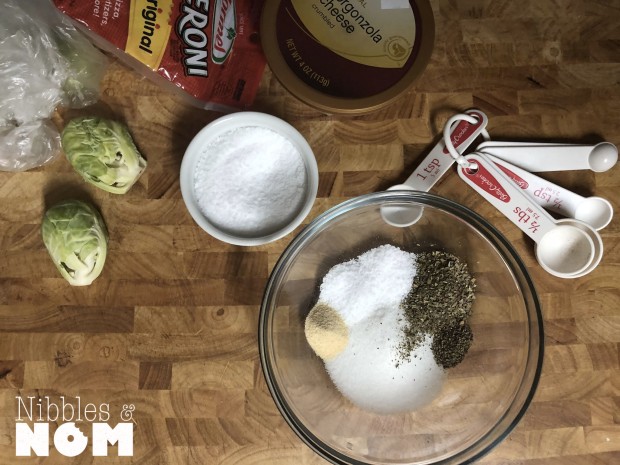
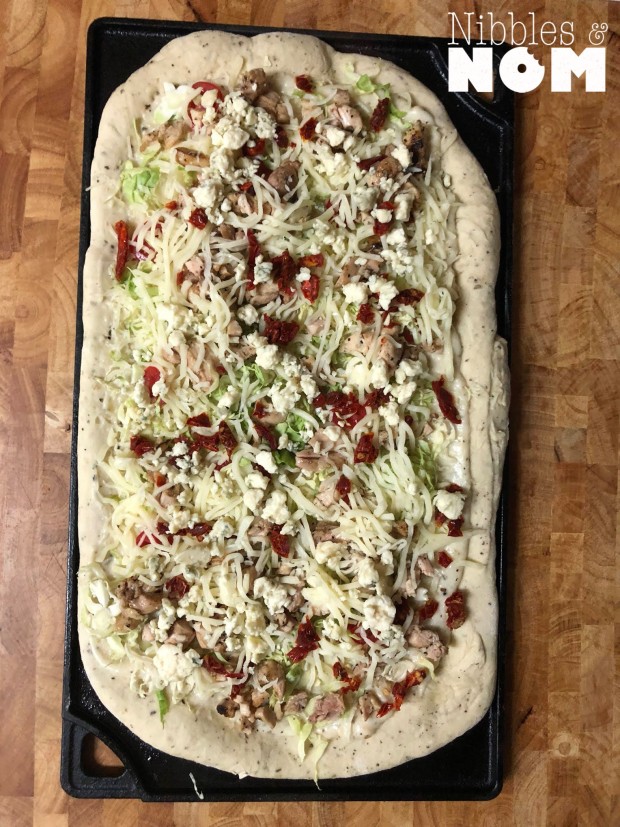
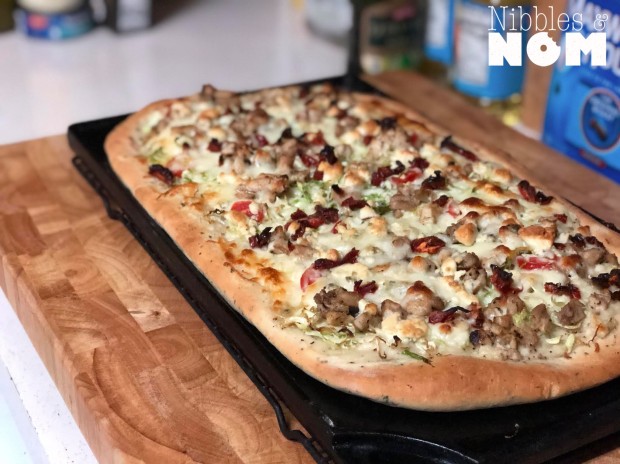
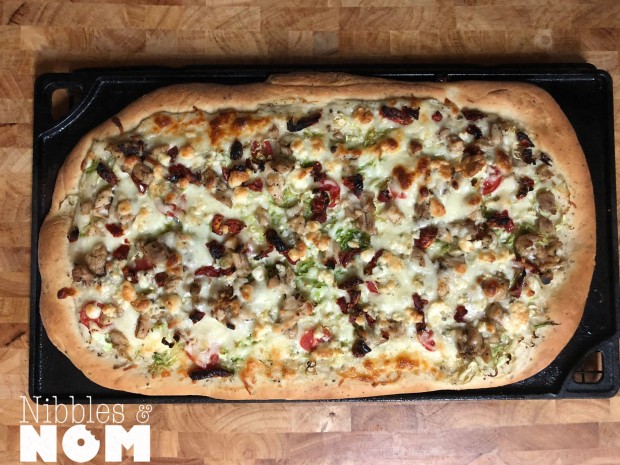
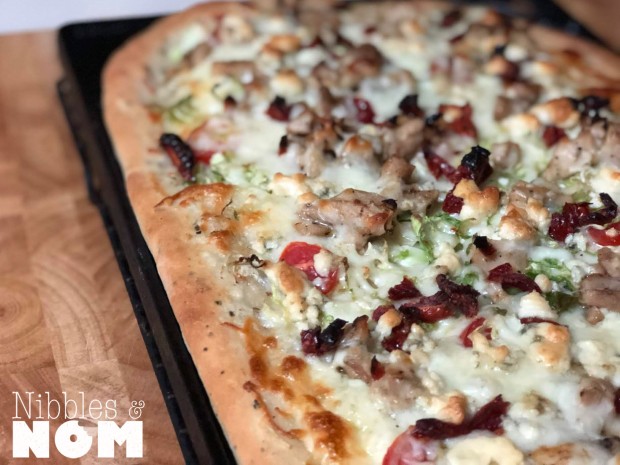
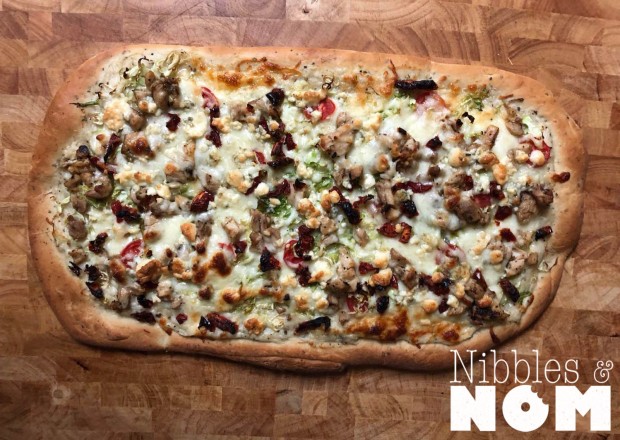
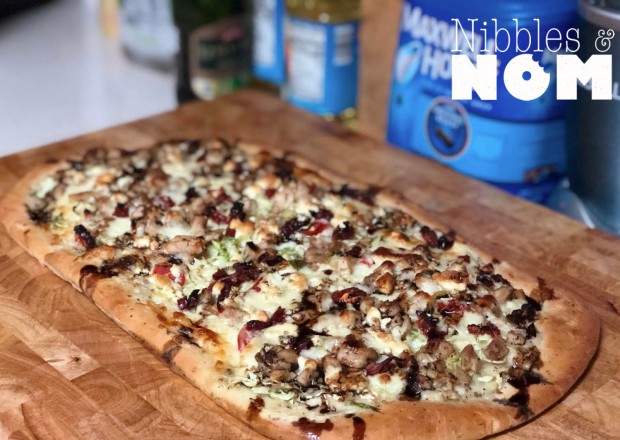
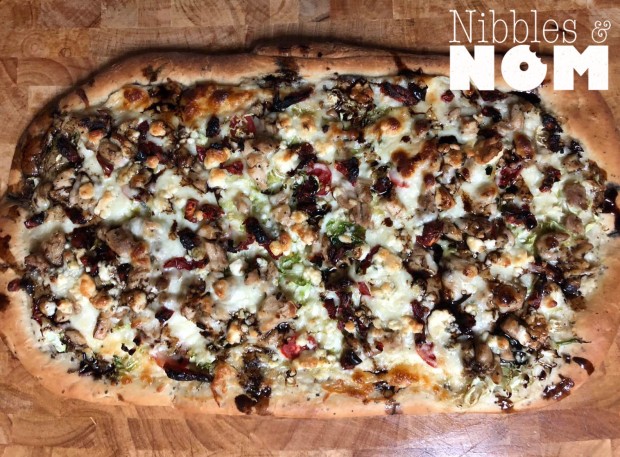
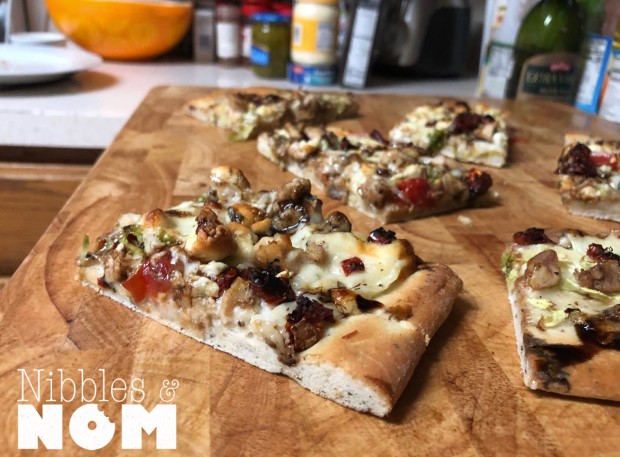
I’ve included pictures of my various forays into nachos and tacos. I use the same methods and rules more or less.


Happy munching!


Quick and Easy Ham & Cheese Breakfast Cups

I whipped these up for our family’s Christmas brunch. I was a little concerned because I’m personally not a big fan of baked eggs or quiche. I knew my family would enjoy them so I made them anyway.

And then I tasted one.

Yo.

I ate like four or five and instantly decided that I would be making these again.

It’s a really simple recipe. I fully intend on freezing some of these and warming them up throughout the week .So, these are easy and efficient especially for busy mornings, independent kiddos, etc.

It’s clear that these are suitable for customization. Feel free to try your own combinations like:

Pepperoni and mozzarella

Spinach and feta

Sundried tomato, basil and spinach

Feta, olives and chickpeas

Basil, mozzarella and tomato

Tag @NibblesandNom and share what you’ve come up with.


(I did not measure this. Just consider your family’s preferences, chop and dump)


To fill 12-cupcake pan I used:

5 eggs, whisked

Cheddar cheese

Finely chopped fresh brocolli

Chopped green onion

Chopped deli ham

Cream

Crescent rolls

Cooking Spray

S&P


I promise it’s a really easy and straightforward idea so I don’t any intention of writing anything extensive.

Preheat your oven to 350 and bake for 15-20m. You can store them in the fridge in an airtight container. You can freeze them and warm em up as you need them.

Kitchen Dump Thin Crust Pizza

Again, not a precise recipe. I just used what I had in my fridge and freezer. It’s an easily adaptable recipe. Just follow the pizza dough recipe and the crust-cooking-procedure. Easy peasy.


I had a ball of my simple pizza dough in the freezer. I had enough to roll out a thin crust. I played it a little fast and loose with the oven so my edges are kinda cajun lol. Be more careful than me. I was hungry.


Simple pizza dough

Seasoned ricotta cheese (herbs, garlic, parm, s&p)

Shredded cheese

Parm

Fresh mozzarella

Olive oil with italian herbs and garlic powder (for crust)

Whatever toppings you want (mine are as pictured)


Prepare the pizza dough ahead of time so you are ready to go.

Quickest way of attacking this is preheating your cast iron skillet, cast iron griddle, pizza stone, heavy bottomed pan. Whatever. Get it super hot. 475+ hot.

While that is preheating, slice and chop your toppings. You want thin slices, small dices. We want things to heat through evenly.

Prepare all of your cheeses.

Roll out your dough to suit your vehicle

Carefully place your dough in the pan or skillet or stone

Poke fork holes all over save for the ‘crust area’

Brush the ‘crust area’ with some of the seasoned up olive oil

Bake for a few minutes, just consider the thickness of your dough and its edges.

Remove and quickly paint dough with the ricotta.

Shredded cheeses

Spinach.

Parm.

Zucchini and squash slices

Fresh mozzarella dotted around

Sliced onions and peppers

Chicken

Chopped tomatoes

Whatever toppings you’re using

Baked at 475+ until the cheese is bubbling

Broil until there’s a little color on your cheese, mind your crust

Remove

Drizzle with remaining olive oil

Top with chopped herbs, crushed pepper


As always, use what you got. Any questions you know you can comment or hit me on IG (@nibblesandnom).


NOM!


© 2019 by Alexa Mason. All Rights Reserved

Balsamic Gorgonzola String Beans

Hey y’all. This isn’t a precise recipe, but just a quick write up of this yummy side dish. Scale to suit your family’s needs.


1 bag of trimmed string beans

Chopped garlic

Butter

Olive oil

Cup of slice almonds

1/8-1/4 c balsamic vinegar

Sugar or honey (optional)

Gorgonzola cheese


(If you can multi-task, multi-task. Otherwise, do the reduction first)

In a sauce pan, bring the balsamic vinegar and like a little under a regular spoonful of sugar or honey) to a boil then reduce to a simmer.

Add chopped garlic.

Stirring frequently.

Keep an eye on this, you want it to coat the back of a spoon. If it goes too far it will taste pretty gross.

Remove from heat.

Melt a pad of butter into this and fin.


In a large tupperware, add the string beans and just a few spoonfuls of water. Microwave with the lid ajar for 3-4 minutes. Let sit for 5-10 minutes.

In a skillet over medium heat add olive oil and then melt butter.

Soften chopped garlic then remove.

Increase heat to medium high.

Add drained string beans ands season with salt and pepper.

Sautee until some start to brown up.

Remove from heat.

Add chopped garlic and some sliced almonds.

Drizzle with balsamic reduction.

Top with more sliced almonds and gorgonzola cheese.


© 2019 by Alexa Mason. All Rights Reserved

Gorgonzola Chicken Pizza with Shaved Brussel Sprouts and Sun-dried Tomatoes

I was craving pizza and I knew it was an activity that my kid would enjoy. So, I grabbed a bunch of ingredients and surprised him after his summer program. He made a pepperoni pizza. I made a pizza topped with chopped chicken, shredded Brussel sprouts, gorgonzola, sun-dried tomatoes and a balsamic reduction. It is SO good.

piz15piz14

I contemplated buying pizza dough but I wound up making the dough as I usually do. I amped it up by seasoning the dough with garlic and herbs. A nice béchamel serves as the perfect anchor for the cheese and toppings.


Pizza Dough:


  • 4 cups of flour
  • 2 packets of yeast (I use Hodgson Mill Fast Rise Yeast)
  • 1 ½ c warm water
  • 2 tsp salt
  • 2 tbsp sugar
  • 1 tbsp Italian herbs
  • 1 tsp garlic powder
  • ½ tsp black pepper
  • ¼ olive oil

Pizza:

For a medium (thick) white sauce:

  • 2 tablespoons flour
  • 2 tablespoons butter
  • 1 cup milk
  • Season to taste with salt, pepper, garlic and Italian herbs


Toppings:

  • 2-4 shaved Brussel sprouts (I use a mandolin slicer)
  • 4-6 sliced grape tomatoes
  • 2 tbsp of sundried tomatoes, sliced
  • 2 chicken thighs, sautéed and chopped
  • Generous handful (to taste) mozzarella
  • Handful (to taste) italian blend cheese
  • 1/4c to 1/2c of gorgonzola
  • Balsamic
  • Olive oil to coat the crust


Directions:

  1. Prepare your dough
  2. Proof your yeast with the warm water
  3. Add the seasonings and oilpiz
  4. Slowly add the flour
  5. The dough will be a little sticky but your fingers should be mostly clean to the touch
  6. Knead once or twice then add to a greased bowl and top with a greased plastic wrappiz2
  7. Allow to rise for about an hourpiz4
  8. Preheat your oven to 500 degrees F
  9. Punch it down and knead once or twice
  10. You can use it all or divide, the recipe yields about 2lbs of dough (I used half for my pizza and half for my son’s)
  11. Roll out your dough and spread it in an ungreased cast iron skillet, pizza stone or cast iron griddle
  12. Use a fork to puncture the center of the dough, leave at least ½” space for your “crust”piz3
  13. Bake for about 5 minutes, or until the crust starts to rise then remove


For pizza:

  1. Slice your chicken and cook it on high heat, season with salt and pepper
  2. Remove from heat to rest
  3. Slice your Brussel sprouts, tomatoes and sun-dried tomatoespizz
  4. In a small pot, melt your butter and add flour
  5. Add milk and whisk to remove lumps
  6. Season to your preference


  1. Spread the white sauce on your doughpiz5
  2. Top with some cheese
  3. Top with tomatoes and Brussel sprouts
  4. Top with chicken and sundried tomatoes
  5. Top with cheese
  6. Brush crust with olive oilpiz6piz7
  7. Put back into oven until its bubbling and the crust is brown


  1. In a small pot, bring a few tablespoons of balsamic vinegar to a boil
  2. Add a half tsp of sugar and stir
  3. Bring to a simmer until it coats the back of a spoon
  4. Remove from heat! (Overdone balsamic reduction is no good. Trust me!)
  5. Remove your pizza from the oven
  6. Drizzle with the balsamic reduction

piz8piz9piz10piz11piz20piz12piz13piz15


© 2018 by Alexa Mason. All Rights Reserved