Spinach and Artichoke Chicken Manicotti

I intended on boiling the handy dandy boxed noodles but I felt compelled to make the noodles. The last time I did that I just made some simple pasta noodles. When I went to the Googles to find some inspo I saw a technique that I’d never heard of which meant that I obviously have to try it.

Additionally the supermarket only had an insanely large container of ricotta. The Googles said it was easy so I said ‘what the hell?”

And it was!

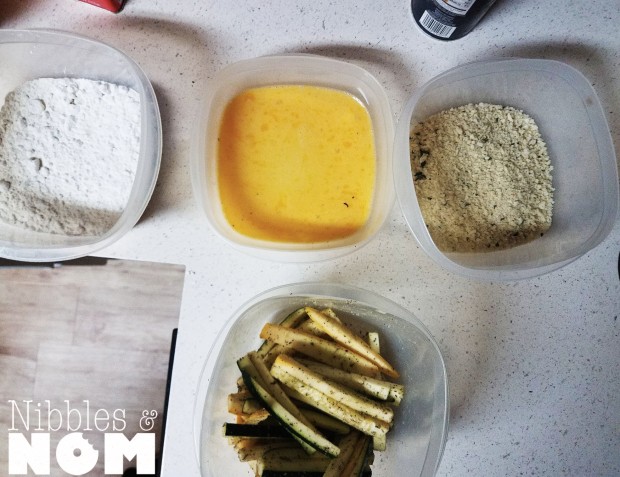
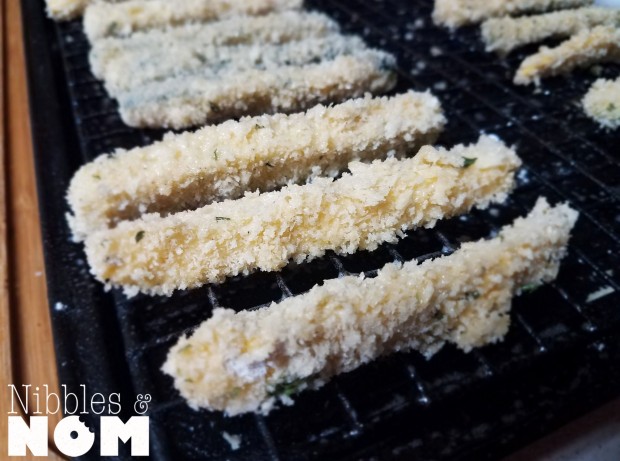
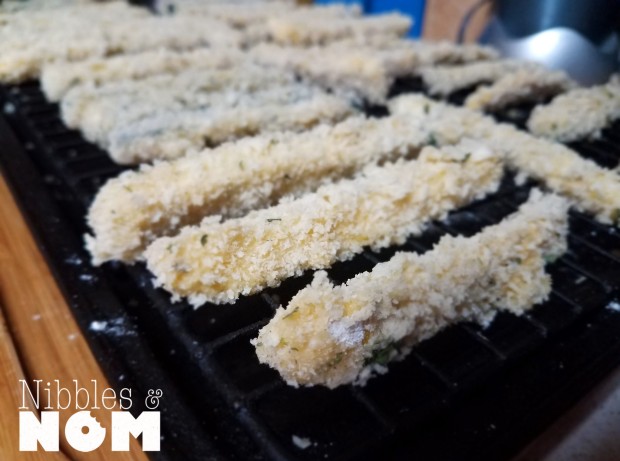
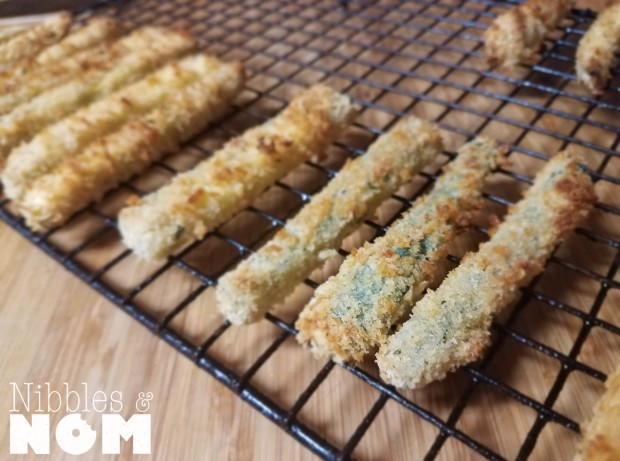
I’m not writing up a lengthy post. I think the pictures are largely self explanatory. I didn’t use any precise measurements aside from the manicotti and the ricotta, which I’ll link to if anyone feels adventurous.

Fresh ricotta

Fresh manicotti

I winged this meal. I didn’t know what was happening until I was basically ready to assemble.

The following are the components:

I cooked up ground chicken thighs. I seasoned with salt, pepper, garlic powder, onion powder, smoked paprika and a bit of chopped garlic and shallots.

Chopped spinach (frozen) and chopped artichoke hearts

I used a can of crushed tomatoes. I seasoned it up with the usual suspects and my personal tricks. Season your sauce as you like or use your usual.

Shredded mozzarella.

I mixed the ricotta with the spinach and artichokes. I seasoned with salt, pepper, garlic, parmesan and crushed red pepper.The rest is just assembly. Make sure you place them seam side down. Bake at 350 until nice and bubbly then make sure your cheese gets nice and melty 😍

This was my first time using this crepe-pasta technique. I did an amazing job with the flavors. I think it’s more suitable for a light recipe. This is hearty. I think I would have preferred an ordinary noodle. Either way this was amazingly yummy!

Worth every step!

🐷.


© 2020 by Alexa Mason. All Rights Reserved

Strawberry-Raspberry Poptart Cupcakes

I make my son special cupcakes for his birthday each year. When I asked him what he wanted this year he told me he wanted a Poptart cupcakes and I kind of just stared at him. Frankly it just sounded like a lot of work and there was no guarantee that I could pull it off because who the hell has heard of Poptart cupcakes. At first I was going to blow him off and just “you get what you get what” him.


But I started playing with the idea.


I went to the Google to see if I was on the right track. I was surprised to find that all of the other recipes I saw were….not like this. So I sat down and worked it out and this is what I came up with. I fully intend on doing these again. There are just so many flavor-filling options!


We prefer strawberry Poptarts. I decided to pump up the berry by adding raspberry to the mixture. I matched the tangy raspberry with the tart lemon juice. The jam is bright and tart, so it cuts through the sweetness of the other components. The jam would be amazing on a croissant *drool*.

It may look like a lot of work but just break it up into steps. Some things you can make ahead. This is my suggested order:

  1. Cupcake
  2. Jam
  3. Icing
  4. Decorate


Ingredients:

Vanilla Cupcakes

For Jam:

1 pint of raspberries

1 cup of roughly chopped strawberries

1/4-1/2  sugar

1/8 c water

1/8 c lemon juice

Tsp lemon zest


For Icing:

2 egg whites, room temperature

4+ c confectioner’s sugar, sifted

1 ½ c melted white sugar morsels

½ tsp vanilla extract

1 tsp water, if needed


Decorations:

Pieces of poptart

Strawberry jello

Sugar crystals*


  1. Prepare the vanilla cupcakes

For the jam:

  1. Combine the liquids and the sugar
  2. Stir until sugar melts
  3. Add berries
  4. Bring to a boil and reduce to a simmer
  5. Simmer covered until the berries start to break down (you can smush to help it along)
  6. Simmer uncovered, stirring frequently until the liquid begins to evaporate and the mixture thickens (this is called reducing).
  7. Taste and adjust to your preference.
  8. You want a pretty thick, scoop-able consistency but honestly, you just don’t want it watery. Otherwise your sponge will just sop it up and then your filling won’t be much of a filling.
  9. Set aside to cool. (This is an easily adjustable recipe, this was more than enough for 12 cupcakes and breakfast toast the next day.)

For the icing:

  1. While the cupcakes are cooling, melt the white chocolate over a double boiler
  2. Set aside to cool
  3. In your stand mixer, use the whisk attachment to beat the whites until they’re fluffy
  4. Add vanilla extract
  5. Slowly incorporate some of the powdered sugar
  6. Mix in the white chocolate
  7. Continue adding the sugar
    1. Here is where I hiccupped, my icing was way drippier than I wanted. Add as much sugar as you need to achieve a thick-spread that won’t drip down a bunch.
  8. Prepare your decorations
    1. I could not find crystal sprinkles so I made colored sugar*
  9. Poke your finger or a cylindrical tool deep into the cupcakes to form a divot. You don’t want to poke through the cake
  10. Fill the divots with the cooled jam
  11. Spread the thick icing on top
  12. Stick in poptart pieces
  13. Sprinkle with sprinkles or sugar and strawberry jello


Happy 8th Birthday, kid.


© 2019 by Alexa Mason. All Rights Reserved

Brown Butter Glazed Banana Bread

I’ve made this recipe a fewtimes and shared it on my personal Instagram. I first tried with just four bananas but I’ve since discovered that 6 is the perfect amount for a truly moist and bananaful bread.

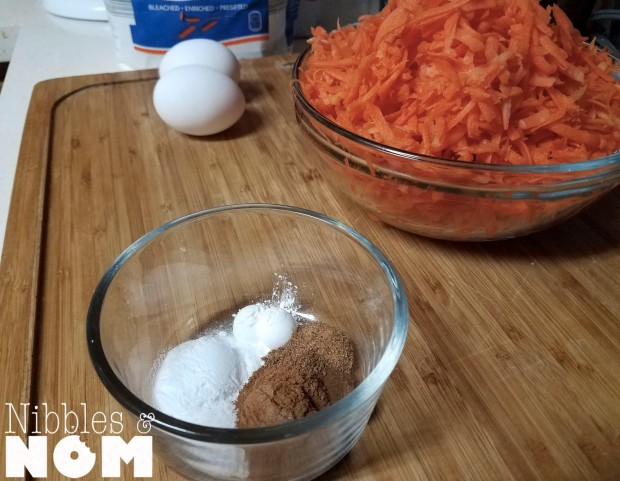
(This trial used 1 tsp baking soda)

My first trial was a plain banana bread with a mostly bread consistency. I like a more cake like texture. My second trial required two extra bananas and I added a cream cheese icing. This third time we added walnuts and topped with a brown butter glaze and it was divine!

It’s a very forgiving recipe! I love having chunks of bananas so I mash my bananas with a fork. If that’s not your ministry you can puree the bananas. I make this by hand using mixing bowls, a fork and a spatula.

Feel free to sub in your own add ins. This is an easily customizable recipe. It’s truly no fuss.

Ingredients:

6 ripe bananas (the blacker the peel the better)

1 stick melted unsalted butter

3/4 c white sugar

1/4 c brown sugar

2 c flour

1/2 tsp salt

1 tsp baking powder (if you like a slightly breadier consistency use baking soda, the loaf may be darker but still yummy)

1/4 c milk

2 eggs

Brown butter glaze:

1/2 stick unsalted butter

Up to 2 tbsp Half and half

Up to 1 c powdered sugar

1/2 tsp vanilla extract

Direction:

  1. Preheat your oven to 350F
  2. In a large bowl, mash your bananas.
  3. Melt your butter
  4. In a small bowl, gently whisk your eggs
  5. Combine milk, egg, vanilla, banana and butter.
  6. In another bowl, stir to combine your sugars, salt, baking powder, and preferred spices (I did 1 tsp cinnamon and 1/2 tsp Nutmeg)
  7. Using a spatula, combine the wet and dry ingredients.
  8. OPTIONAL: Fold in 1/2 c chopped walnuts
  9. Oil and flour a loaf pan.
  10. Bake for 50-60 minutes. Start the toothpick test around 50m.
  11. OPTIONAL:While the banana bread is baking start your brown butter. Over medium low heat, melt the butter constantly whisking.
  12. You’ll be doing this for at least 5 minutes, once brown bits start forming remove from heat.
  13. In a mixing bowl,combine the brown butter, vanilla extract and powdered sugar.
  14. Slowly add and incorporate the half and half about a 1/2 tsp at a time.
  15. This isn’t an exact science. If it’s too thick, add a little more half and half. If it’s too thin, add a little more powdered sugar.
  16. Remove the banana bread from the oven and allow it to cool before pouring out on the glaze.

© 2018 by Alexa Mason. All Rights Reserved

The Only Crispy Oven-Baked Wings Recipe You’ll Ever Need


The people who know me best know that I have a “thing” about chicken with bones. My partner likes to credit himself with “changing my life” [emoji eyeroll]. Truthfully, he did expose me to the greatness that is the Popeye’s fried chicken breast. The truth is, I still adamantly refused to eat wings when out with friends. They’re just never crispy enough for me. The worst thing in the world is a plate of wings that look and smell delicious and then…..chewy, gummy skin. Wing. Ruined.


Several years ago he requested that I make him wings. As a person who didn’t eat wings, at the time, it was quite a challenge. I was grossed out every step of the way. I just tossed them in the oven and then threw some sauce on them. Quite shameful, really. Fast forward a few years, I decided to play around with this whole wing-thing again.


This time, I had a bit more cooking experience under my belt and the following recipe is the recipe that you never knew you needed. These are the easiest, crispiest wings you’ve ever had without added oil or frying! The secret? PARBOILING!


I have never attempted this recipe with “party wings” or frozen wingettes. I simply buy a family pack of wings and cut them into flats and drums. It’s a little added labor but it’s worth it (and it’s cheaper, to be honest).


This recipe works for a few wings or a helluva lot of wings. Just watch the clock!


Ingredients:

Chicken wings

Salt

Water


(Seriously. Dassit!)


Preheat your oven to 450 degrees.

Cut your chicken into wings and flatssw1

You’re going to boil water like you’re making pasta aka heavily salted and a rolling boil.

Boil the chicken for 8-10 minutes.

Drain thoroughly.

Pat dry with paper towel.sw2

Place the chicken pieces directly onto a cookie sheet (no added oil, no foil)***sw3

Bake for about 30 minutes.

The wings will begin to turn golden brown.sw4

Flip the wings and bake for an additional 5-10 minutes.


Voila. They’re done.


At this point, you can toss them in your favorite sauce. Tonight, we had ginger lime sticky wings. Or you can eat them as is, but believe me, these are the perfect vehicle for some yummy sauces.

***If you’re going to eat these without a sauce, season them well with your favorite blend of herbs and spices before putting on the cookie sheet.


© 2017 by Alexa Mason. All Rights Reserved

Crispy Ginger Lime Sticky Wings

Tonight is Saturday night and mama really did not feel like cooking. I was pleased to hear a simple request of “asiany wings with the ginger and stuff”. This is a simple recipe with simple methods that can be applied to any flavor wings you’re going for.


This sauce is packed full of flavor and super easy to make. It’s easily adjustable; if it’s too sweet, use less sugar. If it’s not spicy enough, add more sambal (or peppers). More or less ginger? Easy fix.


Ingredients:


For the chicken:

Chicken wings

Water


For the sauce:

¼ cup soy Sauce

2 tbsp of oyster sauce

2 tsp sambal oelek

3 cloves of garlic, grated

Thumb of ginger (about 1.5”) grated

3-4 tbsp of light brown sugar

juice and zest of one lime, a pinch of zest reserved


For the chicken:


  1. Using kitchen shears, cut your wings into flats and drumssw1
  2. Preheat your oven to 450 degrees.
  3. You’re going to boil water like you’re making pasta aka heavily salted and a rolling boil.
  4. Boil the chicken for 8-10 minutes.
  5. Drain thoroughly.
  6. Pat dry with paper towel.sw2
  7. Place the chicken pieces directly onto a cookie sheet (no added oil, no foil).sw3
  8. Bake for about 30 minutes.
  9. While your chicken is in the oven, start your sauce.sauce1
    • Grate the garlic and the ginger
    • In a sauce pan, over medium heat, add all of the ingredients and stir.
    • Bring to a boil and reduce to a simmer.
    • Keep an eye, the sauce will bubble and start to reduce.
    • Taste and adjust as you see fit.
    • When it’s perfect, remove from the heat.
  10. The wings will begin to turn golden brown.sw4
  11. Flip the wings and bake for an additional 5-10 minutes.
  12. Toss the wings in the sauce.sw6
  13. Sprinkle reserved lime zest over sauced chicken.

sw7sw8sw9

One word. BOOM!


© 2017 by Alexa Mason. All Rights Reserved

The Most Perfect Carrot Cake Cupcakes Ever!

My baby is turning six tomorrow. I couldn’t figure out what kind of cupcakes to make him. My mama (his grandma) suggested carrot cake. I thought it would be a challenge, as I’ve never made carrot cake before, but I decided that it sounded fun enough. We took a family trip to the market and I set off to work.

cc11

Each step of the way I was unsure of how good they would turn out. And then…..I gave them the final product. Everyone said they are the perfect carrot cake cupcake. I’m taking them at their word. You let me know you what you think. Also, wish my big boy a happy 6th birthday!


Ingredients:

1 cup flour

¾ cup sugar

1 teaspoon cinnamon

½ teaspoon nutmeg

1/8 teaspoon clove

1 teaspoon baking soda

½ teaspoon baking powder

¼ teaspoon salt

2 cups grated carrots (14-16 oz)

⅔ cup oil

2 eggs, beaten

½ tsp vanilla extract


Cream cheese buttercream:

8 oz cream cheese (room temp)

8 tbsp butter (room temp)

4 cups powdered sugar

2 tsp vanilla extract


Preheat your oven to 350 degrees.

In a large bowl or your stand mixer, combine the flour, sugar, cinnamon, baking soda, baking powder, and salt.

cc3

In a separate bowl, combine the grated carrots and the oil. (Tip: grate your carrots in your food processor to save time).cc1cc2

Slowly add the carrot and oil mixture until just mixed.

Slowly add the beaten eggs until just mixed. Try not to over mix the batter.

cc4

Place your liners into your muffin tin or grease your tin.

cc6

Fill each groove to about 2/3 of the way.cc5

Bake for about 12 minutes or until the tops are golden brown and they spring back when you press them.

cc7

Allow your cupcakes to cool.


While they cool, make your buttercream.


Whip your butter, cream cheese and vanilla together.cc8

Slowly add your powdered sugar one cup at a time (mixer on low).

Once all of the sugar is added and you’ve scraped down the sides, turn the mixer on med-high and whip for 1-2 minutes.

cc9

Transfer the buttercream to a ziplock bag or a piping bag (or whatever you use) and ice the cupcakes.

cc10cc11cc12cc13cc14cc15cc17cc16

If you’re feeling fancy, garnish with thinly shaven carrots.


© 2017 by Alexa Mason. All Rights Reserved

Crispy Baked Zucchini Fries

I wanted a really yummy side for this meal that I’ve been daydreaming about for a week (post coming soon). I wanted something crunchy, but after the holiday, I couldn’t bear the thought of something heavy or deep-fried.


Enter crispy, baked zucchini fries. Now, before you raise and eyebrow- these were so delicious I haven’t stopped talking about them. However much you plan to make? Double that. Freeze what’s leftover and thank me later. I bet you you’ll love them and I bet you’ll use these techniques on whatever veggies you have laying around (string beans, peppers- hello!)


You want to season the fries generously. You will be doing the three-stop dredge (flour, egg, panko). Instead of frying these, we will line them on a baking rack on top of a cookie sheet and bake them on high heat until crispy and golden brown.


These taste so good you will forget that they are good for you! Low-carb, baked vegetables.


Insert heart-eye emoji.

Throw in the pig emoji too.


Ingredients:

(This recipe can easily be scaled up or down, there are very few precise ingredients here. This is just what I did for dinner tonight.)


1 large green zucchini

1 large yellow zucchini

Flour

Egg

Panko

Salt

Pepper

Garlic powder

Paprika

Cooking spray or olive oil


  1. Pre-heat your oven to 425.
  1. Cut the ends off of your zucchini.
  2. Cut the zucchini in half.
  3. Slice them length wise into about four slices ¼” to ½” thick.zucfrieszuchfries2
  4. Slice these into about 3-4 “fries”.
  5. Place your “fries” into a container and season them generally.
  6. Allow them to rest as you continue to prep your dredging station. Flour, panko and egg are not measured. I eyeball it. But always, ALWAYS use less than you think you will need. You can always add more if you need it. However, if you use too much you’re not pouring that flour back or that panko back into the containers. That’s gotta go in the trash. I try to minimize waste where I can. Use less, you can always add more-rule of thumb. Note: Liquid will likely accumulate in the zucchini container due to the salt; if so, simply drain the liquid.zucfries3
  1. A few at a time, place the “fries” into the flour and coat evenly.
  2. Then place them in the egg and coat evenly.
  3. Toss them in the panko and coat evenly. Press the panko gently into the “fries”.
  1. Place them on the baking rack until you are ready to go.zuchfries4
  2. (Note: if you do a large amount, these can be frozen (and kept frozen) until you are ready to use them. If you are baking these from the freezer, simply follow the remaining steps. Do not thaw.)
  1. Before baking, spray generously with cooking spray or drizzle with olive oil. Optional: sprinkle with sea salt or coarse kosher salt.zuchfries5-copy
  1. Place the baking rack on top of a cookie sheet and bake for about 20 minutes or until crispy and golden brown.zuchfries6zuchfries7zuchfries8

These are best fresh, piping hot from the oven.

© 2017 by Alexa Mason. All Rights Reserved