Strawberry Shortcake Cheesecake

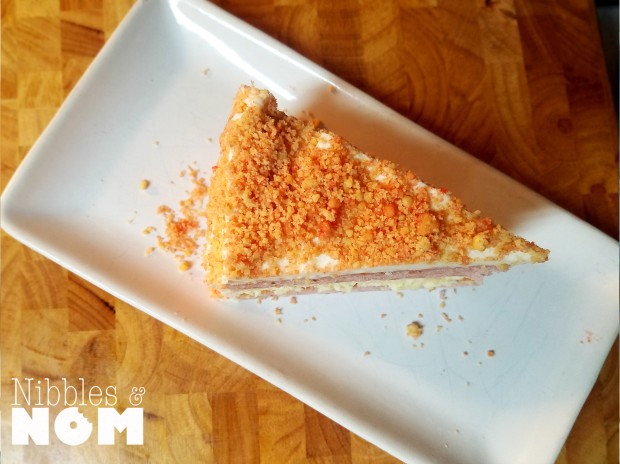
This is as sinful and indulgent as you think. Highly reminiscent of Good Humor’s classic treat. My first attempt was “liked” by Good Humor on Twitter (yes, that is a humble brag). This is my second attempt. I tinkered with my notes and I am quite pleased with how this turned out.
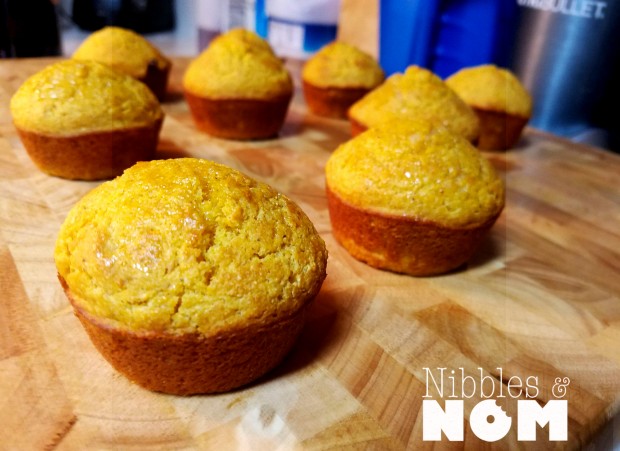
ss9

JUST LOOK AT HER!

This recipe is not for the faint of heart. You need to allocate at least two days for this project. You can make the crumble way ahead of time and stick it in the freezer. You can also make the puree ahead of time. You need to make your cheesecake the day/night before you assemble and decorate.


If I haven’t scared you off yet check out the ingredients and steps after the jump!
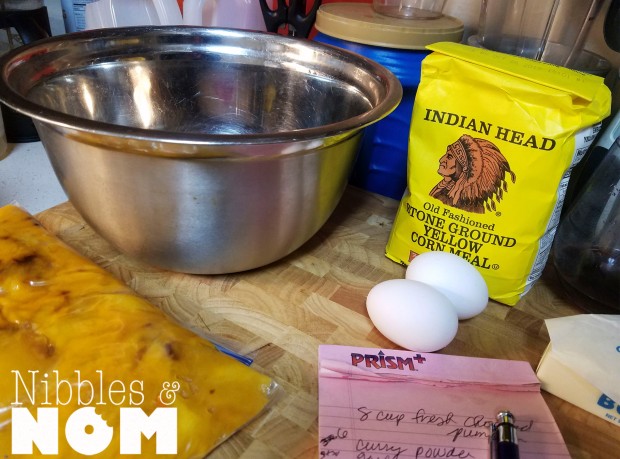
 

Ingredients:


Crumb:

1 pack of Golden Oreos

1 pack of strawberry gelatin

1 pack of vanilla pudding

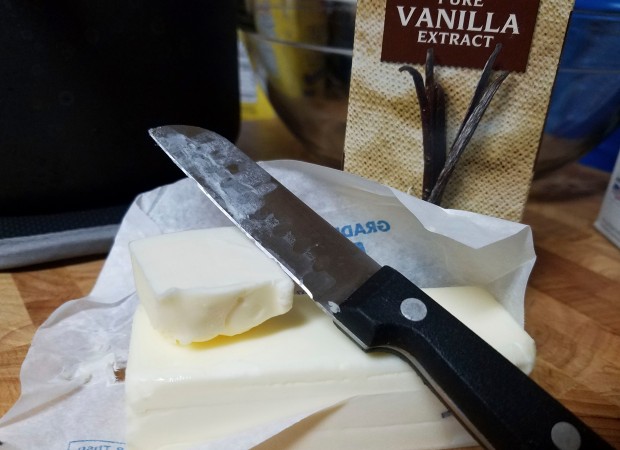
Half stick of softened butter

(Gloves, if you’re weird like me.)


Cheesecake:

2-8oz cream cheese, room temp

1 C sugar

3 tbsp sour cream, room temp

½ tbsp. vanilla extract

2 eggs

½ tbsp. corn starch

1/8 tsp salt


Strawberry Cake:

2 ½ C flour

1 ½ C sugar

2 ½ tsp baking powder

½ tsp salt

1/2 c milk

1/2 c butter, room temperature

4 egg whites

1 tsp vanilla extract

¾ C strawberry puree, reduced*

Optional: 1 tsp strawberry gelatin for a slightly pinker cake


Vanilla Buttercream:

2 sticks softened butter

1 tsp vanilla extract

Roughly 5 cups of powdered sugar
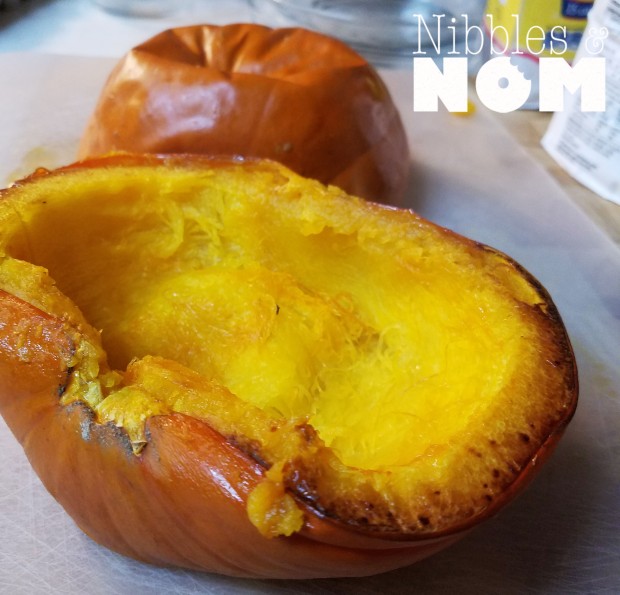
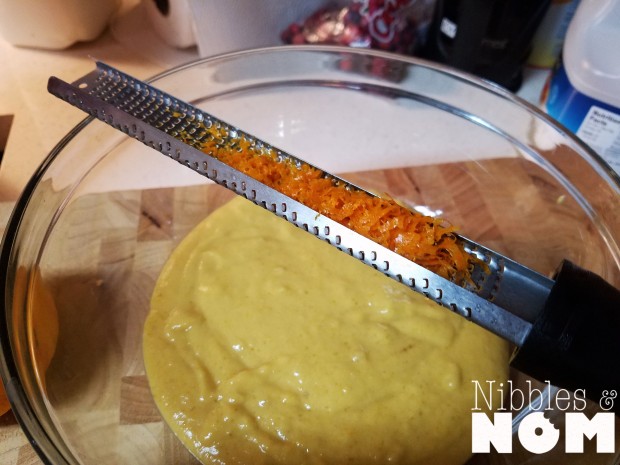
 

Strawberry Puree:

As a rule, a pint of fresh strawberries generally yields roughly 1 ¼ cup of pureed strawberry

I used just over a half a pint of strawberries.
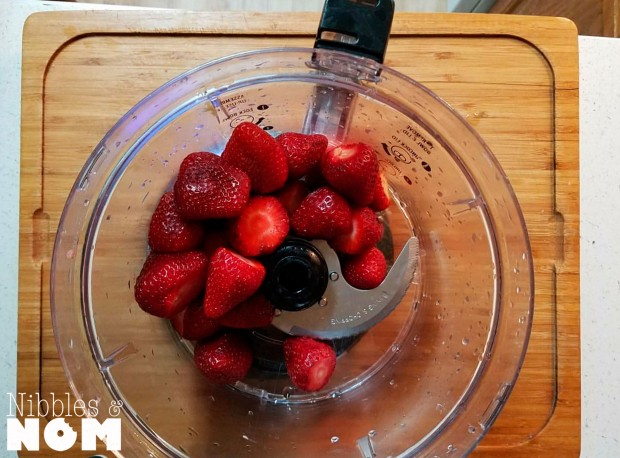
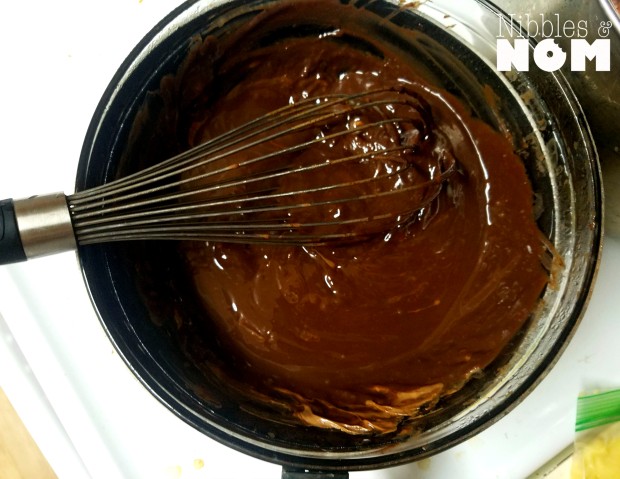
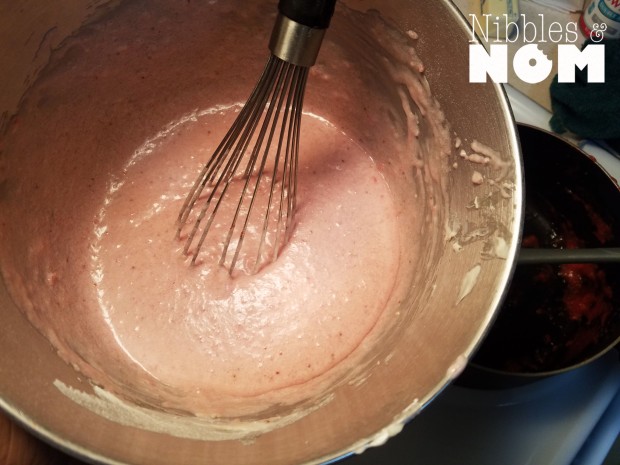


  1. ss19ss20Puree strawberries
  2. Bring to boil, reduce to simmer.
  3. Stirring occasionally, allow the puree to reduce (it will thicken and sometimes the color will darken)
  4. Allow the puree to cool completely
    1. This can be refrigerated in an air tight container until you’re ready to use it.
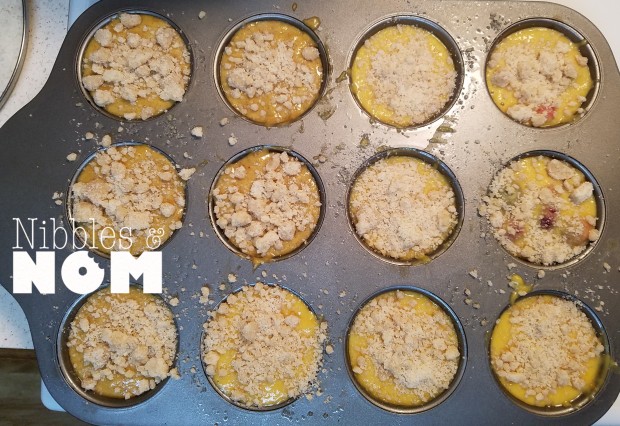
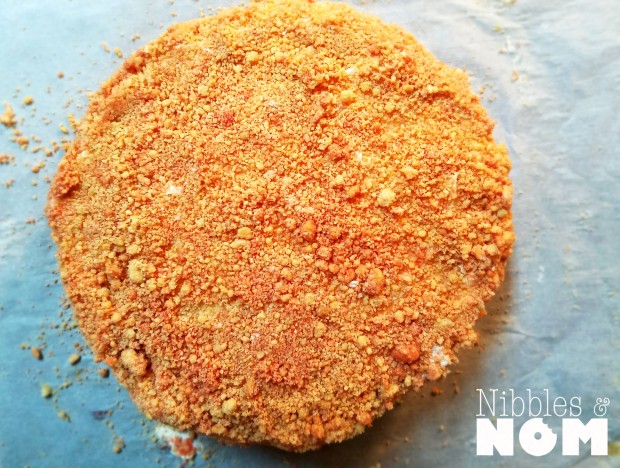
 

Crumble:

  1. In a food processor, pulse the cookies until they resemble sand
  2. Using your hand, “squish” the softened butter throughout the cookies, it will now be more like wet sand.
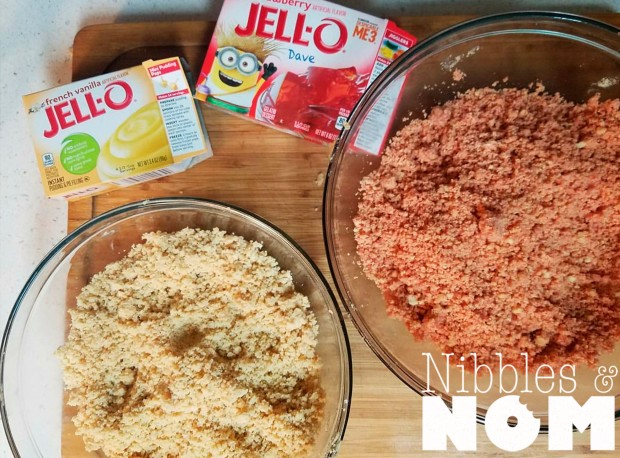
  3. Separate the crumbs into two bowls
  4. Sprinkle in strawberry gelatin ½ tbsp at a time until you get your desired color
  5. Add 1 tbsp of vanilla pudding to the other batch
  6. Combine the two batches
  7. This can be stored in a ziplock bag in the freezer
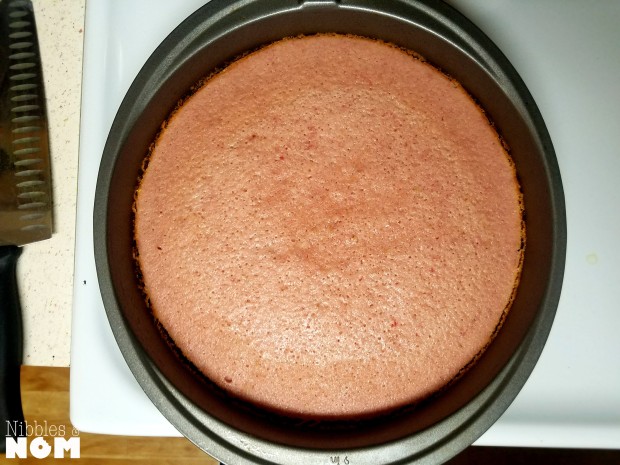
ss18

Cheesecake:

  1. Preheat oven to 325 degrees
  2. In the bowl of your mixer, whip the softened cream cheese.
  3. Add the sour cream
  4. Add the sugar and vanilla
  5. Add the corn starch
  6. Add the eggs one at a time
  7. Scrape down the sides, mix until combined
    1. You don’t want to see any large flecks of cream cheese, small specks are okay.
  8. Cut a circle large enough to fit into the bottom of a 9” cake pan
  9. Spray with cooking spray, place parchment
  10. Pour cheesecake mixture into the pan, gently tap the pan on your counter to release any bubbles
  11. Bake for roughly an hour
    1. The cheesecake will be slightly jiggly in the center, a tad firmer towards the edges
    2. This cheesecake is a filling so some browning and cracks are fine. No one is going to see this. This is basically sacrilegious for traditional cheesecake, I know, but trust me.
  12. Allow the cheesecake to cool
  13. Cover with plastic wrap and allow cheesecake to set in the fridge for at least 4 hours, or overnight preferably
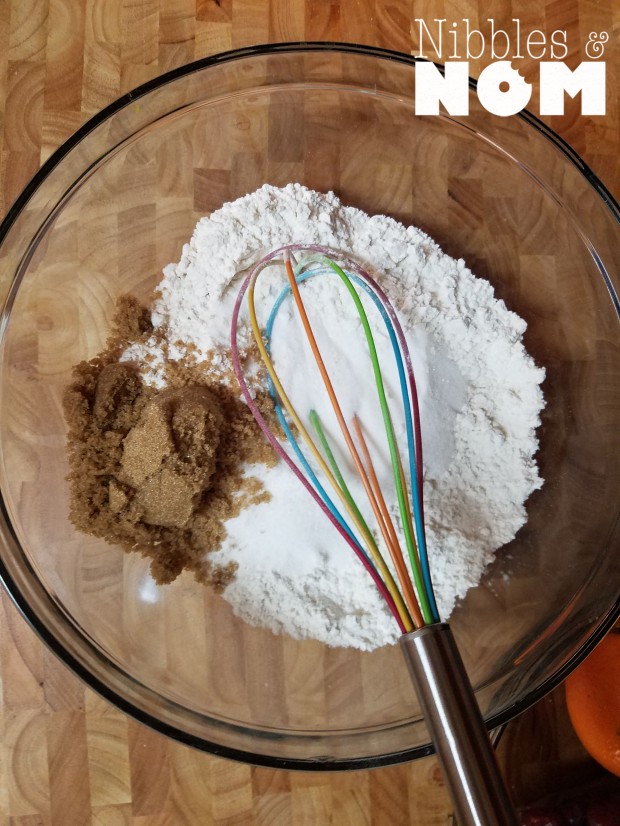
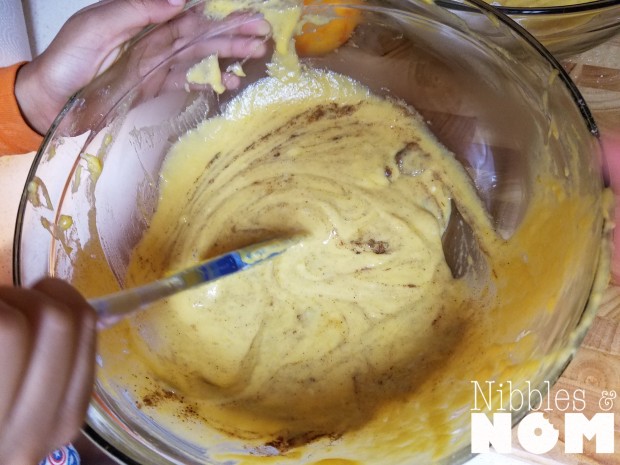
 

Strawberry Cake:


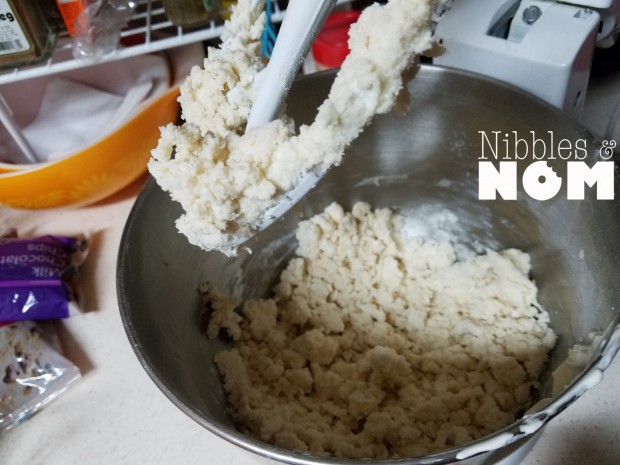
  1. In the bowl of your mixer, combine the flour, sugar, baking powder, salt and gelatin using the paddle attachment
  2. Add the softened butter
  3. Add the vanilla
  4. Add the milk
  5. Add the egg whites, beat to combine.
  6. Scrape down edges
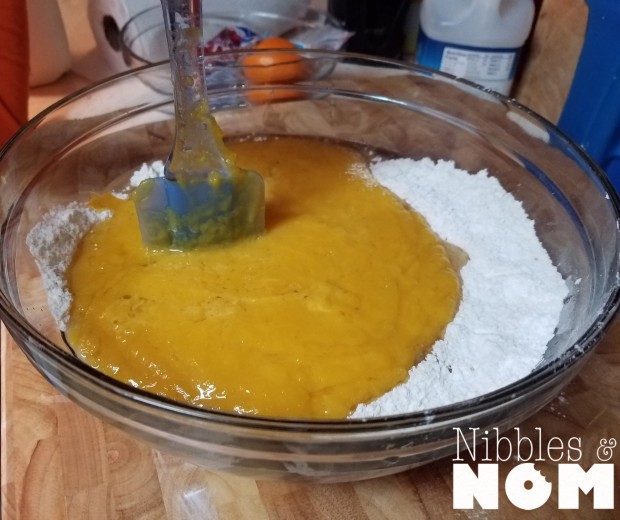
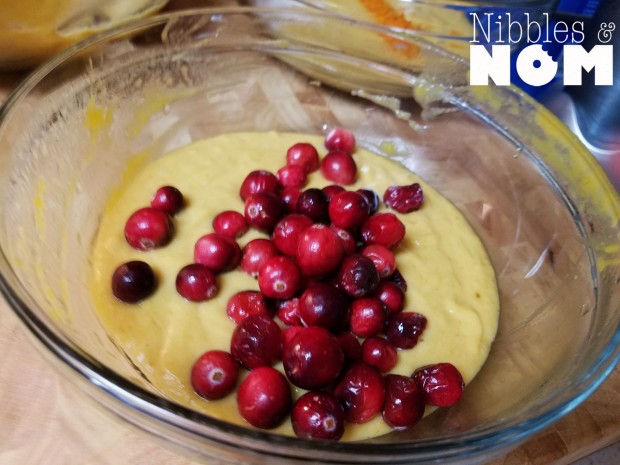
  7. Add cooled strawberry pureess
  8. Repeat above parchment*
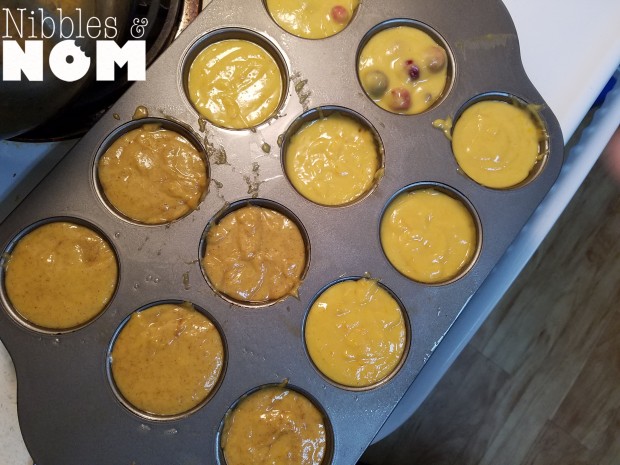
  9. Divide the batter in two 9” cake pans
  10. Bake at 350 until the cake passes the toothpick test, about 20 minutes
  11. Cool in the pan then remove and cool on rackss2


Vanilla Buttercream:

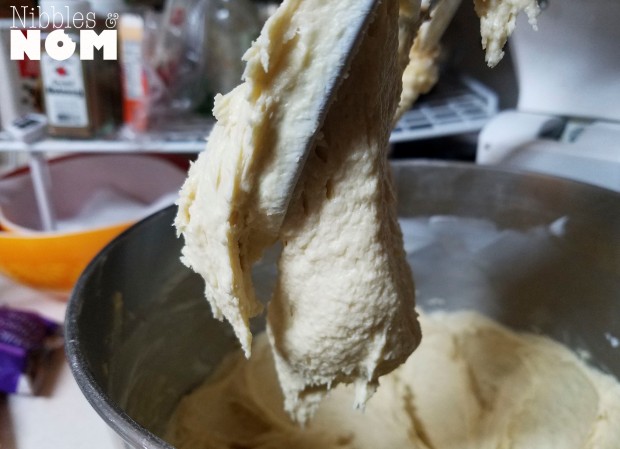
  1. In the bowl of your stand mixer, whip the butter on medium until the butter looks white and fluffy
  2. Add vanilla
  3. On low speed, slowly and carefully add the powdered sugar about a cup at a time
  4. Slowly increase the speed and whip until well incorporated
  5. Repeat steps 3 and 4 until all of your sugar is used

Leftover buttercream can be stored in the freezer in a ziplock bag.
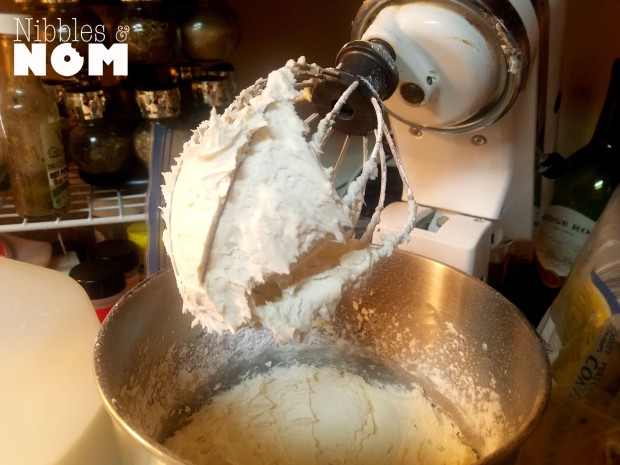
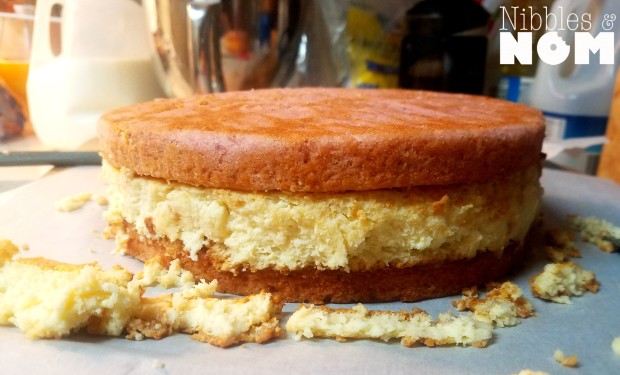
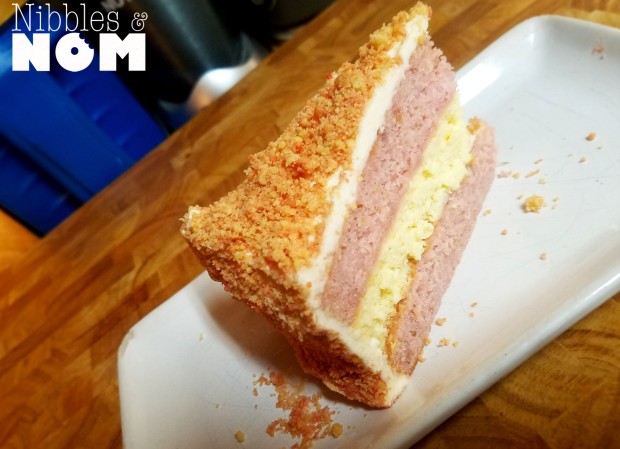
ss4


Assembly:

  1. Lay down some parchment paper
  2. Place on layer of cake, place cheesecake and top with second layer of cake
  3. If you need to, trim the cake to make it a uniform sizess3
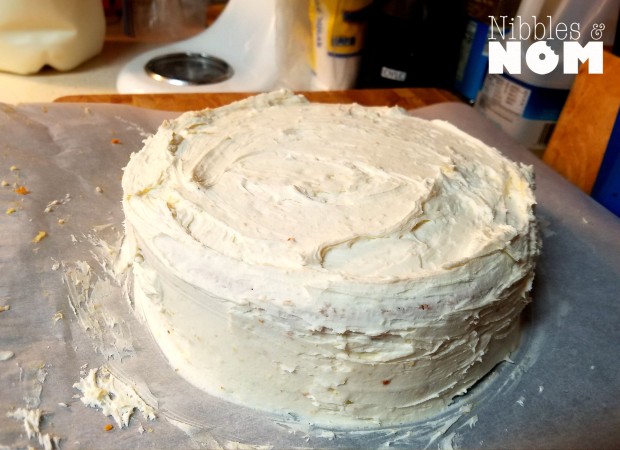
  4. Using a spatula, create a crumb coat on your cake
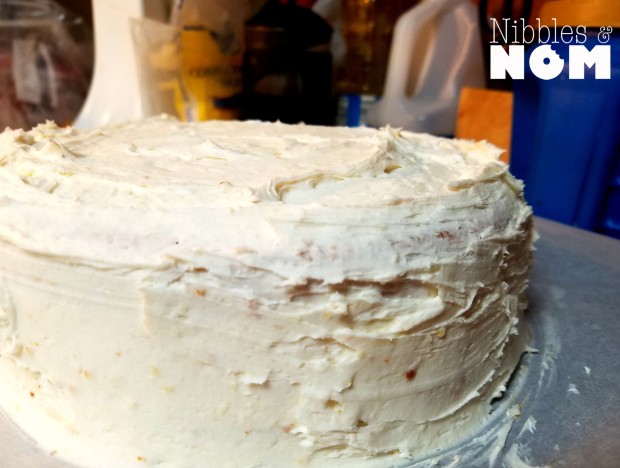
    1. This does not have to be pretty, it will not be seenss5ss6
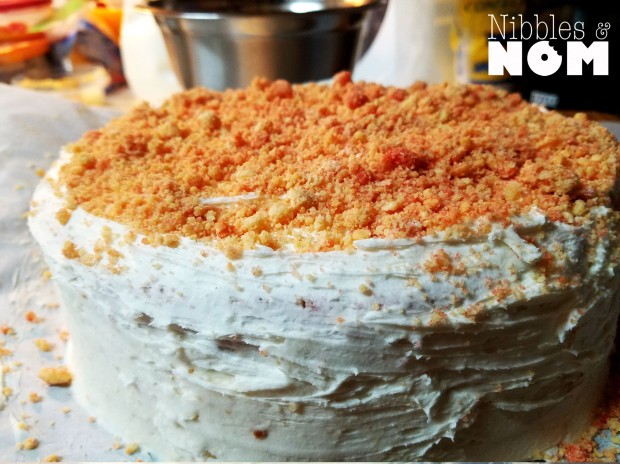
  5. Sprinkle your crumble on top of the cakess7
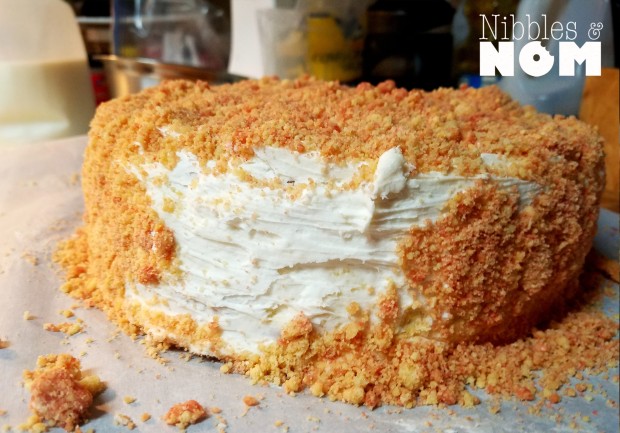
  6. Carefully apply the crumble to the side of the cake

ss8

ss10ss12ss13ss14ss15


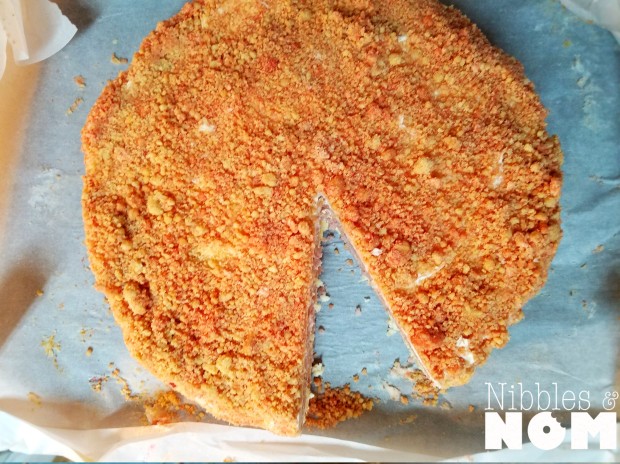
Store cake in an airtight container in the fridge! Enjoy!!


© 2017 by Alexa Mason. All Rights Reserved


Curried Pumpkin Coconut and Shrimp Soup

There are so many layers of flavor here from the mirepoix, to the curry, to the coconut, to the potent shrimp stock and of course, the pumpkin. This is a hearty, homey soup perfect for Autumn!

pumpsoup19

There are quite a few steps but don’t let this intimidate you. Organize your ingredients, your tools and get to work! I always say, work smarter not harder. Tackle one thing at a time in the order that you will be working. If you are roasting your fresh pumpkin, get that out of the way first. While that’s happening, you can get your shrimp stock simmering. Once you have everything lines up, just bang it on out!


Ingredients:

8 cup fresh chopped, roasted pumpkin (3-4 C canned pumpkin)

1 large onion

3 celery stalks

2 large carrots, or 3-5 smaller carrots

4-6 garlic cloves

1-2 lbs shrimp, deveined (save shells)

1- 13.5 oz can of coconut milk

6 tbsp preferred curry powder

5 tsp garlic powder

2 tsp paprika

1 tsp black pepper

Worcestershire sauce

kosher salt, to taste


  1. If you are using fresh pumpkin, roast this first. You can follow the steps here. pumpsoup7
  2. Peel your shrimp and place the shells in a pot, cover with waterpumpsouppumpsoup2
  3. Prepare your mirepoix
    1. Roughly chop celery, carrot, onionpumpsoup3
  4. Throw any peels, tops, etc. in the pot with the shrimp, stir.
    1. Bring to a boil and reduce to a simmer, this will be your shrimp stock
      pumpsoup4

      Shrimp shells, onion peel, celery stumps, carrot peel and heads

  5. Over medium heat, soften the mirepoix. Season with salt and pepper.pumpsoup8
  6. Add the pumpkin, add your spices plus salt and pepperpumpsoup9pumpsoup10pumpsoup12
  7. Drain the shells and peels from the stockpumpsoup5pumpsoup6
  8. Add 3-4 cups of shrimp stock, stir
  9. Reduce to simmer for 10-15 minutespumpsoup13
  10. Using an immersion blender, food processor or regular blenderpumpsoup14pumpsoup15
  11. Return to your pot, bring to a boil and reduce to simmer
  12. Add the coconut milk and 1-2 splashes of Worcestershire saucepumpsoup16
  13. Taste, taste, taste! Adjust your spices as needed. My family likes bold spice and flavor, you may want a little less or a little more. This is where you taste and adjust.
  14. Add your shrimp, stir and close the lid. Your shrimp will gently poach in the soup liquid.soup102
  15. Allow to simmer for another 20-30 minutes

pumpsoup17pumpsoup18pumpsoup19pumpsoup20

Optional:

Top with pepitas, drizzle of coconut milk or chopped mint or cilantro!


© 2017 by Alexa Mason. All Rights Reserved


Pumpkin Cornbread

A very homey, Autumny treat. These are lightly spiced. They smell, taste and look like my favorite season. These would be awesome with some really hearty chili. I served these with an equally Autumny Pumpkin Soup!

cb13


Ingredients:


1 cup pumpkin puree (fresh or canned)

1 cup reduced fat milk

¼ cup granulated sugar

¼ cup light brown sugar

2 large eggs

1 ¼ cup cornmeal

¾ cup AP flour, leveled

½ tsp baking soda

1 tbsp baking powder

¾ tsp

1 dash each: cinnamon, nutmeg, clove

4 tbsp unsalted butter, melted


cb

  1. Preheat oven to 400
  2. In a small bowl, whisk and combine puree, milk, sugar and eggs.cb3
  3. In a larger bowl, combine the dry ingredientscb2
  4. You’ll add the wet ingredients to the dry, plus the buttercb6
  5. Using a silicone spatula, just combine; do not over mix your batter
  6. Spray your muffin tin with cooking spray
  7. Scoop your batter into the tinscb7
  8. Bake for about 20 minutes until goldeny; and pass the toothpick test
  9. Allow to cool in the pan before transferring to rack
    1. For a little extra yum, top with butter while they’re hotcb8cb10cb11
  10. Store in air tight container


© 2017 by Alexa Mason. All Rights Reserved

Boston Creme Cupcakes


I’ve been itching to bake lately. My partner came up with the brilliant idea that I should try my hand at Boston Creme Cupcakes. I will tell you now, this is a labor-intensive cupcake. But they are so damn good, it’s worth it. Prepare your ingredients and your tools so that you can work quickly and efficiently. There are basically four key steps: Pastry cream, cupcake, ganache and fill/dip. Don’t let this intimidate you. Work smarter, not harder. Use your ‘down time’ productively and these will come right together before your eyes.


FYI: I did not use a super sweet, moist sponge for this because we’re filling it with sweet pastry cream and topping with a shiny ganache.


Ingredients:


Pastry cream:

2 egg yolks

6 tbsp granulated sugar

1 ½ tbsp cornstarch

1 c half and half

1 tbsp butter

1 tsp vanilla extract


Sponge:

1 ½ cup AP flour

1 cup granulated sugar

1 ½ tsp baking powder

½ tsp salt

1 stick of butter (unsalted), room temp

½ cup of light sour cream

1 large egg, 2 yolks, room temp

1 ½ tsp vanilla extract


Ganache:

4 oz semi-sweet chocolate chips

4 oz milk chocolate chips

½ cup of half and half

1 tbsp of butter


Pastry cream:

  1. In a bowl, beat yolksbc
  2. In a sauce pan, add sugar, cornstarch and milk, mix until combined
  3. While cooking, whisk constantly. It will begin to thicken.bc3
  4. Reduce heat and allow to simmer for 1-2 minutes, take off of the heat
  5. Add a small amount of the hot milk mixture to the eggs and whisk.
    • This is called tempering. You want to ensure that you don’t cook the eggs. So, slowly add some hot liquid to warm up the temp of the yolks.bc2
  6. Add the egg mixture to the hot milk mixture and whisk
  7. Put the saucepan back on the heat and bring to a boil, allow to continue for 1-2 minutes. Whisking constantly.
  8. Take off of the heat and add your butter and vanilla and combinebc4
  9. Set to the side to cool


Sponge:

  1. Preheat oven to 350
  2. Line or spray your cupcake tin
  3. Combine dry ingredients in a large bowl or the bowl of your stand mixer
  4. Add the butter, the sour cream, the egg (plus yolks) and the vanilla
  5. Beat using the paddle attachment for 20-30 seconds, you don’t want any “pockets” of flour20171118_190204bc5
  6. Fill the tins
  7. Bake until the cupcakes pass the toothpick test (roughly 20-25 minutes)
  8. Again, these aren’t super sweet or super moist. The tops will likely crack some. You’re doing amazing, this is not “wrong”. The sponge is actually almost like a soft scone, a perfect vehicle for filling and topping.


Ganache:


  1. You’re going to create a double boiler with a pot of boiling water and a glass bowl (my preferred method)
  2. Put the chocolate in the bowl
  3. Add the half and half
  4. Using a whisk or silicone spatula, stir as the chocolate is meltingbc6
  5. Stir in a tab of butter, this adds a super pretty sheen (and well, butter flavor, duh)


  • Remove your cupcakes from the oven and allow to cool
  • Using a tool or a knife (if push comes to shove, use your finger) to create a canal for the pastry creambc7
  • Fill the cupcakesbc8
  • Carefully dip the cupcakes in the ganache to coat the topbc9
  • As the ganache cools, it will harden.
  • These are best served warm or room temperature. NOM!

bc10bc11

Curry Chicken and Veggie Noodle Stir Fry

A few people have requested the walk through to this dinner. I winged that meal. I posted about the dumplings. I knew that I needed a side that incorporated vegetables. I did not measure most of these ingredients. It’s a very quick dish. Just taste as you go and keep adjusting. You can start with what I have below, but adjust to suit your preferences.

nood4

Ingredient:

1 box of angel hair pasta

Sliced boneless skinless chicken thigh

Shredded cabbage

Shredded carrots

Scallions

Sliced onion

2 tbsp Curry powder

1/8 c Low sodium soy sauce

2 tsp Oyster sauce

½ tsp Fish sauce

Lower sodium chicken stock, as needed


  1. Salt and bring water to a boil, cook your pasta and drain
  2. In a very large skillet or wok, on high heat cook your chicken
  3. Cook your veg (minus scallions)
  4. Throw the noodles in the pan
  5. Add the soy sauce, oyster sauce, fish sauce and curry powder.nood
  6. Using tongs, toss the noodles, the veg and the chicken all together to incorporate the ingredientsnood2
  7. Taste, taste, taste and adjust as necessary
  8. If the noodles start to stick, splash in some chicken stock and continue to toss
  9. Top with fresh scallions, whites and greens. Boom!


nood5


© 2017 by Alexa Mason. All Rights Reserved

Chicken and Pork Dumplings

No frills. This is a very easy recipe. Once you get the technique down, you can start playing with different flavors and different fillings.


wt14


Ingredients:


Wonton wraps

Roughly chopped scallions

¼ c shredded carrots

4-5 oz ground pork

4-5 oz ground chicken thigh

Small splash of sesame oil

1 tsp of oyster sauce

½ tsp of fish sauce

2 tbsp of low sodium soy sauce


  1. As you are working, keep your wontons covered with a kitchen towel to prevent them from drying out.
  2. In a large bowl, combine your ingredients using a spatulawontonwontonnnnjnn3
  3. In a sauce pan, cook a small amount of meat to taste your seasoning. Adjust as you see fit.wonton4
  4. Using a spoon, scoop a small amount of meat on to your wonton wrapper. Don’t over fill.wt5wt7wt8
  5. Dip your finger in water and rub it along the edge
  6. Fold the opposite side of the wontons and seal them
    1. You can totally do a more fancy seal. This is the easiest one in my book.
  7. I steamed these dumplings using a steamer basket
    1. Bring a little bit of water to a boil then reduce to a simmer
    2. Spray basket with cooking spray
    3. Place several dumplings at a time
    4. Steam for 5-6 minuteswt9wt10
  8. I seasoned mine impeccably and they didn’t need a sauce, however, if you want a sauce I whipped one up here

wt11wt12wt13wt14


© 2017 by Alexa Mason. All Rights Reserved

Quinoa, Chickpea and Feta Salad

This is one of my go-to salads. I am obsessed with all things feta. I’d eat it by the handful, tbh. I often do variations of this based on what I have in my house at the time. This salad can be served warm or cold. Sometimes you just crave a big colorful bowl of veggies. Feta and balsamic go together beautifully.

sal6

Some optional add ins:

  • cucumber
  • zuchinni
  • squash
  • fresh basil
  • fresh mint
  • fresh oregano
  • tofu
  • chopped chicken if you absolutely need meat

Ingredients:

  • 1 can of rinsed and strained chickpeas (Garbanzo beans)
  • 1 medium red onion, chopped
  • 1 tomato, chopped
    • you can use a cup of halved cherry tomatoes
  • 2 cup of fresh spinach
  • 1 cup (measured uncooked) quinoa
  • 1 cup of feta
  • 1 tbsp of balsamic vinegar (optional, I love vinegar)
  • 1 tbsp of balsamic dressing
  • Seasoning, to taste:
    • kosher salt
    • black pepper
    • crushed red pepper
    • crushed mint
    • oregano
  1. Prepare your quinoa
    • I prepare my quinoa the same way I prepare my brown rice: LIKE PASTA! Boil it to your desired doneness and then drain in a strainer. Boom!
  2. Chop your veg
  3. Measure out your seasoningsal2
  4. Add to a large bowl
  5. Add cooked quinoa
    • The cooked quinoa will warm the salad and wilt the spinachsal1
  6. Add seasoning
  7. Add dressing(s)
  8. Toss
  9. Serve warm or coldsal3sal4sal5


Super Loaded Buffalo Chicken Potato Skins

I was messing around in the kitchen yesterday evening trying to find something quick and easy. I had some bleu cheese leftover from buffalo bacon cheeseburgers (omg) last week. I noticed that I had some mondo-potatoes in my batch. They were obscenely large. If I grow a third ear, we’re going to blame it on the potatoes.


These are super indulgent and also super easy to make. I didn’t sub any low-fat ingredients this time so this is full of fat ergo perfect and hella delicious.


This was an improvised meal so the ingredients are not exact. It’s not so much a recipe as it is a template. Honestly, just use what you have and adjust proportions to suit your taste. It can be easily scaled as well.

Untitled-2

Ingredients:

Potatoes

1-2 c shredded chicken

3-4 strips of crispy bacon

About a tbsp of cream cheese

About ¼ c of bleu cheese

½ cup of shredded cheese, extra for topping

4 scallions, whites and greens

About ¼ c of pickled jalpenos

1 habenero

½ medium red onion, finely chopped

Salt

Pepper

Garlic powder

Chili powder


  1. Preheat your oven to 425
  2. Clean potatoes
    • Rub with oil and season with s&p
    • Pierce with a fork or knife
  3. Place bacon on baking sheet and place into the oven as well
    • (you can do this on the stove if you prefer).
  4. Bake potatoes for about 45 to 60 minutes
    • Remove the bacon once its crispy
    • DO NOT BURN YOUR BACON. It’s like treason or something.
  5. Meanwhile, you can chop and prep your veg and other fixinsPS
  6. Allow to cool
  7. Chop your bacon, reserve some for topping
  8. Carefully scoop out the insides and place into a bowl
  9. Add cream cheese and bleu cheesePS2
  10. Using a fork incorporate ingredients, add salt and pepper
  11. In large bowl, combine the chicken, seasonings and fixins using a silicon spatula
  12. Fill the potato skins with the fillingPS3
  13. Top with shredded cheese
  14. Place back into the oven until the cheese is melted and the potatoes are warmed through
  15. Top with more bacon and more scallions

ps4ps5ps6

Lazy Buffalo Sauce for a drizzle:

Using a 1:1 ratio, add hot sauce to melted butter and whisk until combined.

Optional: Jazz it up with Worcestershire, granulated garlic, cayenne and a little white vinegar.


© 2017 by Alexa Mason. All Rights Reserved

Pumpkin Muffins Three Ways

Halloween and Autumn mean not only will a bunch of candy will be brought into the house but also pumpkins! I’ve found myself thinking of creative ways to eat the pumpkins as opposed to just trashing them. Last year, I tinkered around with Cranberry Pumpkin Scones. We’ve got a lot of pumpkins this year so this will be one part of a series of “what the hell can I do with this pumpkin?” recipes.


I’m indecisive. I was also hungry, so I found it difficult to decide which direction to go with the muffins. When all else fails, do it all and feel guilty about it later lol.


The base of the muffins remains the same across the board. I divided the batter and individualized three different batches. Cranberry Pumpkin, which is very tart and tangy. Orange Pumpkin, which is beautifully flavored and scented using fresh orange zest and a squeeze of juice. Spiced Pumpkin, which made me actually say “wow!” I topped the muffins with leftover streusel from my Cranberry Peach Muffins. The streusel seriously sets off the Orange and the Spiced. I eyeballed my fixins so really, just add your goodies to taste.


Obviously, this recipe called for fresh, roasted pumpkin but if you’re using canned that’s perfectly fine too.

20171104_110837 copy


Basic Pumpkin Muffin Batter

Yields roughly 15
Ingredients:

1 ¾ cup all purpose flour

1 tsp baking soda

½ tsp salt

½ c vegetable oil

¾ c granulated sugar

½ cup lightly packed brown sugar

2 c pumpkin puree (fresh or canned)

1 tsp vanilla extract

2 large eggs

¼ c milk


Streusel


Optional add ins:

Fresh cranberries

Pumpkin spice or cinnamon, nutmeg and all spice (to taste)

Freshly grated orange zest, at least one orange and a squeeze of juice


  1. Preheat oven to 425 degrees
  2. Spray muffin tins with cooking spray
  3. In a large bowl, combine dry ingredients and in another bowl combine wet ingredients including puree20171104_11175120171104_112426
  4. Carefully fold wet into dry until just combined and you don’t see any splotches of flour
  5. At this point, I divided the batter into three bowls
  6. Gently fold in cranberries into one batch20171104_113037 copy
  7. Zest your orange, gently combine zest and squeeze of juice into one batch20171104_112835 copy
  8. Add your spices, adjust ratio to suit your tastes20171104_113025
  9. Bake at 425 for 5-6 minutes then reduce to 350 degrees, bake until they pass the toothpick test, about 15-20 minutes.
    • Do not forget to reduce from 425 to 35020171104_11415520171104_114558
  10. Allow them to cool in the tin before removing20171104_12181720171104_121820
  11. Store in an airtight container in the fridge

20171104_12374520171104_12375820171104_12383520171104_12394220171104_12403820171104_124134


© 2017 by Alexa Mason. All Rights Reserved