I make my son special cupcakes for his birthday each year. When I asked him what he wanted this year he told me he wanted a Poptart cupcakes and I kind of just stared at him. Frankly it just sounded like a lot of work and there was no guarantee that I could pull it off because who the hell has heard of Poptart cupcakes. At first I was going to blow him off and just “you get what you get what” him.
But I started playing with the idea.
I went to the Google to see if I was on the right track. I was surprised to find that all of the other recipes I saw were….not like this. So I sat down and worked it out and this is what I came up with. I fully intend on doing these again. There are just so many flavor-filling options!
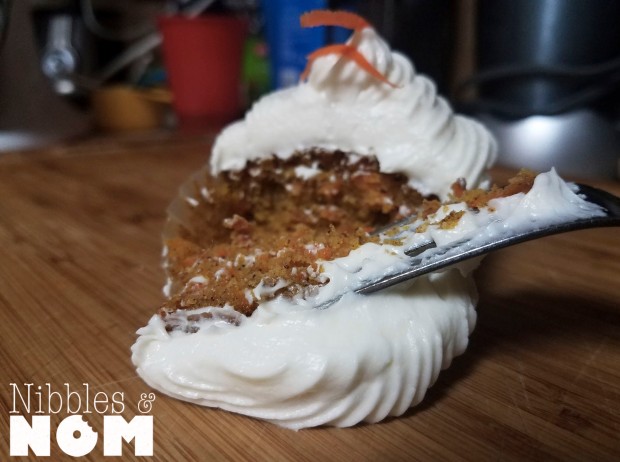
We prefer strawberry Poptarts. I decided to pump up the berry by adding raspberry to the mixture. I matched the tangy raspberry with the tart lemon juice. The jam is bright and tart, so it cuts through the sweetness of the other components. The jam would be amazing on a croissant *drool*.

It may look like a lot of work but just break it up into steps. Some things you can make ahead. This is my suggested order:
- Cupcake
- Jam
- Icing
- Decorate
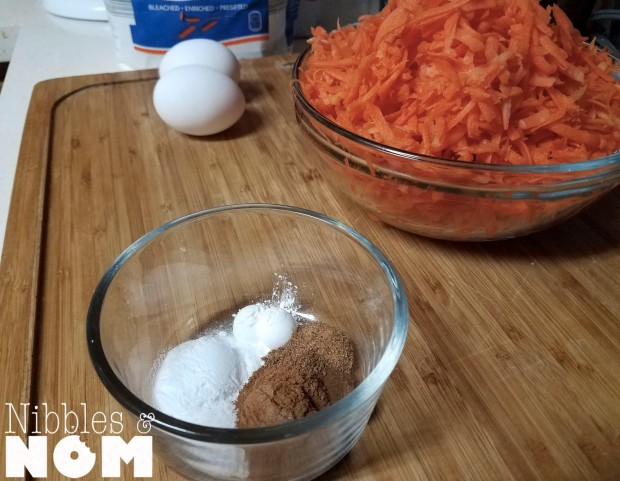
Ingredients:
For Jam:
1 pint of raspberries
1 cup of roughly chopped strawberries
1/4-1/2 sugar
1/8 c water
1/8 c lemon juice
Tsp lemon zest
For Icing:
2 egg whites, room temperature
4+ c confectioner’s sugar, sifted
1 ½ c melted white sugar morsels
½ tsp vanilla extract
1 tsp water, if needed
Decorations:
Pieces of poptart
Strawberry jello
Sugar crystals*
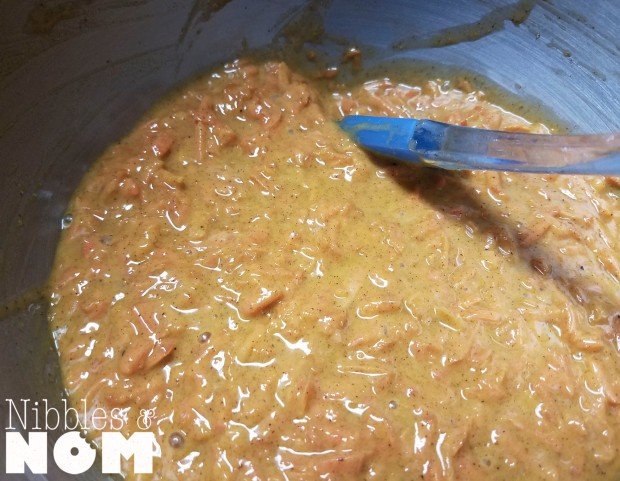
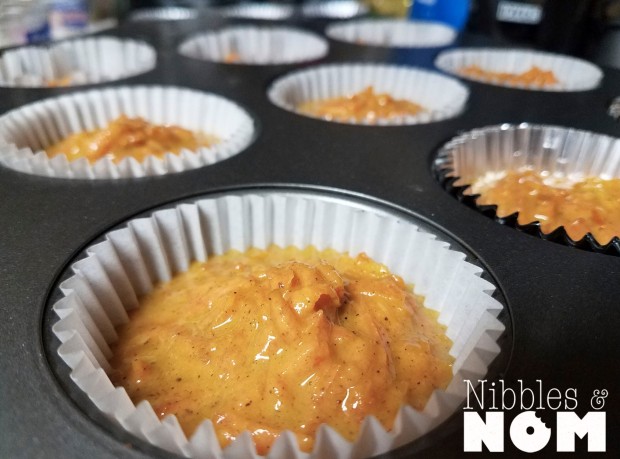
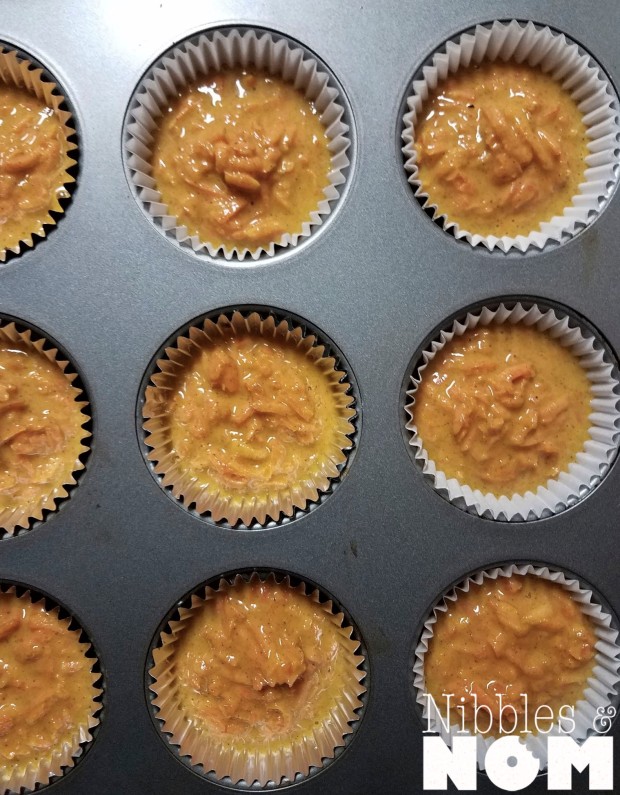
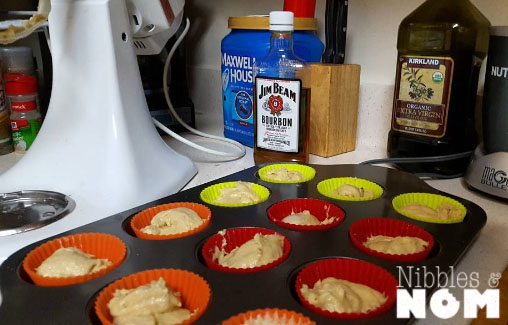
- Prepare the vanilla cupcakes

For the jam:
- Combine the liquids and the sugar
- Stir until sugar melts
- Add berries
- Bring to a boil and reduce to a simmer
- Simmer covered until the berries start to break down (you can smush to help it along)
- Simmer uncovered, stirring frequently until the liquid begins to evaporate and the mixture thickens (this is called reducing).
- Taste and adjust to your preference.
- You want a pretty thick, scoop-able consistency but honestly, you just don’t want it watery. Otherwise your sponge will just sop it up and then your filling won’t be much of a filling.
- Set aside to cool. (This is an easily adjustable recipe, this was more than enough for 12 cupcakes and breakfast toast the next day.)
For the icing:
- While the cupcakes are cooling, melt the white chocolate over a double boiler

- Set aside to cool
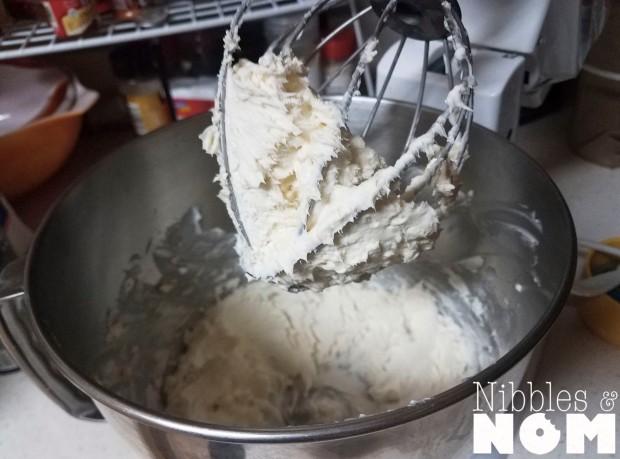
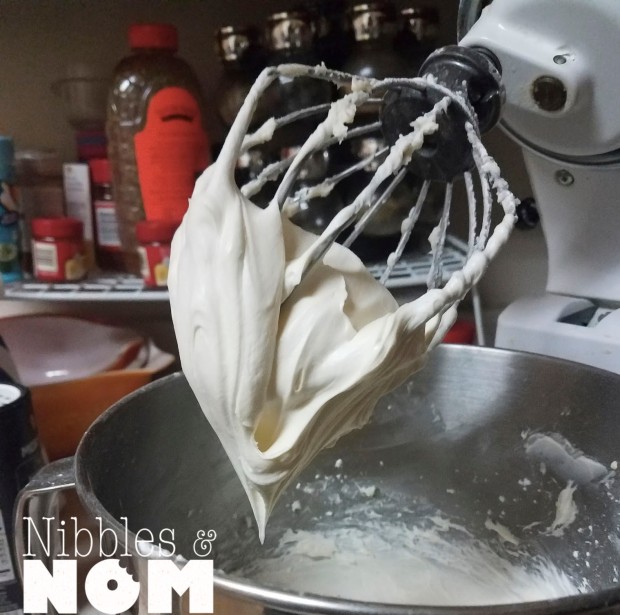
- In your stand mixer, use the whisk attachment to beat the whites until they’re fluffy
- Add vanilla extract
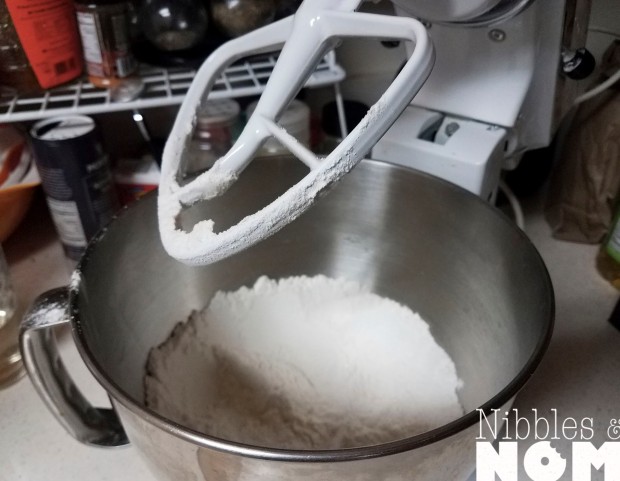
- Slowly incorporate some of the powdered sugar
- Mix in the white chocolate
- Continue adding the sugar
-
- Here is where I hiccupped, my icing was way drippier than I wanted. Add as much sugar as you need to achieve a thick-spread that won’t drip down a bunch.
- Prepare your decorations
-
- I could not find crystal sprinkles so I made colored sugar*

- I could not find crystal sprinkles so I made colored sugar*
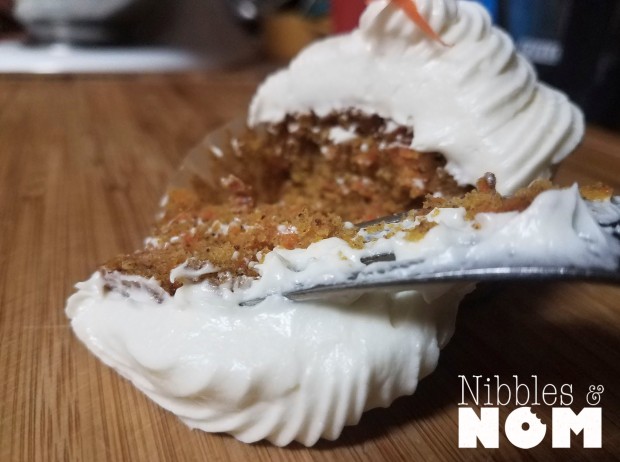
- Poke your finger or a cylindrical tool deep into the cupcakes to form a divot. You don’t want to poke through the cake

- Fill the divots with the cooled jam

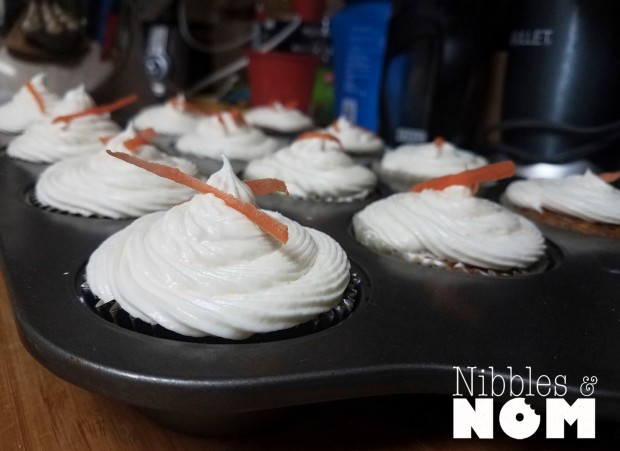
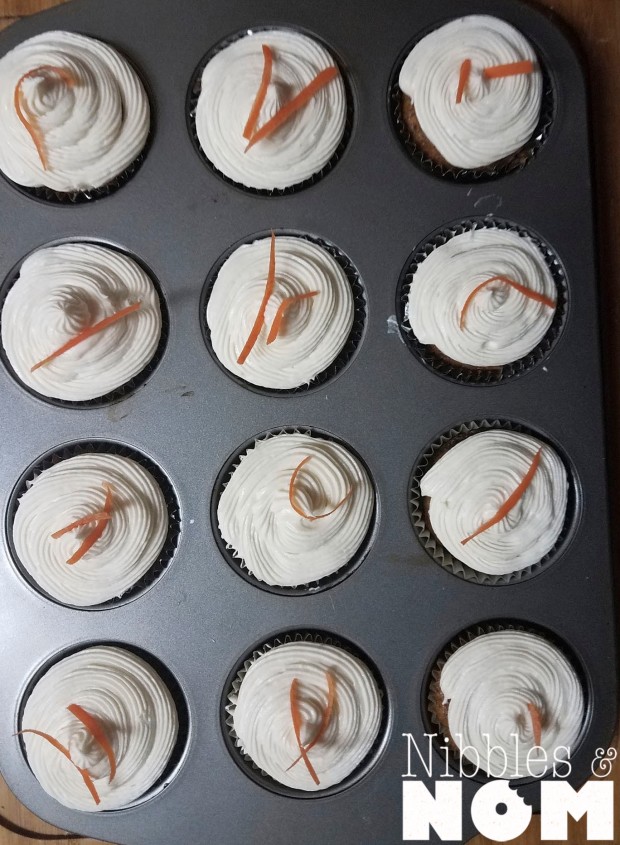
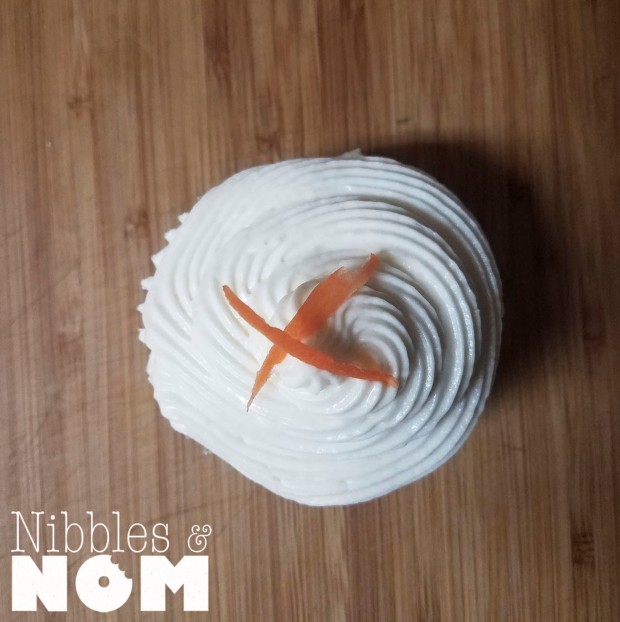
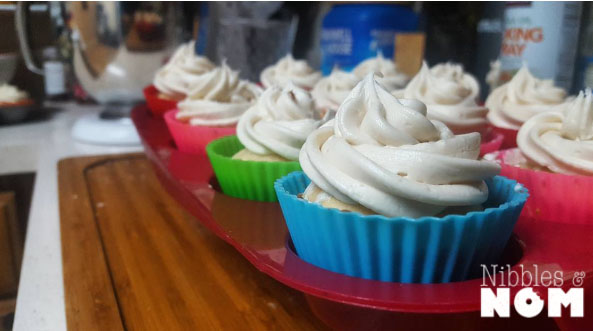
- Spread the thick icing on top
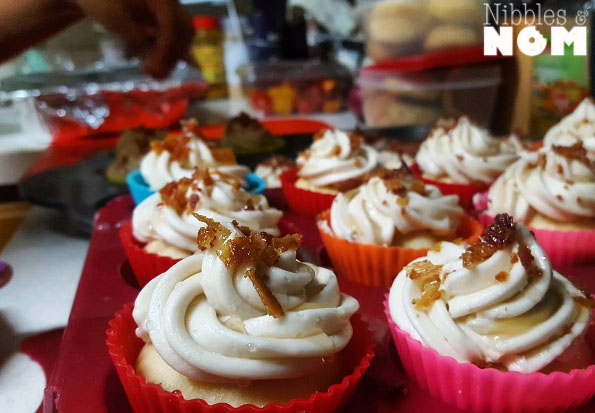
- Stick in poptart pieces
- Sprinkle with sprinkles or sugar and strawberry jello
Happy 8th Birthday, kid.


© 2019 by Alexa Mason. All Rights Reserved