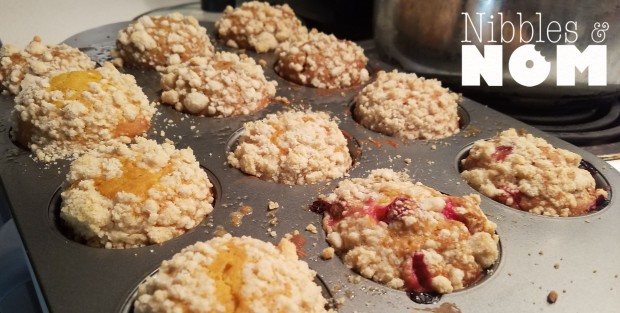
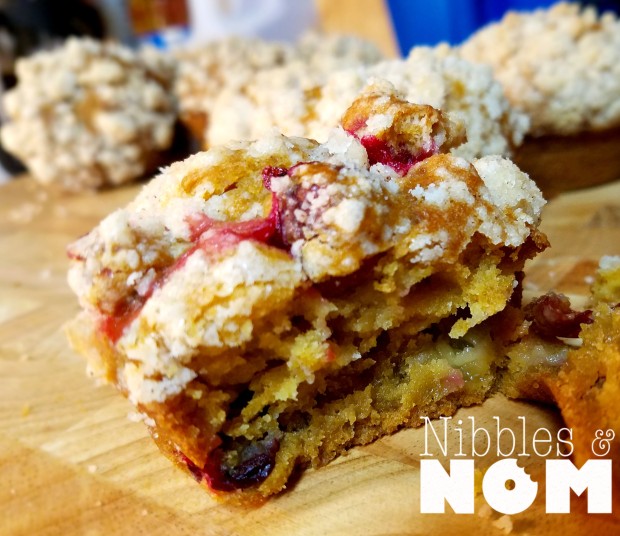
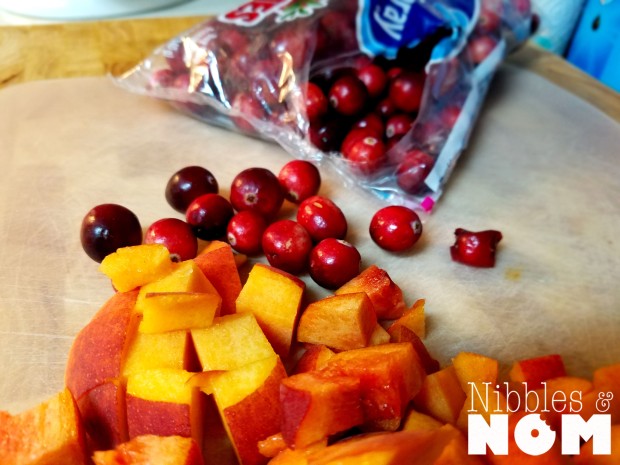
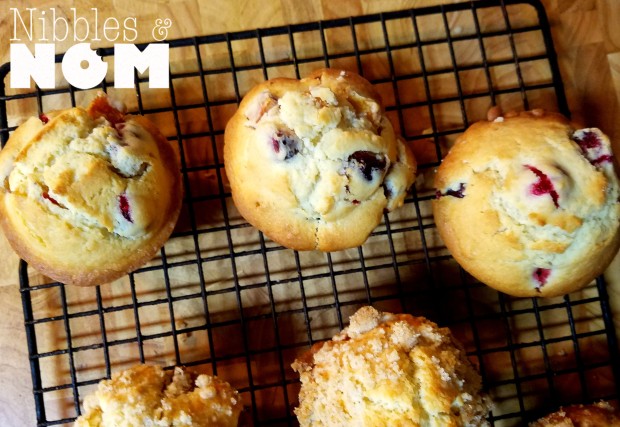
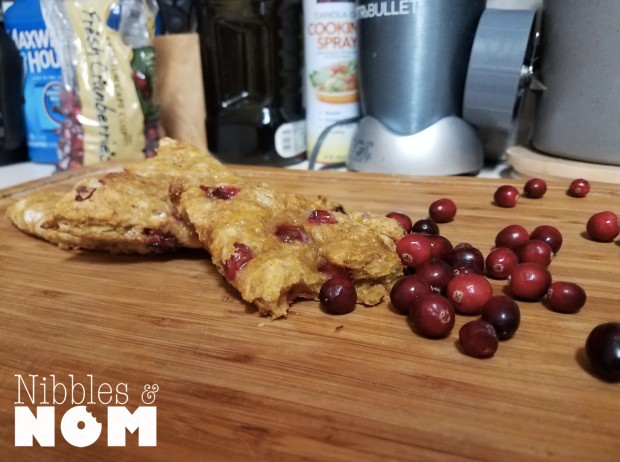
Tis the season! Cranberries are available!! This makes me happy, as you can tell. I like to use cranberries as often as I can. They’re yummy and tart, but they’re also really good for you! I like to keep a bag in the freezer and one in the fridge. Next time you make a smoothie, grab a handful and add them! So good.
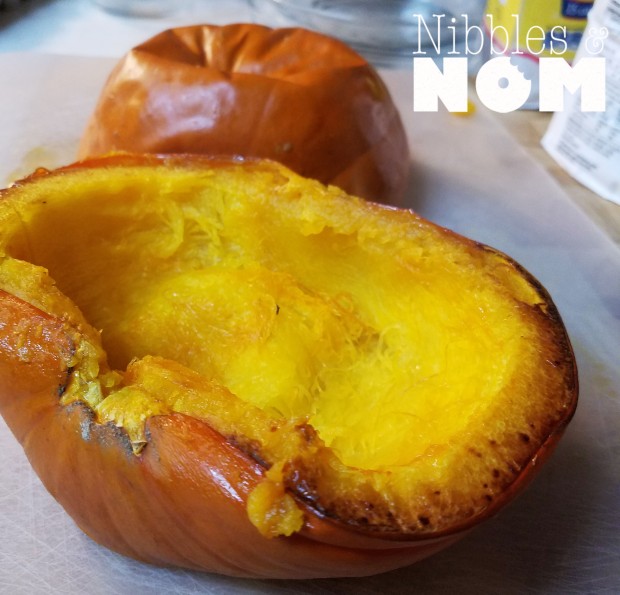
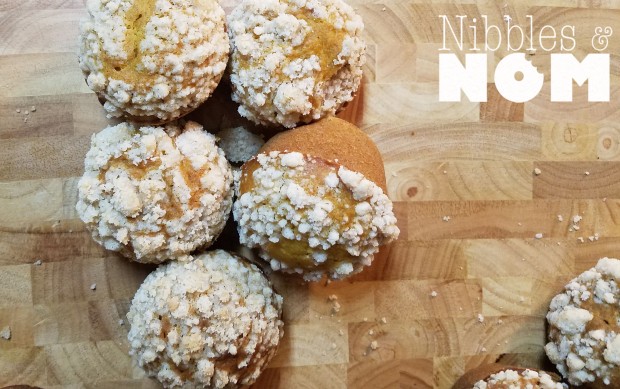
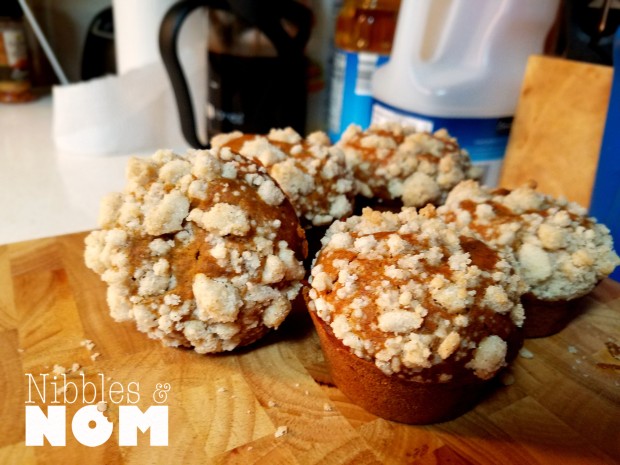
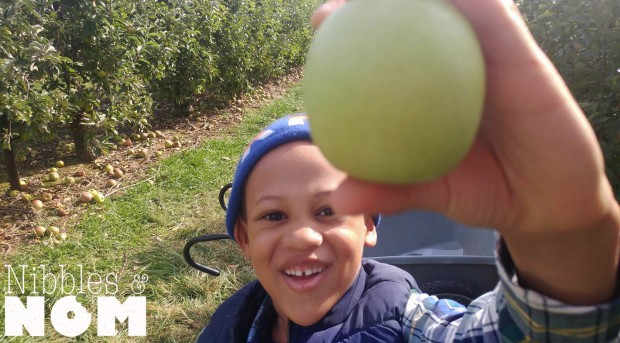
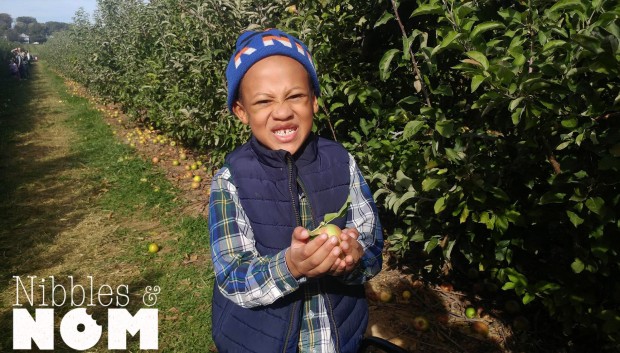
My son went pumpkin picking and this guy has been gracing our dining room table for weeks. I wanted to make good use of him before he began to rot since he opted out of making a jack-o-lantern. I decided to make some scones. 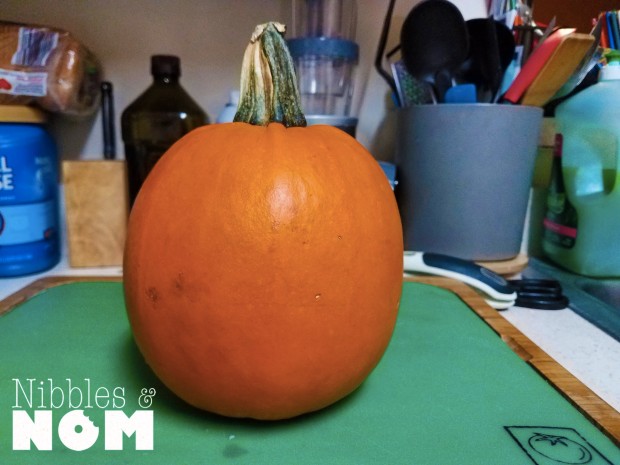
I’m pretty sure that scones were my first foray into “adult baking” (whatever the hell that means lol). They’re pretty easy and the technique remains the same no matter what you add in. I’ve done blueberry, blueberry lemon, cranberry and a few others. They keep very well and if you want, you can freeze the formed scones and just pop them in the oven at a later date!
This is my first time making these. My first time cooking with fresh pumpkin too!
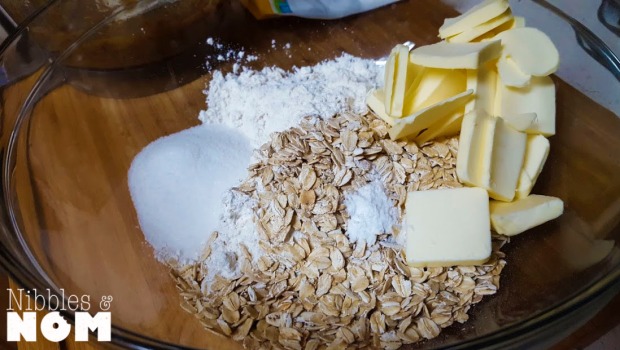
Ingredients
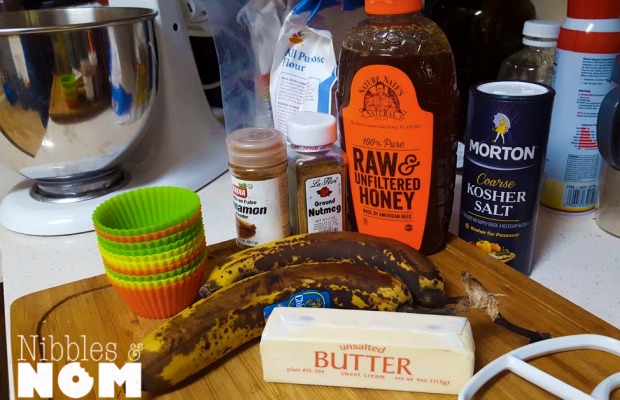
2 cups all purpose flour
1/3 c (packed) light brown sugar
1 tsp baking powder
½ tsp baking soda
1 tsp cinnamon
¼ tsp salt
½ cup VERY cold butter
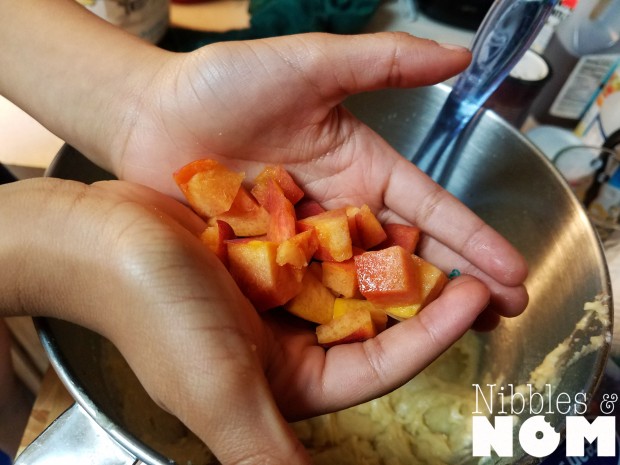
1 cup pureed pumpkin (fresh or canned)
½ VERY cold milk
1 tsp vanilla extract
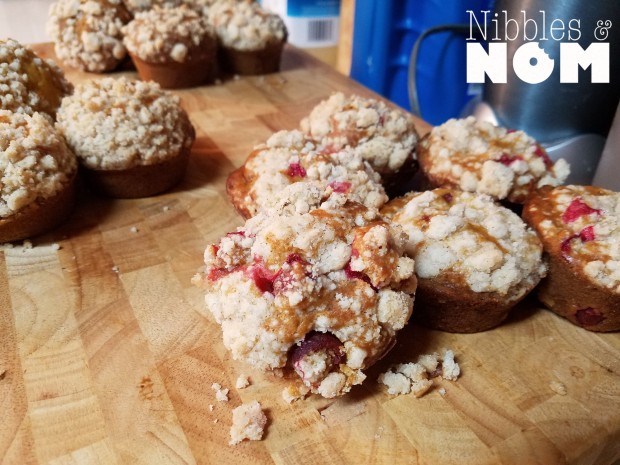
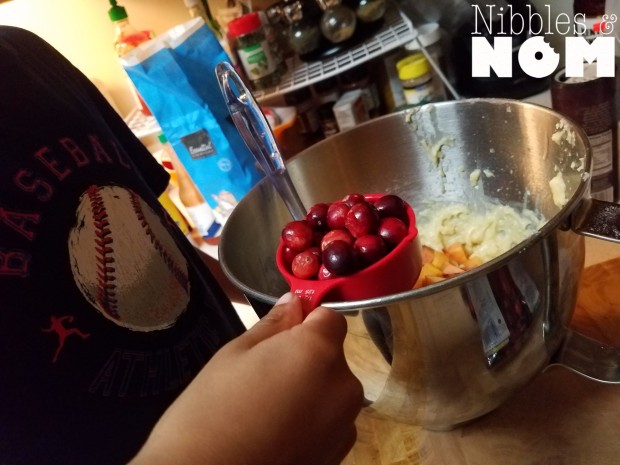
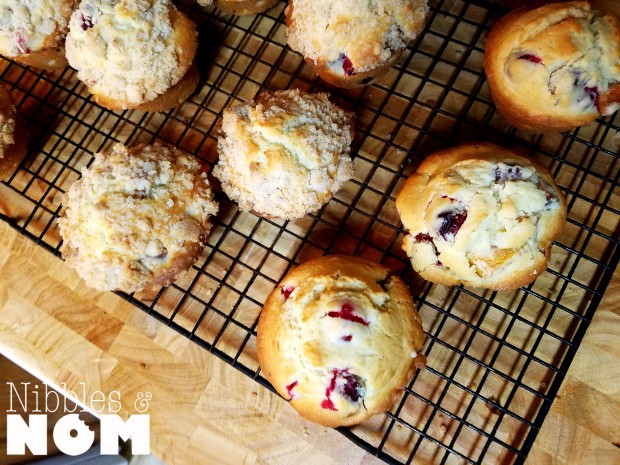
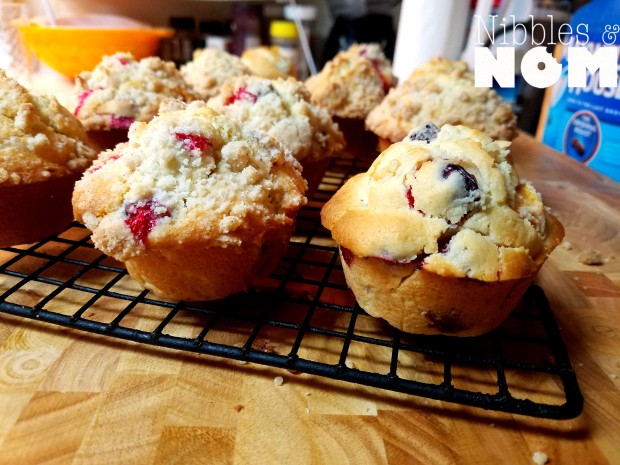
½-1/3 cup fresh cranberries (or ½ cup dried)
¼ heavy cream
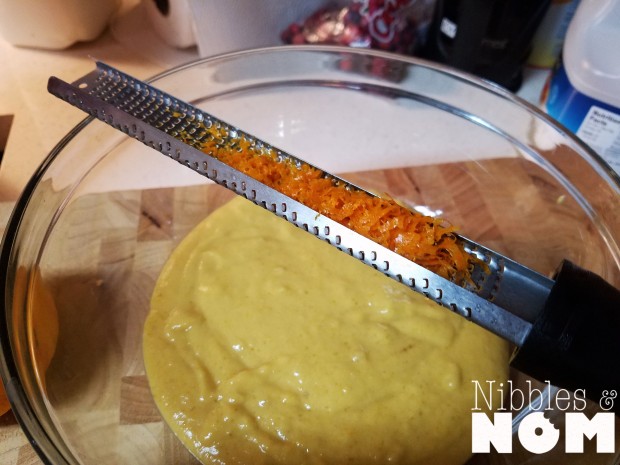
(Aside: I used fresh pumpkin for this recipe. I cut the pumpkin, lubed it up with some olive oil. I roasted the pumpkin for about 45 minutes (or until tender). I allowed the pumpkin to cool before scooping out the flesh. If you want to skip this step, feel free to use canned pumpkin.)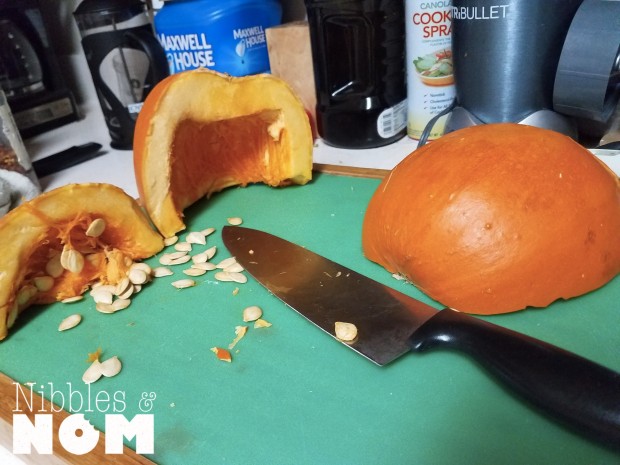

Preheat oven to 375.
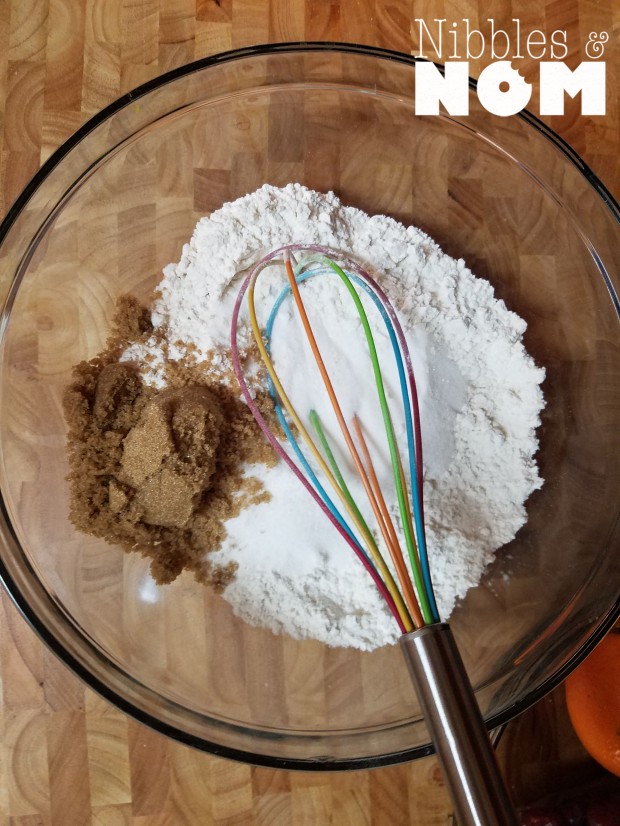
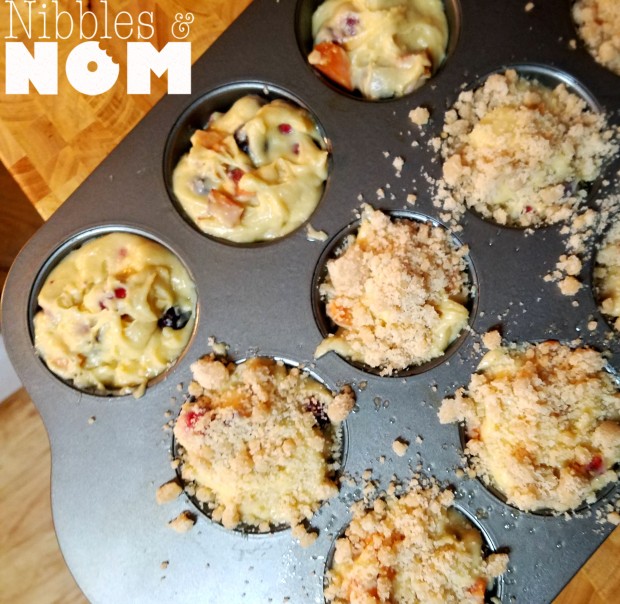
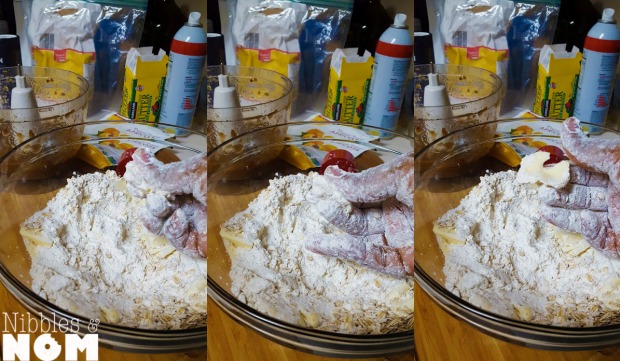
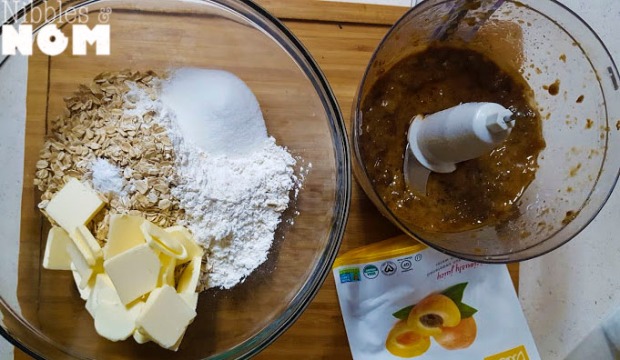
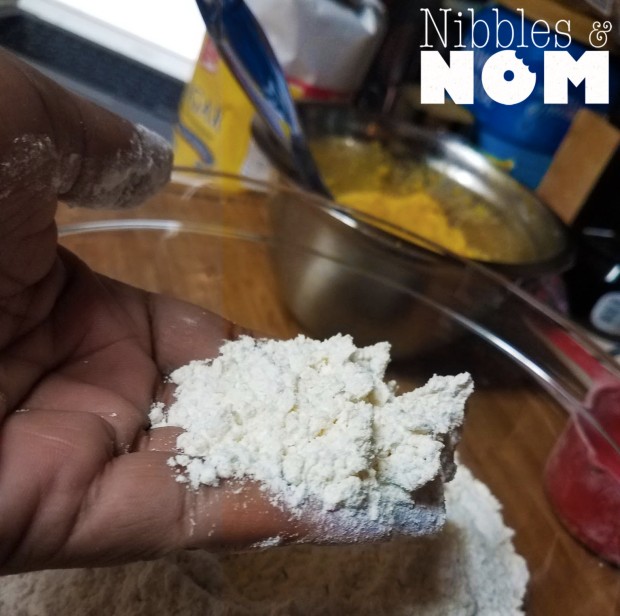
In a food processor, pulse VERY COLD butter (cut your butter into ¼ inch tabs) and flour together until it resembles coarse meal.
To that, add sugar, baking powder, cinnamon, baking soda and salt.
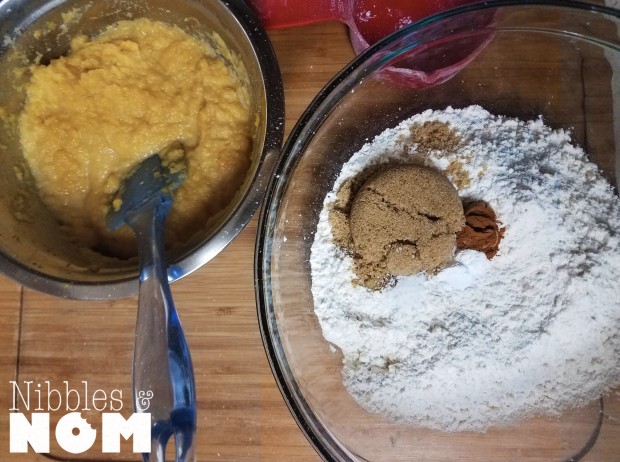
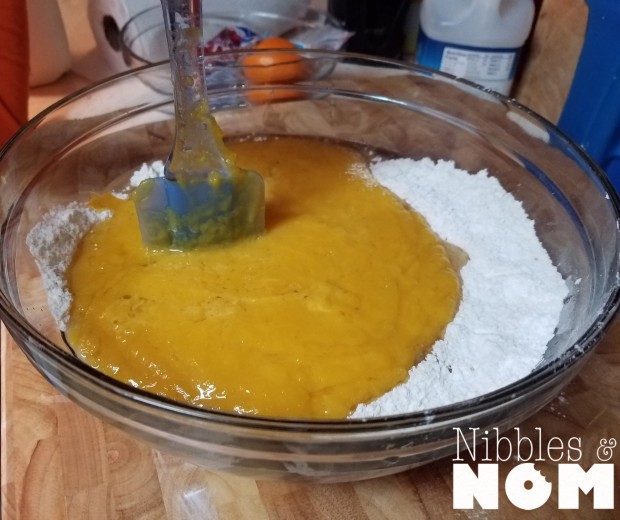
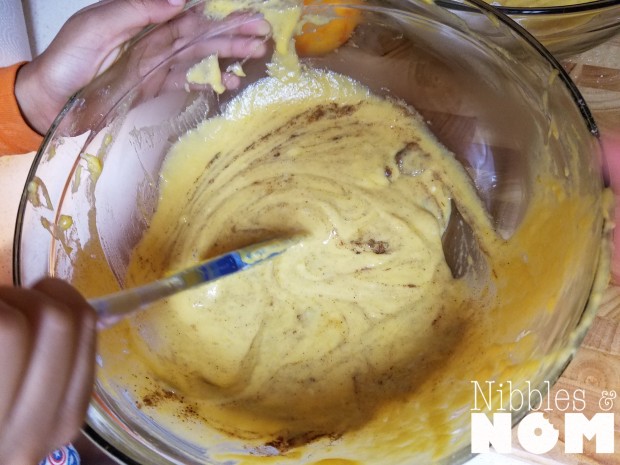
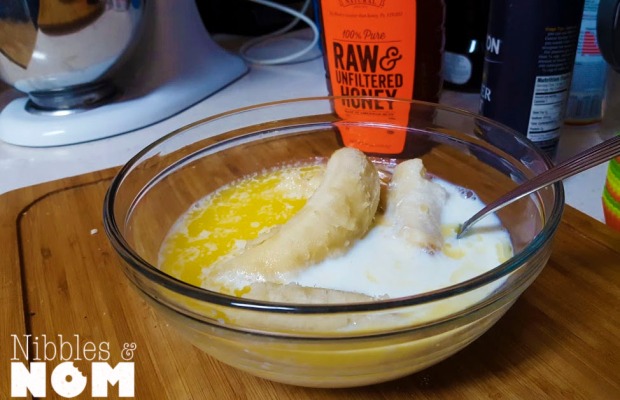
In another bowl, combine milk, pumpkin and vanilla until smooth.

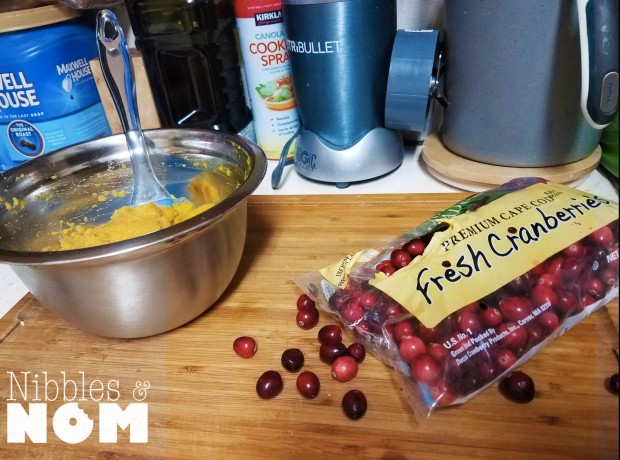
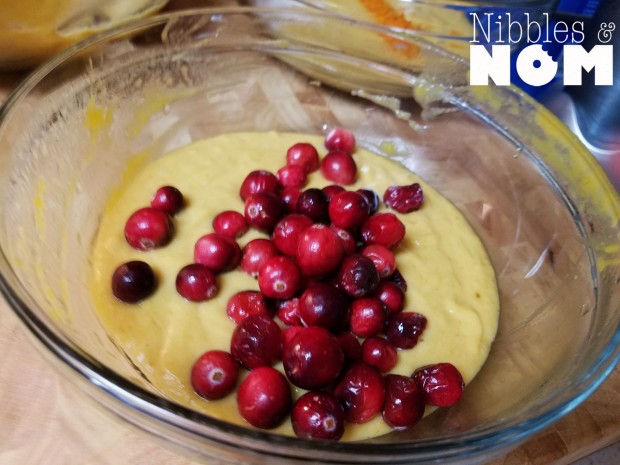
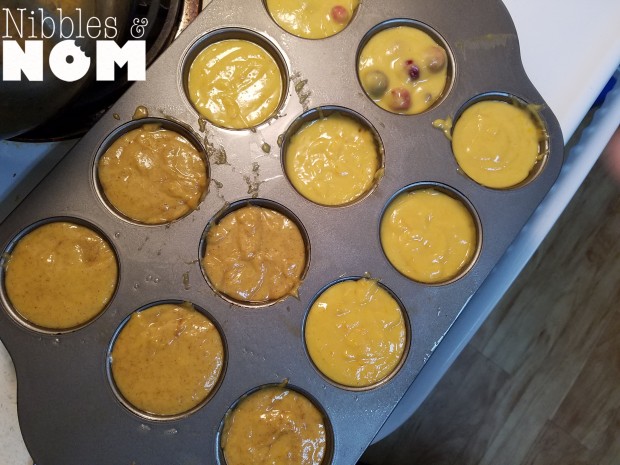
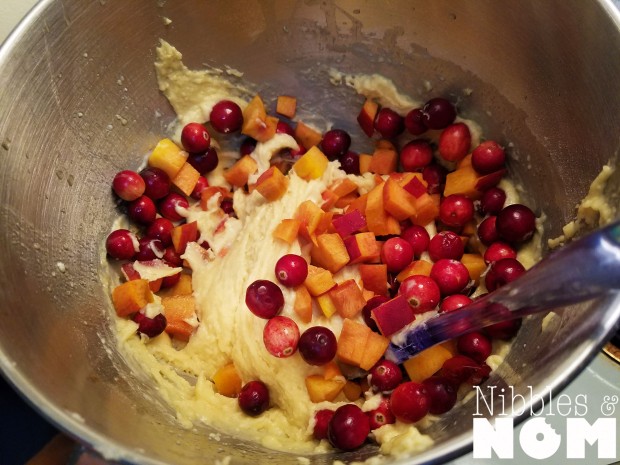
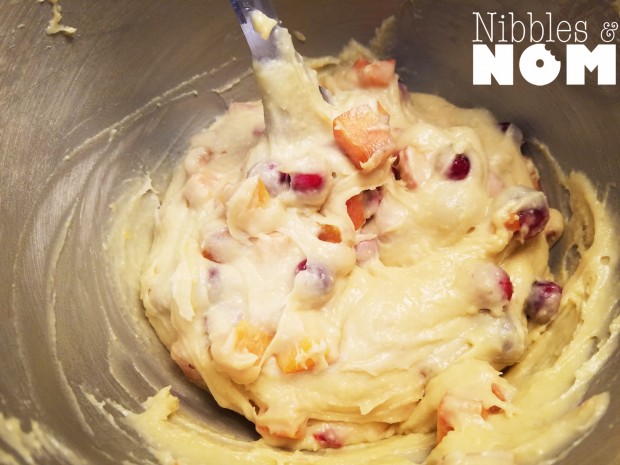
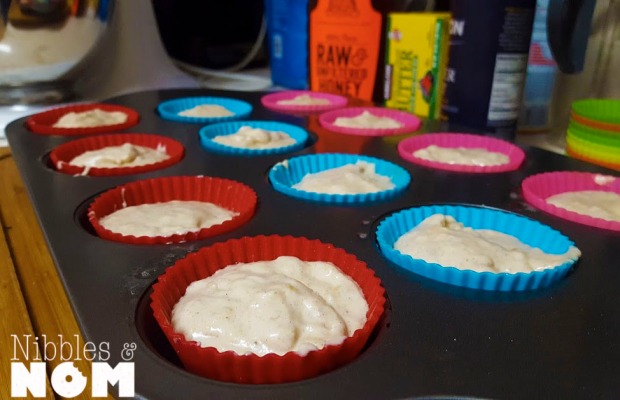
Add the wet mixture to the dry mixture, as well as the cranberries. Mix until just combined.
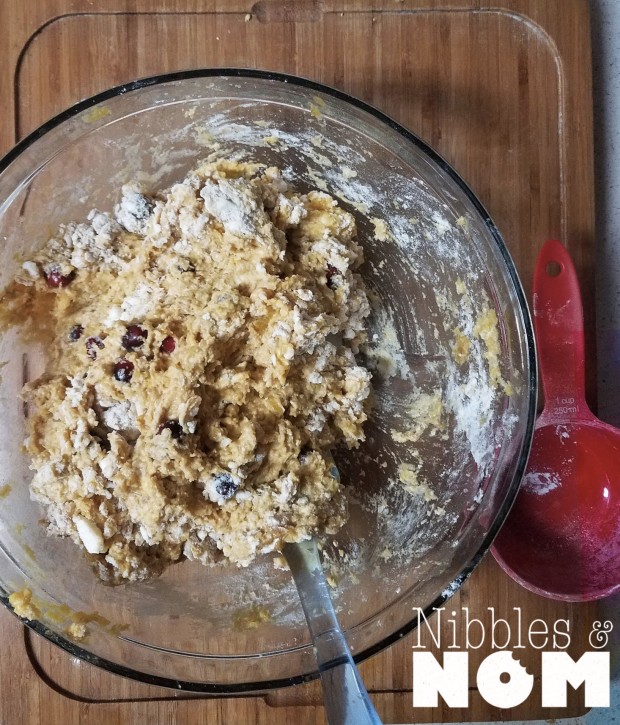
Onto a lightly floured surface knead the dough gently. It may be sticky, just make sure your surface and your hands are well-floured.
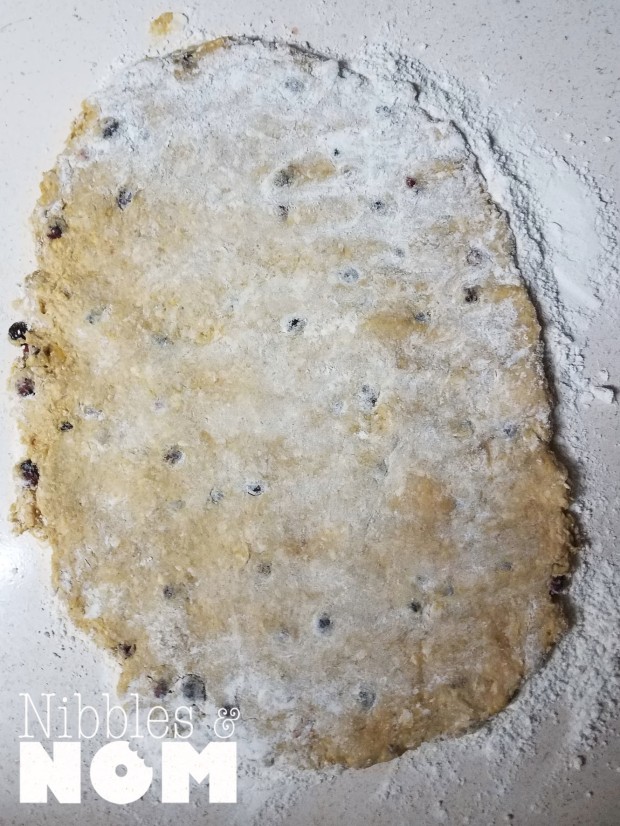
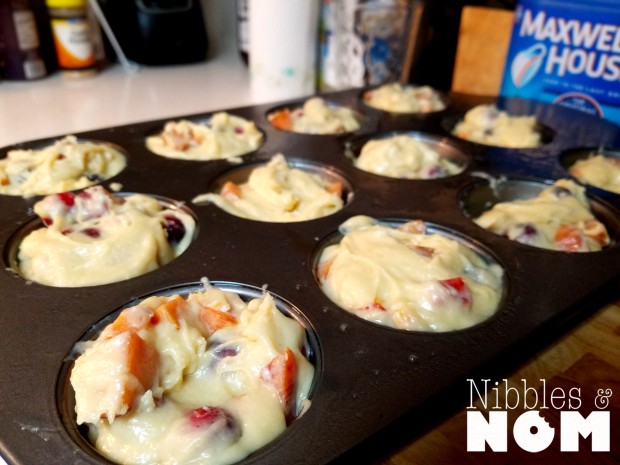
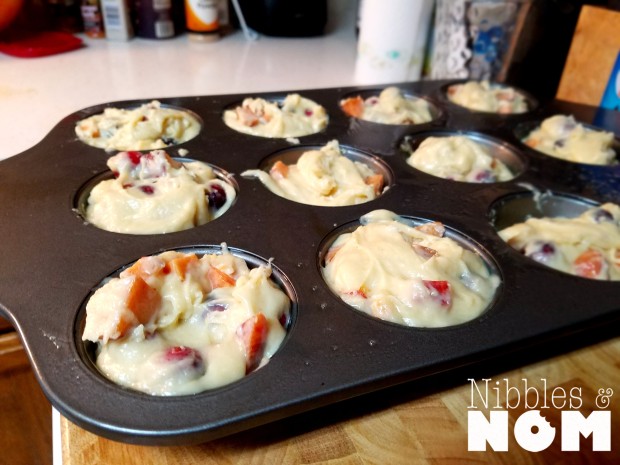
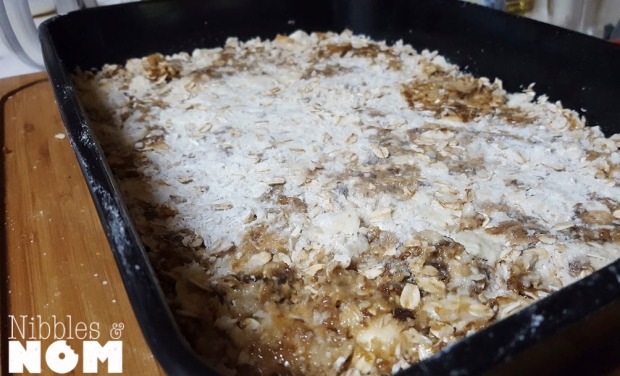
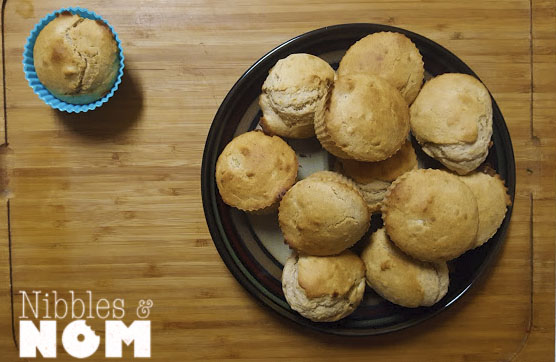
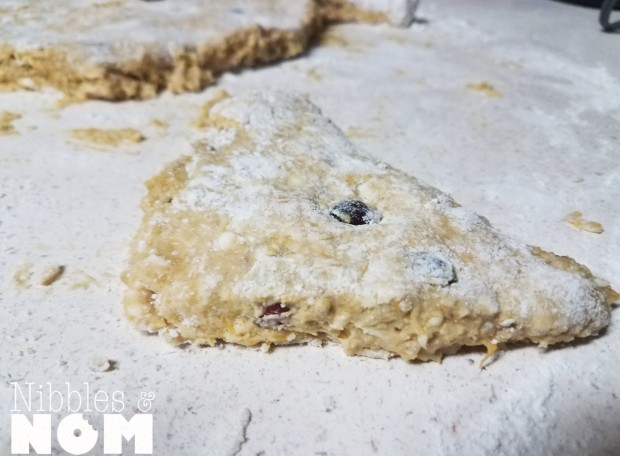
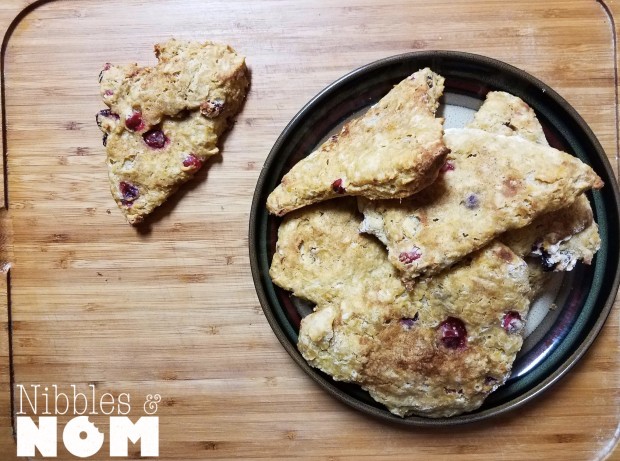
Form the dough into a rectangle about 1 ½ inches thick. Cut the scones into your desired shape, I’m partial to triangles. (Some people like to form a circle and cut “slices”, whatever floats your boat).
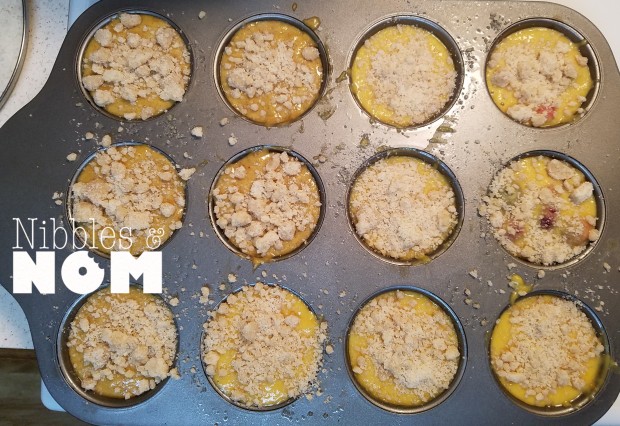
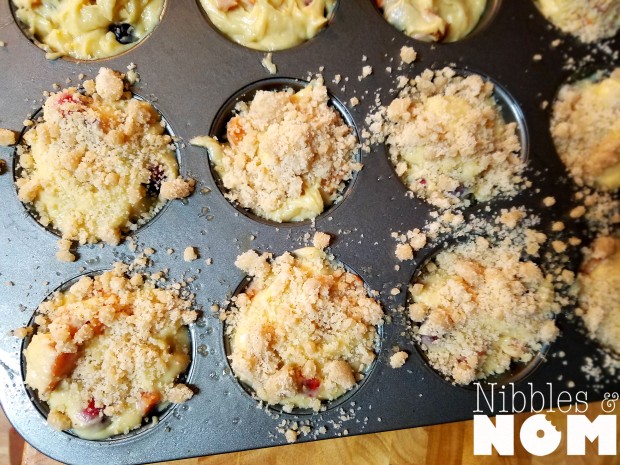
Brush the top with heavy cream, sprinkle with turbinado sugar if you want to be fancy. I sprinkled these with cinnamon-sugar.
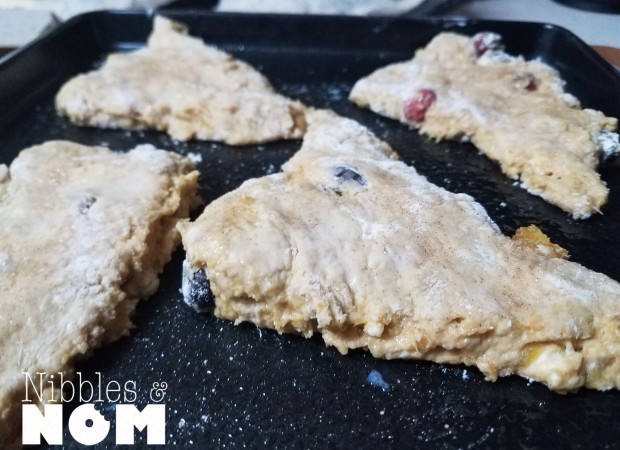
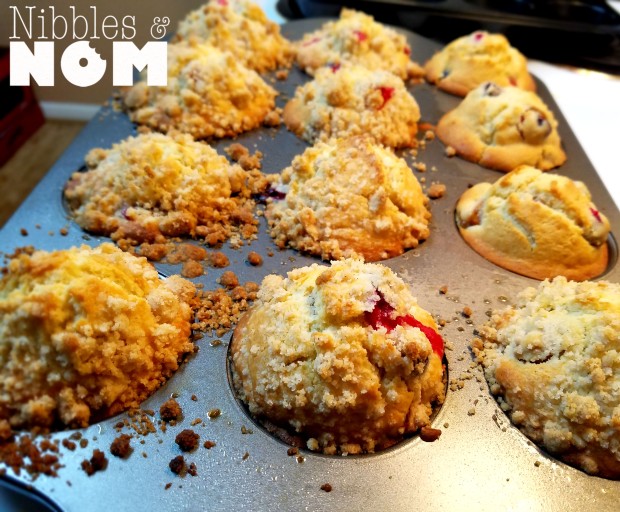
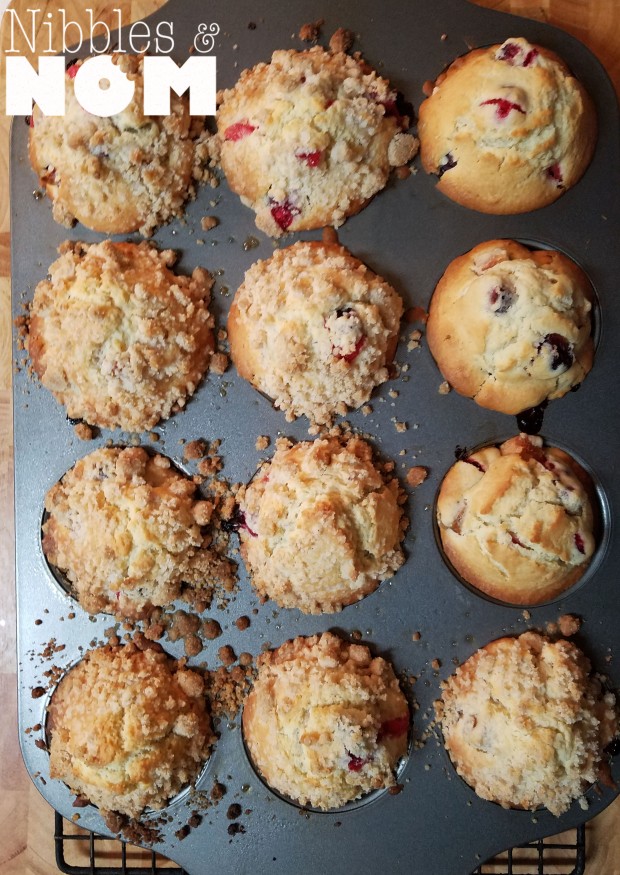
Bake until golden brown and they pass the toothpick test. About 20-25 minutes.
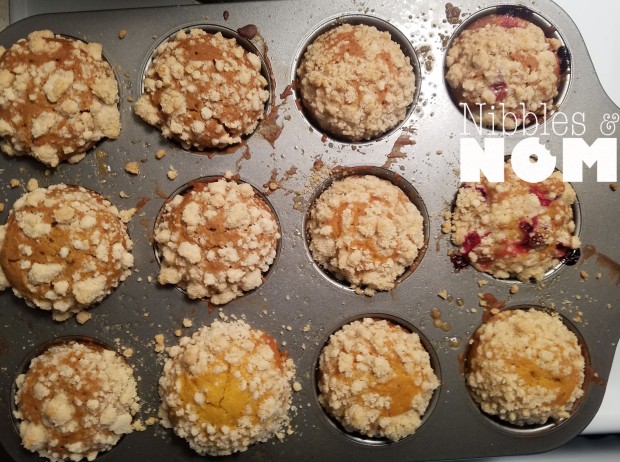
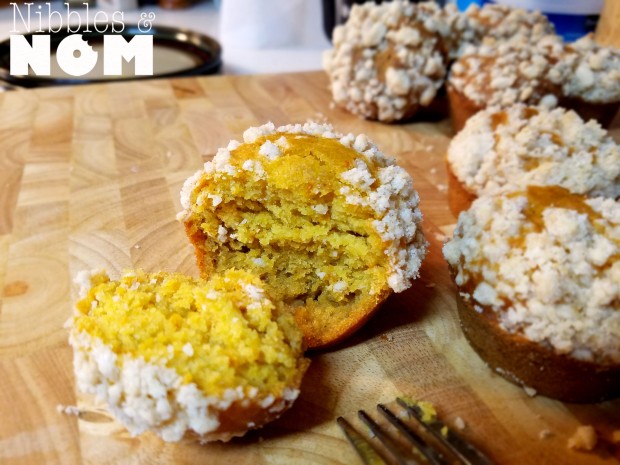
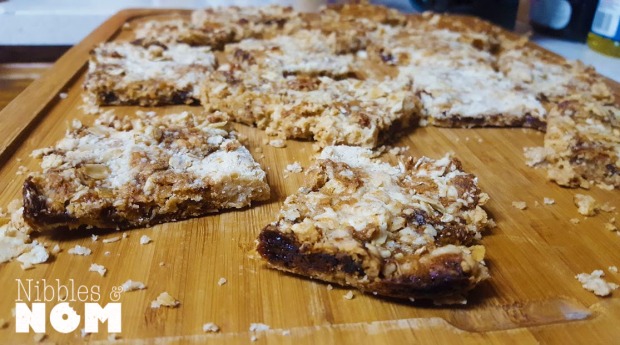
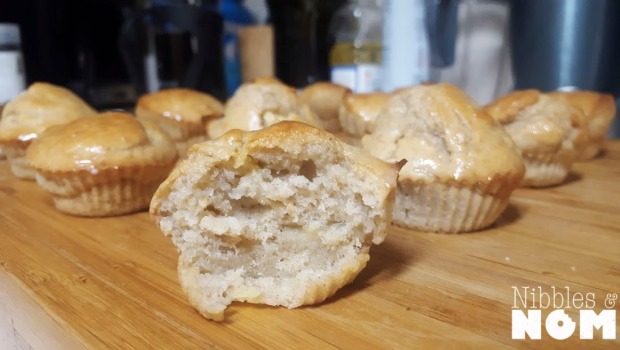
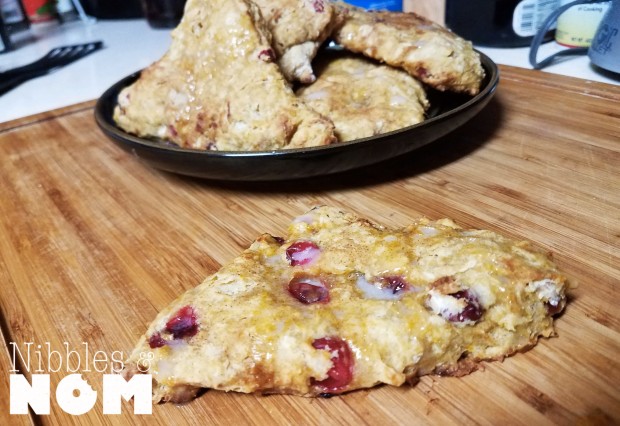
MAN! Look at how moist these are!!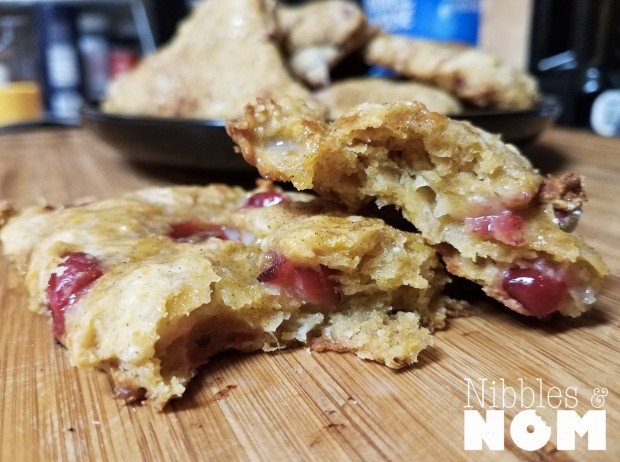

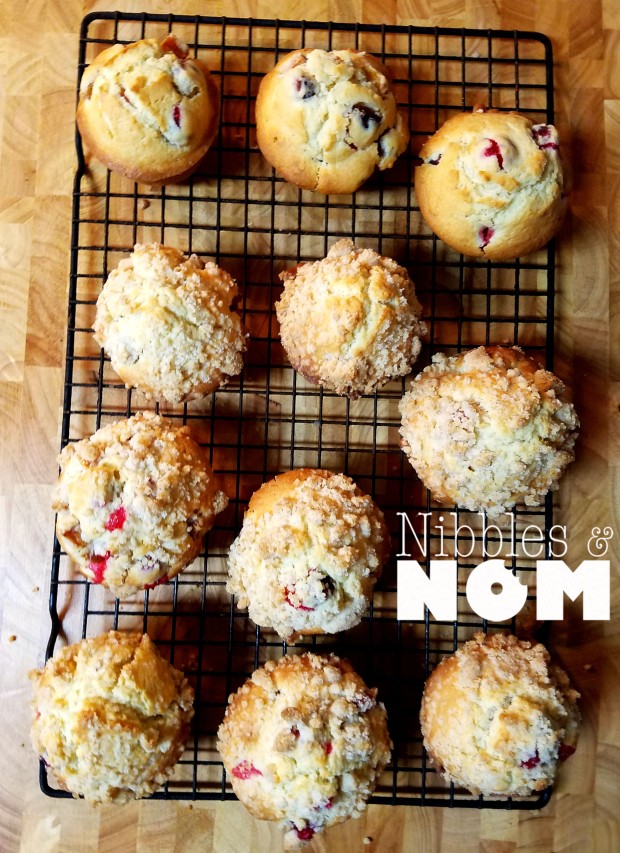
Allow to cool before serving.
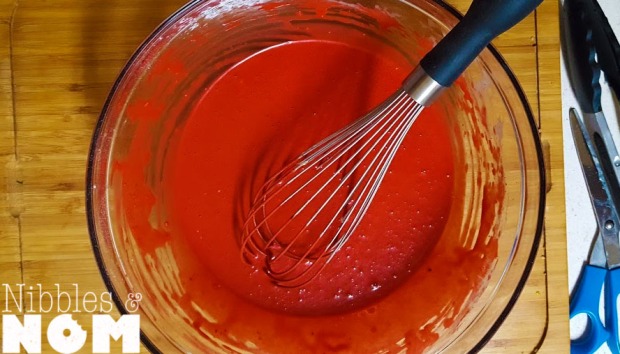
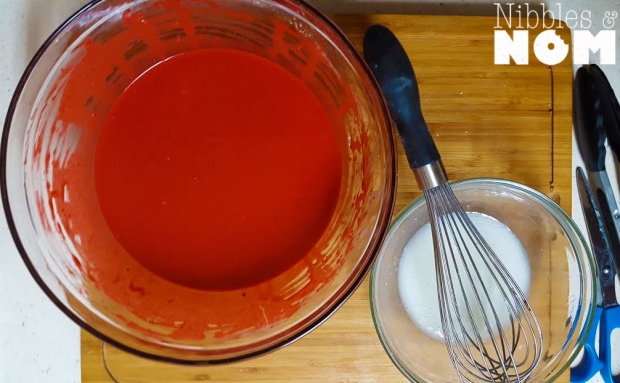
I made a quick glaze and drizzled that over the scones. You can find a simple recipe here.
Store in an airtight container in the fridge. Will keep for a few days but…who are you kidding? You’re going to eat them.
© 2016 by Alexa Mason. All Rights Reserved


 (This trial used 1 tsp baking soda)